Media - files are content too
Contents
Naturally, XP can store any file you would want to serve or associate with your content. This chapter explores how XP handles file uploads, and dives into the image handling specifically.
At the end of the chapter we’ll walk through how to use images in a headless fashion.
| The tasks and examples in this chapter are based on work done in previous chapters (starting with the sandboxes chapter). If you want to follow along with the examples, make sure you’re all caught up. This chapter requires that you’ve got your site up and running. |
Media
A file may be uploaded to XP to become an individual piece of content. Similar to other content items.
Media types
Media types are standard content types that ship with XP. When you upload a file to XP, XP will assign it one of these content types, also referred to as media types. The media type will be resoved from the file’s content. Some common media types are images, audio, video, and executables.
For a full overview of all the media types baked into XP, see the reference docs for media content types.
Uploading
To upload files to Content Studio, simply click New … to use the content creation dialog. You may either click the "upload" icon in the dialog, or drag’n drop the files from your device - or even directly from another website.

This process is the same for whatever media type you want to upload.
To get familiar with uploading media to XP, let’s start with one of the most common media types on the web: images! As mentioned above, this process will also work for any other media type.
-
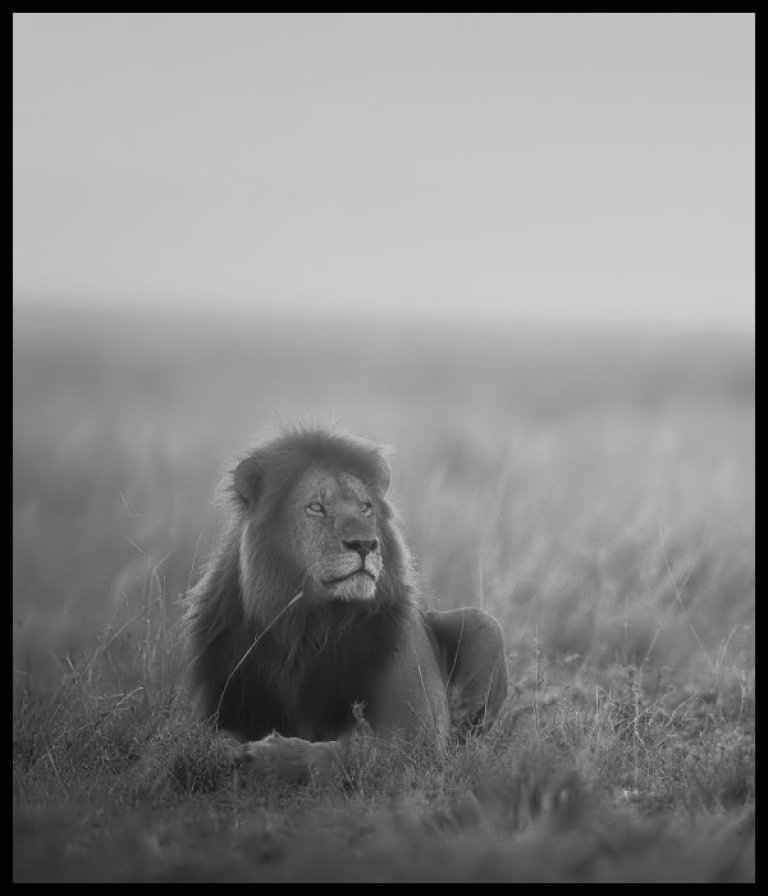
Find an image to upload. For the purposes of the tasks in this chapter, you should work with an image where the important part isn’t centered in the shot. If you have one yourself, feel free to use that. If not, how about using this picture of a lion by Keyur Nandaniya?
-
Create a folder for your images. Call it "images". Just like the "artist" folder we created previously, you may place the folder anywhere in your project structure.
-
Open the "create content" dialog. Press the upload button to bring up your OS’s file browsing dialog and select your image. You can also drag and drop the image from your file system browser onto the dialog.
And that’s all it takes to upload files to Content Studio!
Data Toolbox
Like we saw in the chapter on content, Data Toolbox lets you view and edit your content. Images and other media are also available in Data Toolbox as content, but in addition to the same properties you saw previously, media also have a property called attachment. The attachment will essentially hold all the data from the file that you uploaded.
For instance, if you have a look at the image you uploaded earlier, you should see that it points to the image file you uploaded.
If you added a focal point, you’ll see that specified under the media property too.
If you view the content as JSON, some relevant parts of the structure are the data and attachment properties:
// ....
  "data": {
    "media": {
      "attachment": "lion.jpg", (1)
      "focalPoint": { (2)
        "x": 0.246875,
        "y": 0.6653906106948853
      }
    }
  },
  "attachment": { (3)
    "name": "lion.jpg",
    "label": "source",
    "binary": "lion.jpg",
    "mimeType": "image/jpeg",
    "size": 256018,
    "text": ""
  }
// ....| 1 | References the name of the attachment specified in the attachment property. |
| 2 | If you have set a focal point, its position will also show up here. See the next task for how to set one. |
| 3 | The image attachment with data about the file, such as MIME type and size. |
Attachment service
Uploading a file is only half the job. XP also includes and Attachment Service that lets you download the same file (now stored as an attachment within the content) when you need it.
Essentially, what you need is a URL to download the specific attachment stored within your media:
mediaUrl
To get the URL you may use the following GraphQL query. The mediaUrl field will return a link to the original file you uploaded.
query {
  guillotine {
    get(key: "/developer/media/ready-set-code.png") {
      displayName
      type
      ... on media_Image {
        mediaUrl
      }
    }
  }
}
If everything went fine, you should expect a response that looks something like this:
{
  "data": {
    "guillotine": {
      "get": {
        "displayName": "ready-set-code",
        "type": "media:image",
        "mediaUrl": "/site/preview/dev-portal/draft/_/attachment/inline/f7efd6e4-9eed-45d2-83b6-d088a7bdc685:8652e625afe7bbda595a190a3b8624e322dc9f1a/ready-set-code.png"
      }
    }
  }
}
Images
One of the standard media content types is media:image. Images are important in content management, and as such, XP and Content Studio provide some interesting features to help you make the most of your images.
Image service
Whenever XP serves you an image, the image is delivered via XP’s image service.
The image service takes care of scaling and applying filters to your images based on parameters you give it. For instance, it’s common to want to have all images in a section conform to the same dimensions. But because images are generally of different shapes and sizes, this might require cropping the image. The image service takes care of that for you as long as you specify what you want.
The image service works in tandem with Content Studio’s image editing tools, so it respects crops, flips, and focal points that you create.
Image form
Content Studio comes with a suite of image editing tools built in. After uploading an image to Content Studio, you can find it in the content grid and edit it to bring up the image’s content form.
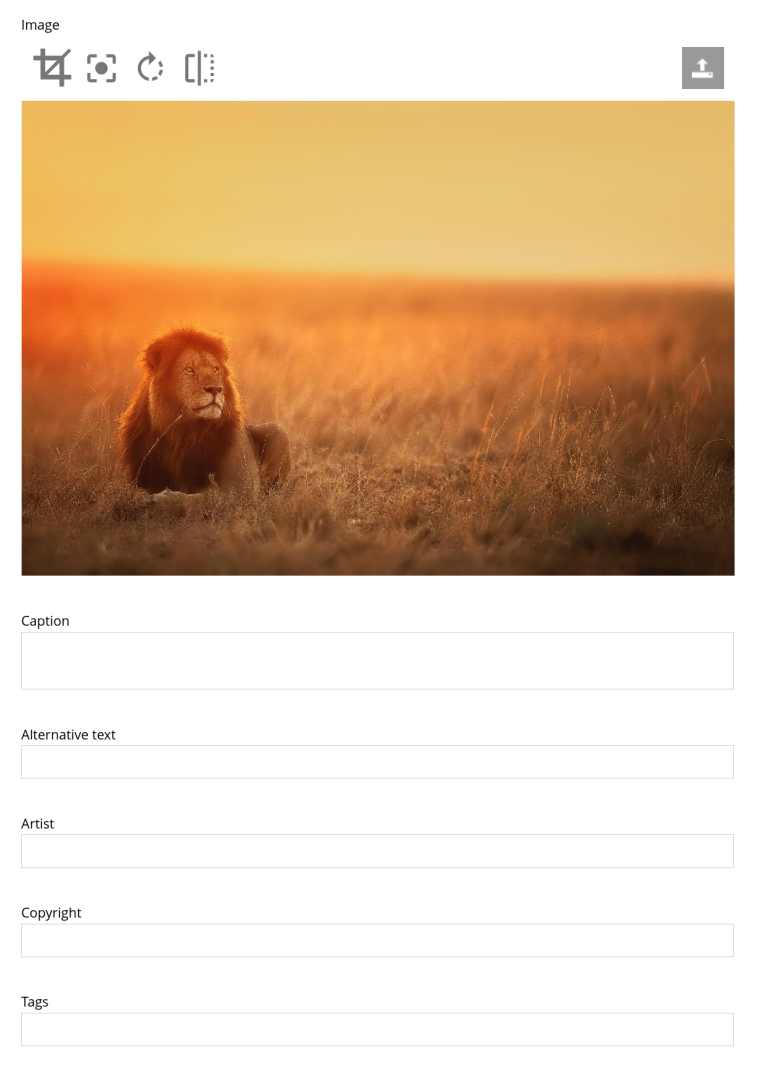
The content form allows you to provide an image caption, alt text, copyright and tag info.
You can also add image properties such as dimensions, and where the image was taken and with what gear.
| Changing these properties, including size, width, height, etc, does not affect the image in any way. |
The image editing tools allow you to crop, flip, and rotate the image as well as to set what’s known as autofocus.
The autofocus control allows you to set an image focal point that XP will always keep in view, regardless of how the image is cropped.
| Without setting a focal point, XP will focus around the center of the image when cropping. |
You can always reset the edits you’ve made to an image by using the 'reset filters' button.
| You can read more about how Enonic simplifies your everyday image problems to get more info about how to use images in a traditional CMS model and for a quick overview of the autofocus feature. |
Autofocus
Because we chose an image with an off-center subject, the image might get cropped such that the lion disappears from the image. For instance, a small, square crop might turn out like this:
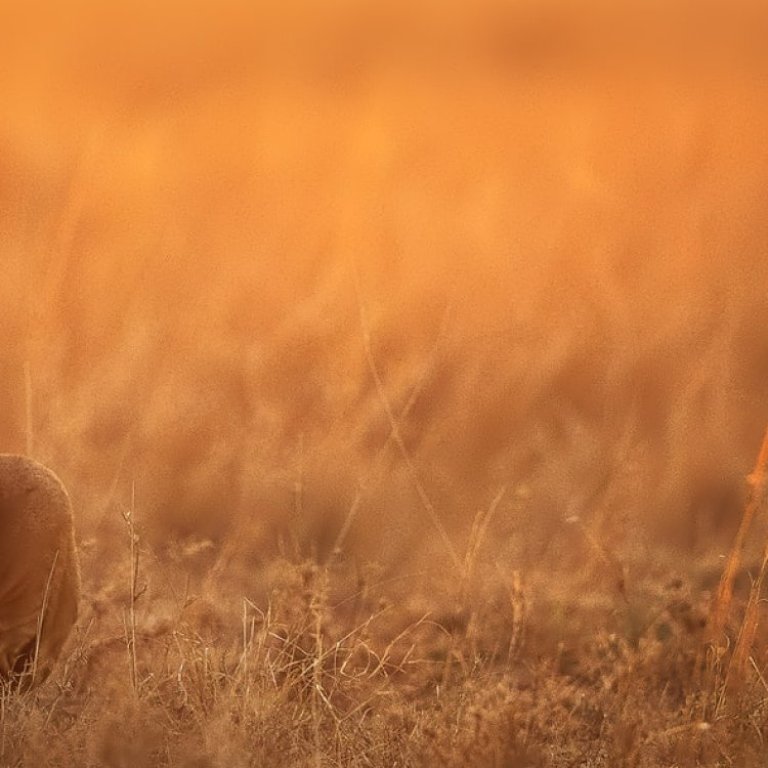
To get around this, try the autofocus tool.
-
Click the autofocus tool. A red circle will show up over the image. This circle indicates where the focal point is.
-
Move the circle onto the lion (or whatever your focal point is) and press "apply".
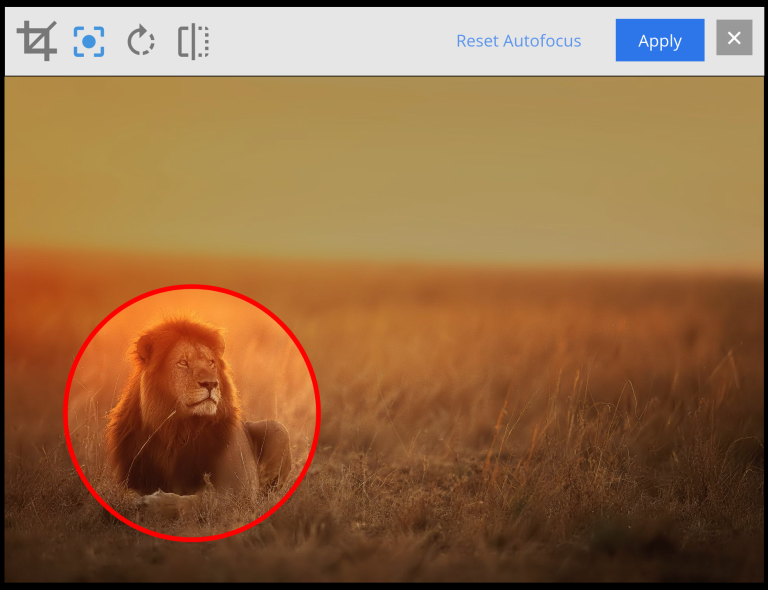 Figure 4. The focal point editor
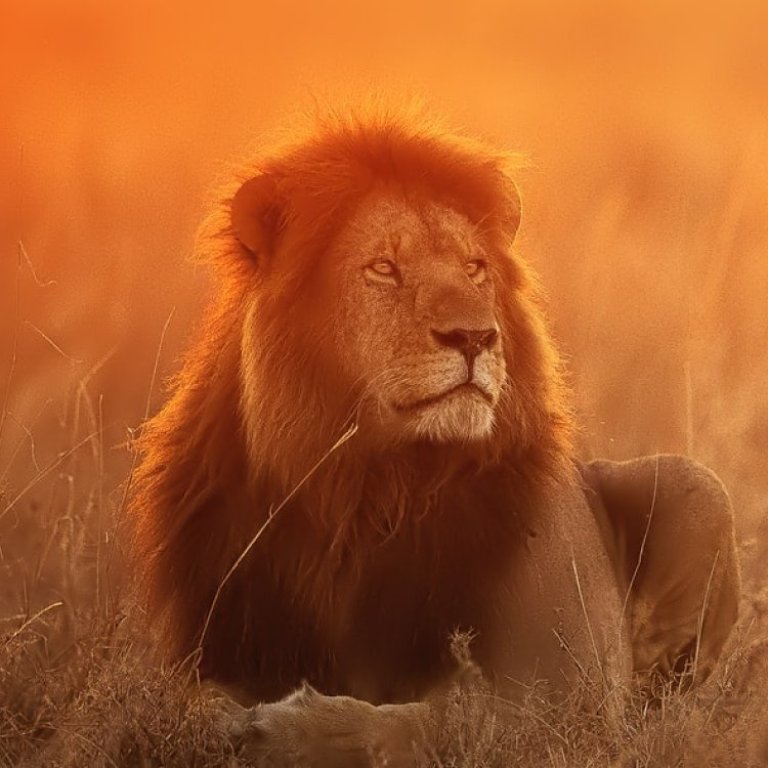
Now, when the image gets cropped, XP will take care of keeping the lion in focus, both in traditional CMS solutions and in headless modes:
GraphQL API
Guillotine makes it easy to fetch the data that you’ve uploaded.
Some functionality is shared between all media types, while other queries only work on specific media types.
We’ll look at how to fetch general media and then have a closer look at what we can do with images and attachments.
General media type
To get the resource URL of media you have uploaded, use the mediaUrl property on any media type. For instance, to get the URL of the raw image you uploaded previously, you could use a query like this:
{
  guillotine {
    queryDsl(
      query: {
        term: {
          field: "type",
          value: {
            string: "media:image"
          }
        }
      }
    ) {
      displayName
      ... on media_Image { (1)
        mediaUrl (2)
      }
    }
  }
}| 1 | This allows us to query properties that belong to the media:Image GraphQL type. |
| 2 | The mediaUrl property (also available on all other media types) gives you a URL from where the raw file can be downloaded. |
{
  "data": {
    "guillotine": {
      "queryDsl": [
        {
          "displayName": "keyur-nandaniya-8oLnCRz7hwM-unsplash",
          "mediaUrl": "/admin/site/preview/my-first-project/draft/_/attachment/inline/21f827e0-ba57-4824-b3bc-f101ae08568b:9475135781b315daad078d91c27746bc3222d024/keyur-nandaniya-8oLnCRz7hwM-unsplash.jpg"
        }
      ]
    }
  }
}
Image media type
XP supports a number of image manipulation functions on the fly. When querying for an image via the GraphQL API, you can use the imageUrl function to specify scale and filters for the result you want.
The scale argument is required and allows you to specify how you want to crop the image. Common scaling functions include block, which allows you to specify width and height and width which scales the image proportionally to the specified width.
| The scaling methods reference docs show off all the available scaling functions with examples of how they affect the image. |
As the name implies, the filters argument lets you apply filters to the image. Use filters to apply coloration functions and to rotate and flip images on the fly. To combine filters, separate them with a semicolon.
| The filters documentation has an exhaustive list of the available filters. |
For instance, we could get all the images under the images folder, scaled to 600x700 pixels, in grayscale, with a query like this:
images folder
{
  guillotine {
    queryDsl(
      query: {
        term: {
          field: "type",
          value: {
            string: "media:image"
          }
        }
      }
    ) {
      displayName
      ... on media_Image {
        imageUrl( (1)
          type: absolute, (2)
          scale: "block(600,700)", (3)
          filter: "grayscale(); border(10, 0x000000)") (4)
      }
    }
  }
}| 1 | The imageUrl function lets you specify how you want the images to look. |
| 2 | The type argument specifies whether the URL should be absolute or relative to the server. |
| 3 | The scale argument specifies the dimensions of the image. |
| 4 | The filter argument lets you apply filters. |
The above query should return a response that looks a little something like this:
{
  "data": {
    "guillotine": {
      "queryDsl": [
        {
          "displayName": "keyur-nandaniya-8oLnCRz7hwM-unsplash",
          "imageUrl": "http://localhost:8080/admin/site/preview/my-first-project/draft/_/image/21f827e0-ba57-4824-b3bc-f101ae08568b:6d89657e4bfae6eaa62de22bd6fb63b2697f091d/block-600-700/keyur-nandaniya-8oLnCRz7hwM-unsplash.jpg?filter=grayscale%28%29%3B+border%2810%2C+0x000000%29"
        }
      ]
    }
  }
}
Which, if you have followed the steps in this chapter, should show you something like this if you try and navigate to the imageUrl property value:
Summary
You should now have a deep understanding of how media is stored, and accessed - as well as XP’s image handing and image service, including how to access it all from the GraphQL API.
Pushing forward, it’s time to have a closer look at the basic building blocks of the content forms; input types.