Static websites with GatsbyJS and Enonic XP
Contents
This guide takes you through the basics of building Gatsby sites using data from Enonic XP.
|
This guide assumes you are already familiar with Gatsby and Enonic XP, and have both Gatsby CLI and Enonic CLI installed in your system. If not, we recommend looking into these tutorials before commencing: |
Introduction
Gatsby sites are created from various data sources. Throughout this guide we will use Enonic XP’s headless API, also known as project Guillotine.
The headless CMS API is based on graphQL, which is a natural companion for Gatsby. Throughout this guide we will be using a dataset called the Headless Move Database.
We have also developed a Gatsby plugin that simplifies the integration between Gatsby and Enonic XP even further.
tl;dr
To skip to the end of the tutorial and run a pre-assembled version, follow these simple steps:
-
Launch Enonic XP, create and deploy an Enonic project based on Headless Movie DB in a clean sandbox
enonic project create -r app-hmdb
cd myproject
enonic project deploy
Accept default values for project name ( com.example.myproject) and version suggested by CLI while creating the project -
Verify that the API is available on http://localhost:8080/site/hmdb/draft/hmdb/_graphql
-
Create a new Gatsby project as follows:
gatsby new tldr https://github.com/enonic/guide-gatsby-starter
...
cd tldr
gatsby develop
-
The generated site should now be available on http://localhost:8000
Headless Movie Database
Let’s start by setting up an XP project with a suitable dataset and the headless API. The Headless Movie Database is a set of sample data about Movies and Persons (actors and directors).
Let’s get going:
-
Create a new project using the headless starter
The following command creates a project based on the headless starter:
enonic project create -r app-hmdb
Stick with the standard values and use the project name com.example.myprojectfor the tutorial examples to work properly. -
Deploy the application
enonic project deploy
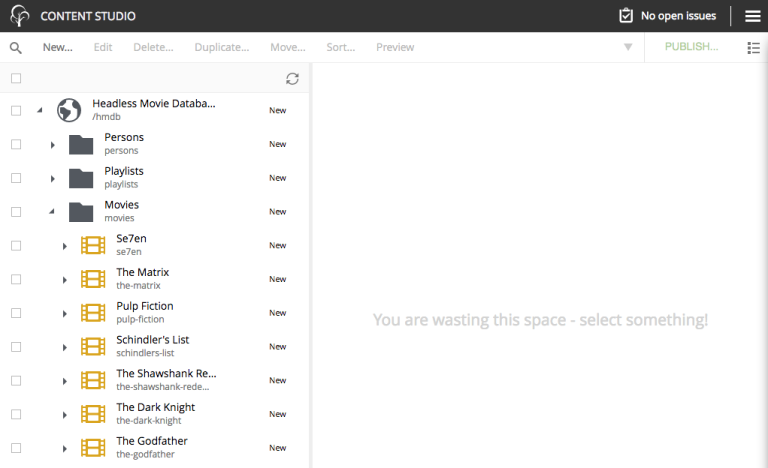
The application will now be installed, and the content imported.
From Content Studio, the site will look something like this:
-
Access the API
The API and the draft content should now be accessible on http://localhost:8080/site/hmdb/draft/hmdb/_graphql
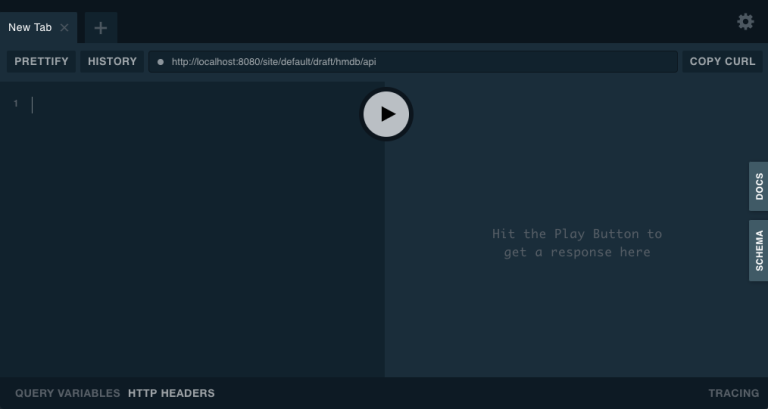
The interface served when we access the endpoint lets us browse the API directly. Use the tabs on the far right to discover. Use the left hand field to run queries, and the result will be presented in the right hand field.
New to GraphQL? Check out the GraphQL documentation.
Running queries
One of the objectives with this tutorial is listing and presenting movies. Using the Headless API interface, lets run a simple query that retrieve movies:
{
  guillotine {
    query(contentTypes: "com.example.myproject:movie", query: "valid='true'", sort: "displayName") {
      id: _id
      displayName
    }
  }
}
The GraphQL query interestingly has a field called query. Interestingly, this actually exposes XP’s content API query function. We pass the following parameters to the function:
- contentTypes
-
Fetch only content of the specific type
com.example.myproject:movie.com.example.myprojectrepresents your application name (the one you used when creating the XP project). - query: "valid='true'"
-
Filter out items that don’t have all of the mandatory fields filled out. This is only relevant for draft items, as only valid items can be published.
- sort: "displayName"
-
To sort the list by name
Additionally, the query specifies to get the fiels id and displayName.
Content type specific fields can be accessed through introspection … on com_example_myproject_Movie where you again use the application name. |
Static Movie Database project
The following steps assume you have already installed the Gatsby developer environment, including Node.js, Git and the Gatsby CLI |
-
Create a new Gatsby project
We’ll call it the "Static Movie DataBase" or SMDB for short. Simply run this command in your terminal:
gatsby new smdb https://github.com/gatsbyjs/gatsby-starter-default
When the site wizard asks you which package manager you would like to use for your new site, choose NPMThe command creates the following project file structure:
Gatsby movie datbase project structure:SMDB src/ components/ images/ pages/ gatsby-config.js package-lock.json package.json -
Start the Gatsby development server
To start your local Gatsby build server, run the following command:
gatsby develop
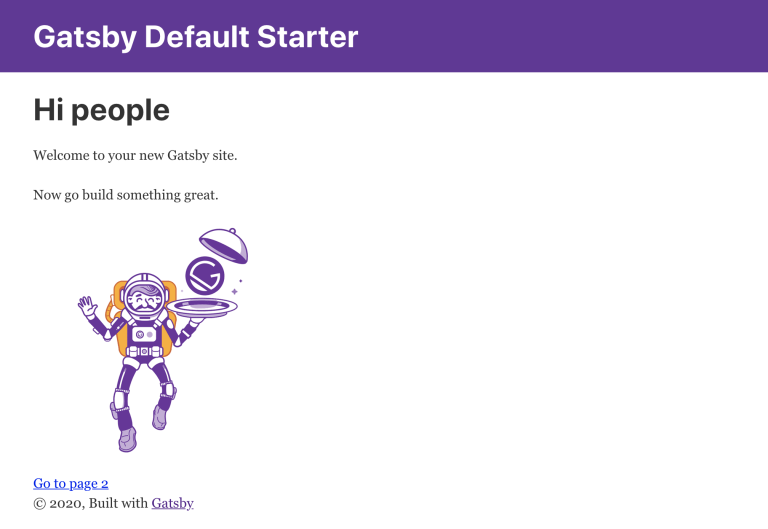
You should now have a Gatsby development server running on http://localhost:8000/.
Enonic Gatsby plugin
Gatsby can fetch content directly from Enonic’s GraphQL API, and then programmatically use the content to create pages. However, to simplify the process we’ll use Enonic’s Gatsby plugin instead.
-
Install plugin
Stop your Gatsby instance. And run the following command:
npm install gatsby-plugin-enonic
The
gatsby-plugin-enonicis now downloaded from NPM and adds a dependency to thepackage.jsonfile inside your project folder.Once completed, start the Gatsby development environment again, this time the plugin should be automatically loaded as well.
-
Configure the plugin
Open the file
gatsby-config.js, it is located in your project root folder. This file is where you configure plugins used by the project.Add this config inside the
plugins []array of your config, like this:Base config for gatsby-config.js// First parts of config file plugins [ { resolve: `gatsby-plugin-enonic`, options: { api: 'http://localhost:8080/site/hmdb/draft/hmdb/_graphql', refetchInterval: 10, } }, // other plugins go here ] // Last parts of config fileDetails on the plugins configuration options:
- api
-
URL to the specific headless API.
- refetchInterval (optional)
-
How frequently you want Gatsby to pull XP for new content (in seconds). You don’t want this to be too often since a new request will be sent to server every time to fetch the data.
With both XP and Gatsby setup, we’re ready to start buildig the site.
Movies page
The plugin supports two types of pages: list and details. Let’s start by setting up a page for listing Movies.
Create query
We will start by setting up a query to fetch movies from Enonic XP.
-
Create a new folder
src/queries/in your Gatsby project. -
In
src/queriescreate a file calledgetMovies.jsAdd the following code to the file. If you look closely, you will recognise the query used to fetch movies. However, this time it is wrapped in JavaScript.
src/queries/getMovies.jsconst query = `{ guillotine { query(contentTypes: "com.enonic.myproject:movie", query: "valid='true'", sort: "displayName") { id: _id displayName } } } ` module.exports = query;This query is the same query as we used when testing the headless API earlier.
Create template
To present the list of movies we will need a template.
-
Create a new folder
/src/templatesin your Gatsby project. -
Create the file
/src/templates/list.jswith the following content:src/templates/list.jsimport React from "react" import Layout from "../components/layout" import Seo from "../components/seo" const ListPage = (args) => { const { pageContext } = args return ( <Layout> <Seo title={pageContext.title || `List`} /> <h1>{pageContext.title}</h1> { pageContext.nodes.map(node => ( <div key={node.id}> <span>{node.displayName}</span> </div> )) }<br/> </Layout> ) } export default ListPageGatsby operates with React components. Our listing page
const ListPageis also a React component. It takes apageContextargument which contains the list ofnodesgenerated from our query. The component iterates through the array of nodes and for every node it outputs a<div>with unique key (node.id) and an item’s display name (node.displayName).<Seo> is another React component that comes with the Gatsby starter. It generates various Seo tags. By passing the
titleargument to it (like we do above) it will use the page title in Seo tags and display the specified title in the browser tab.
Create page
We now need to instruct the plugin to generate the movies page, by combining the query and template created earlier.
-
Update the plugin configuration with instructions for creating the movies page
Update for gatsby-config.js{ resolve: `gatsby-plugin-enonic`, options: { api: 'http://localhost:8080/site/hmdb/draft/hmdb/_graphql', refetchInterval: 10, pages: [{ query: require.resolve('./src/queries/getMovies'), list: { url: '/movies', template: require.resolve('./src/templates/list'), title: 'Movies' } }] } },The new
pagesentry gives instructions on how to generate the movies page by combining a query and a template. -
Generate page
When making changes to a query, or plugin configuration, the Gatsby development server must be restarted. (press
Ctrl + Cto stop, then rungatsby developonce again)If everything was configured properly, you will see logs indicating that the site is built and that the Gatsby development server is ready to serve the content.
-
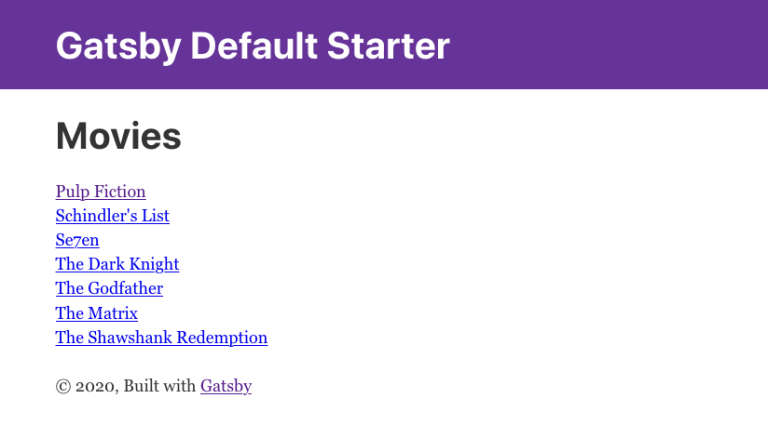
Open the Gatsby site at http://localhost:8000/movies, and you should see the following:
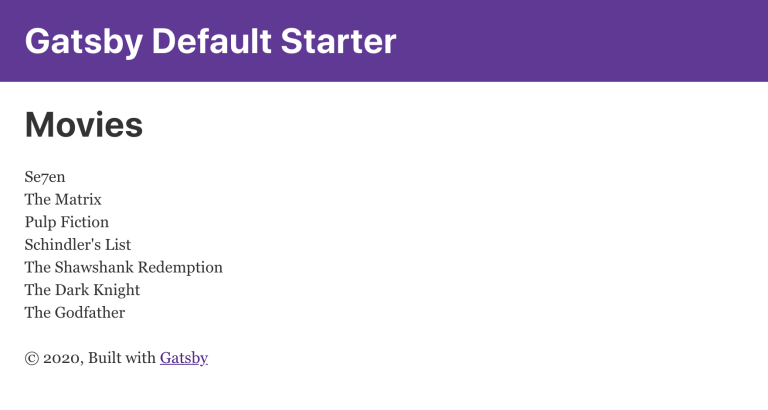
Congratulations! You just created your first Gatsby page with content from Enonic XP.
Getting errors? Double-check the previous steps to make sure you didn’t miss anything, and verify that Enonic XP is running on port 8080.
Persons page
This time, we repeat the steps from the movies listing page, but with a few adjustments:
-
Create the persons query file
This time we’re fetching some more data for persons, such as person images, as we will need this later. src/queries/getPersons.jsconst query = `{ guillotine { query(contentTypes: "com.example.myproject:person", query: "valid='true'", sort: "displayName", first: 100) { id: _id displayName name: _name ... on com_example_myproject_Person { data { bio photos { ... on media_Image { imageUrl: imageUrl(type: absolute, scale: "width(300)") attachments { altName: name } } } } } } } }` module.exports = query; -
Add the persons page to your plugin configuration.
Update for gatsby-config.js{ resolve: `gatsby-plugin-enonic`, options: { api: 'http://localhost:8080/site/hmdb/draft/hmdb/_graphql', refetchInterval: 10, pages: [{ query: require.resolve('./src/queries/getMovies'), list: { url: '/movies', template: require.resolve('./src/templates/list'), title: 'Movies' } }, { query: require.resolve('./src/queries/getPersons'), list: { url: '/persons', template: require.resolve('./src/templates/list'), title: 'Persons' } }] } },We simply reuse the template we used for listing movies. -
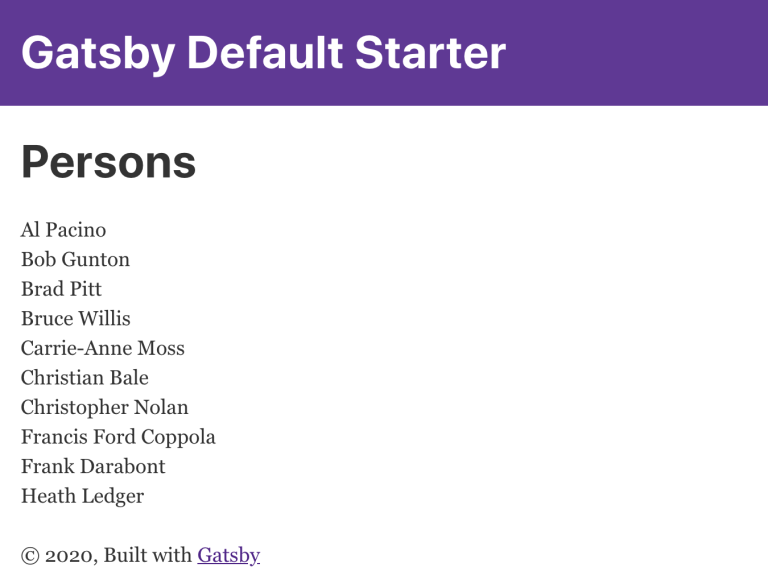
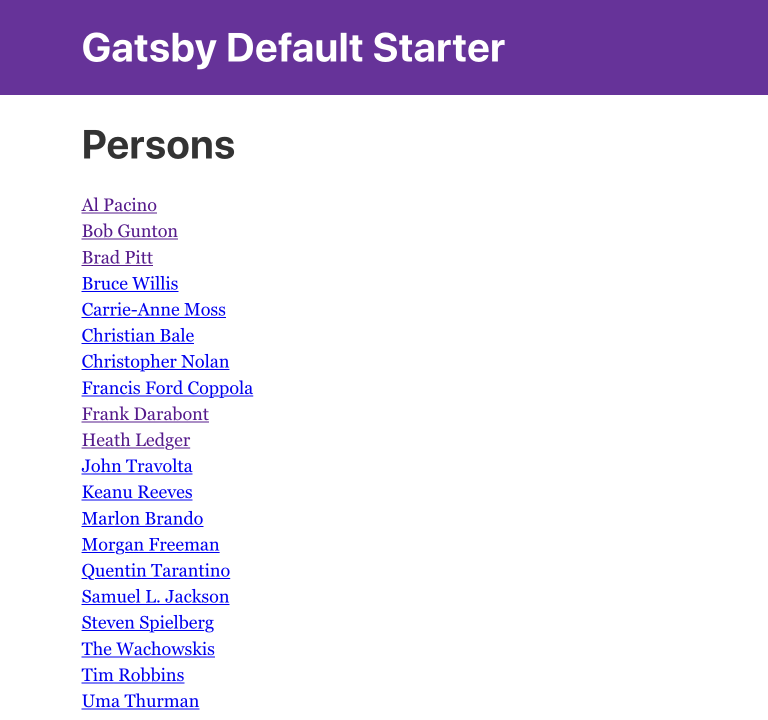
Open the persons page to verify that it works: http://localhost:8000/persons
It should look somethinglike this:
|
The page only lists 10 persons, but there are more in XP. To list more, you can increase this limit by adding query(contentTypes: "com.example.myproject:person", query: "valid='true'", sort: "displayName", first: 100) |
Link to pages
Now, lets add a link from the main page to the movies and persons pages.
-
Load the site front page in your browser: http://localhost:8000
-
Open the main page file
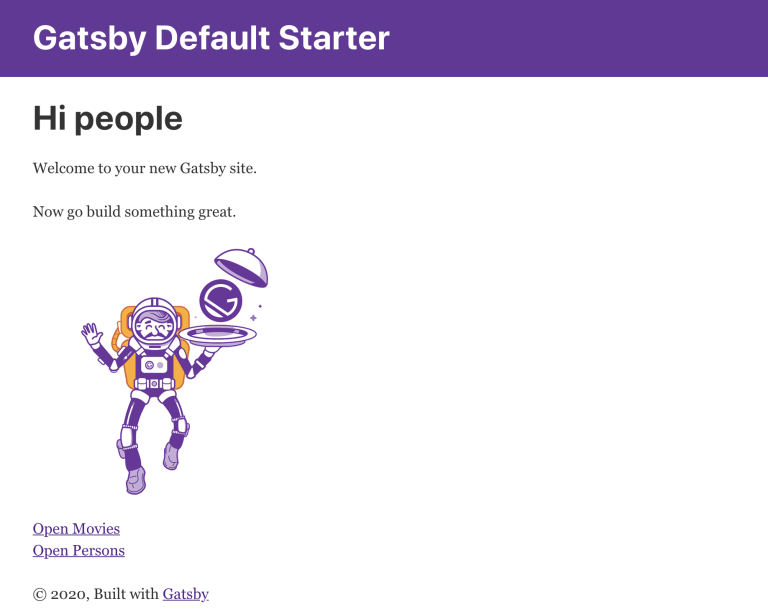
/src/pages/index.js, and update it with the following content:/src/pages/index.jsimport React from "react" import { Link } from "gatsby" import Layout from "../components/layout" import { XpLogo } from "../components/xpLogo" import Seo from "../components/seo" const IndexPage = () => ( <Layout> <Seo title="Home" /> <h1>Hi people</h1> <p>Welcome to your new Gatsby site.</p> <p>Now go build something great.</p> <div style={{ maxWidth: `300px`, marginBottom: `1.45rem` }}> <XpLogo /> </div> <div style={{ marginBottom: `1rem` }}> <Link to="/movies/">Open movies</Link><br/> <Link to="/persons/">Open persons</Link> </div> </Layout> ) export default IndexPageThe page should refresh automatically in your browser, and you will see this:
-
Click the links to verify that they work!
Movie details page
Next we want to create pages that represent each specific movie.
We’ll use the plugin to generate a page for every movie retrieved from the storage.
Each movie will also need a unique URL. By default the plugin uses the id field, which is alway unique. However XP always provides a URL-friendly name field (AKA slug) as well. This field is unique within it’s location of the content structure, and fits perfectly for our use case.

Update movie query
For every movie we want to show an abstract, release date, and a movie image. This means we need to modify our query as well.
-
Update the movie query to fetch more fields.
src/queries/getMovies.jsconst query = `{ guillotine { query(contentTypes: "com.example.myproject:movie", query: "valid='true'", sort: "displayName") { id: _id displayName name: _name ... on com_example_myproject_Movie { data { subtitle abstract photos { ... on media_Image { imageUrl: imageUrl(type: absolute, scale: "width(300)") attachments { imageText: name } } } } } } } } ` module.exports = query;Lines with colons are for aliases - field names that you want to use instead of original names. For example, if you want to use nameinstead of original_namethen you doname: _name -
Verify query:
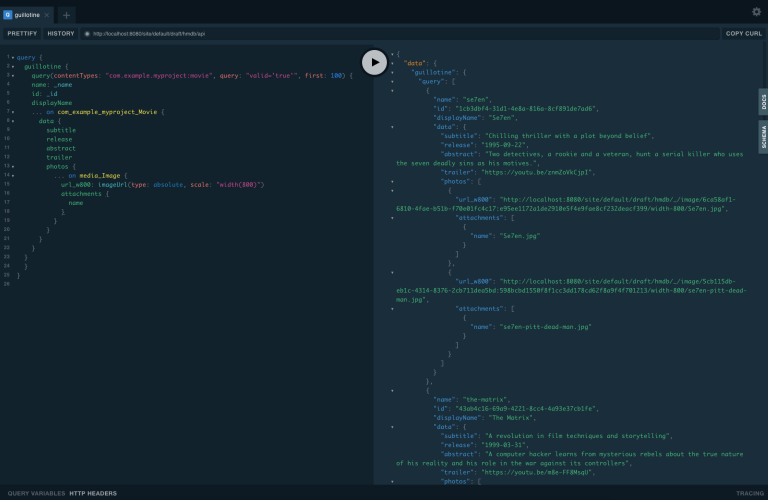
By running the above query directly in XP, we get the following result:
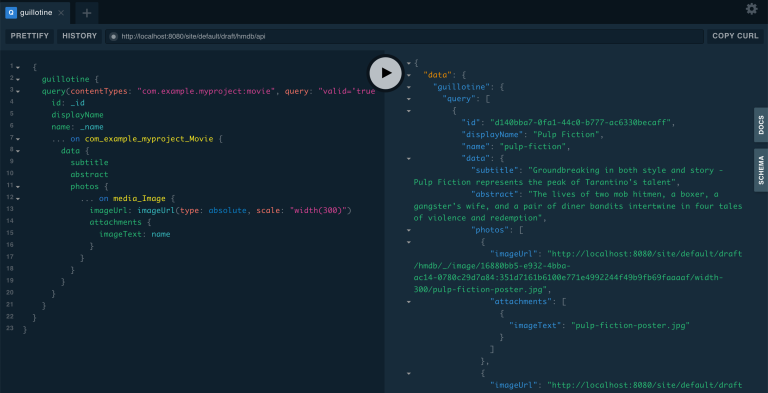
Notice how the result now includes a lot of new data, including links to images.
Movie details template
Next we need a new template to display all the movie details.
-
Create a new templates file
src/templates/movie.jsimport React from "react" import Layout from "../components/layout" import Seo from "../components/seo" const getPageTitle = (pageContext) => { const node = pageContext.node; if (!!node && pageContext.title && (node[pageContext.title] || node.data[pageContext.title])) { return node[pageContext.title] || node.data[pageContext.title]; } return pageContext.title || 'Person'; }; const MoviePage = (args) => { const { pageContext } = args; const movie = pageContext.node; const movieMeta = movie.data; return ( <Layout> <Seo title={getPageTitle(pageContext)} /> <div> <div style={{ display: 'flex', alignItems: 'baseline' }}> <h2>{movie.displayName} {movieMeta.release && ( <i style={{ fontStyle: 'normal', fontWeight: 'normal', fontSize: '24px', marginLeft: '10px', opacity: '0.7' }}>({new Date(movieMeta.release).getFullYear()})</i> )} </h2> </div> <div style={{ display: `flex` }}> <img style={{ maxWidth: '400px', width: '50%' }} src={movieMeta.photos[0].imageUrl} title={movieMeta.subtitle} alt={movieMeta.photos[0].attachments[0].imageText} /> <p style={{ margin: `0 20px` }}><i>{movieMeta.abstract}</i></p> </div> </div> </Layout> ) } export default MoviePageThis template is of course just an example, using inline styling and other dirty tricks. Feel free to customize it later :-).
Update plugin
Lets configure the plugin to generate the movie detail pages.
-
Update your Gatsby configuration
Update for gatsby-config.js{ resolve: `gatsby-plugin-enonic`, options: { api: 'http://localhost:8080/site/hmdb/draft/hmdb/_graphql', refetchInterval: 10, pages: [{ query: require.resolve('./src/queries/getMovies'), list: { url: '/movies', template: require.resolve('./src/templates/list'), title: 'Movies' }, details: { template: require.resolve('./src/templates/movie'), key: 'name', title: 'displayName' } }, { query: require.resolve('./src/queries/getPersons'), list: { url: '/persons', template: require.resolve('./src/templates/list'), title: 'Persons' } }] } },Notice how the new
detailssection is placed into the same page configuration as the list page. This basically means we re-use the query to also generate the details page.The new config options for detail pages are:
- url (optional)
-
Base url of the details page. If omitted, value from
pages.list.urlwill be used. In our case, the pages will be created as/movies/{key}. - key (optional)
-
Specify the field in the query whose value will be used as key for the details page url. Default is
_id. In our case, we are using thenamefield.
-
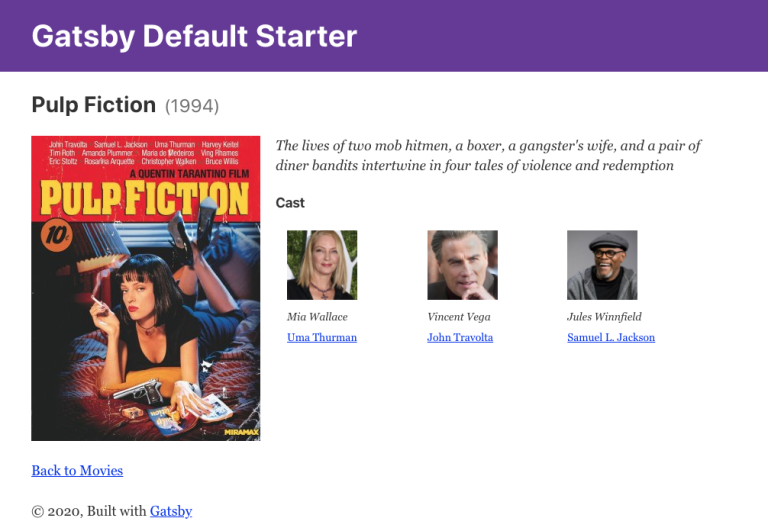
Visit one of the movie pages to see the glorious result: http://localhost:8000/movies/pulp-fiction
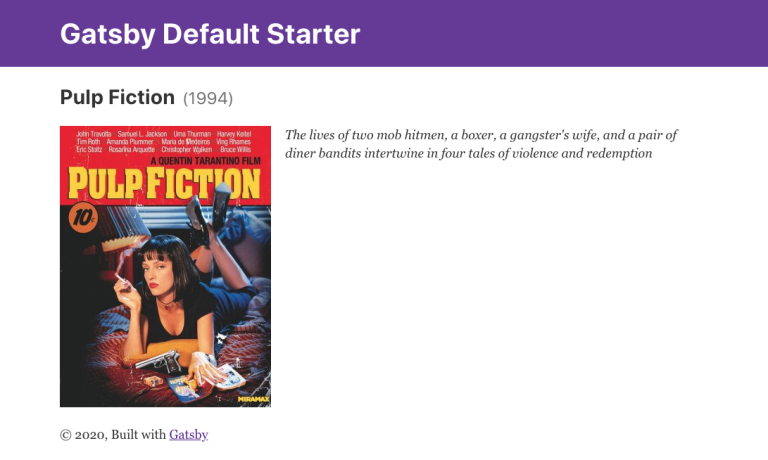
Simple but pretty good looking huh?
Link to movie details
Generating pages is fine, but we also need to configure our list to link to the actual movies.
-
Update the list template to make use of Gatsby’s
Linkcomponent:src/templates/list.jsimport React from "react" import Layout from "../components/layout" import Seo from "../components/seo" import {Link} from "gatsby"; const ListPage = (args) => { const { pageContext } = args return ( <Layout> <Seo title={pageContext.title || `List`} /> <h1>{pageContext.title}</h1> { pageContext.nodes.map(node => ( <div key={node.id}> {pageContext.detailsPageUrl && <Link to={`${pageContext.detailsPageUrl}/${node[pageContext.detailsPageKey]}`}> {node.displayName} </Link> } {!pageContext.detailsPageUrl && <span>{node.displayName}</span>} </div> )) }<br/> </Layout> ) } export default ListPage -
The list page should refresh automatically, and you will see that the movie list has now turned into a list of links.
Click any link in the list to open our new movie details page:
Person details
By repeating some of the steps above, we can create detail pages for persons as well.
-
Add a person template
src/templates/person.jsimport React from "react" import Layout from "../components/layout" import Seo from "../components/seo" import {Link} from "gatsby"; const getPageTitle = (pageContext) => { const node = pageContext.node; if (!!node && pageContext.title && (node[pageContext.title] || node.data[pageContext.title])) { return node[pageContext.title] || node.data[pageContext.title]; } return pageContext.title || 'Person'; }; const PersonPage = (args) => { const { pageContext } = args; const person = pageContext.node; const personMeta = person.data; return ( <Layout> <Seo title={getPageTitle(pageContext)} /> <div> <div style={{ display: 'flex', alignItems: 'baseline' }}> <h2>{person.displayName}</h2> </div> <div style={{ display: `flex` }}> <img style={{ maxWidth: '400px', width: '50%' }} src={personMeta.photos[0].imageUrl} title={person.displayName} alt={personMeta.photos[0].attachments[0].altImageText} /> <p style={{ margin: `0 20px` }}><i>{personMeta.bio}</i></p> </div> </div> <p> <Link to={`${pageContext.listPageUrl}`}>Back to Persons</Link> </p> </Layout> ) } export default PersonPageYou could later try to move the getPageTitle()function to a separate helper class since it’s exactly the same as the one in the Movie details page. -
Update plugin config to generate person detail pages
Update for gatsby-config.js{ resolve: `gatsby-plugin-enonic`, options: { api: 'http://localhost:8080/site/hmdb/draft/hmdb/_graphql', refetchInterval: 10, pages: [{ query: require.resolve('./src/queries/getMovies'), list: { url: '/movies', template: require.resolve('./src/templates/list'), title: 'Movies' }, details: { template: require.resolve('./src/templates/movie'), key: 'name', title: 'displayName' } }, { query: require.resolve('./src/queries/getPersons'), list: { url: '/persons', template: require.resolve('./src/templates/list'), title: 'Persons' }, details: { template: require.resolve('./src/templates/person'), key: 'name', title: 'displayName' } }] } }, -
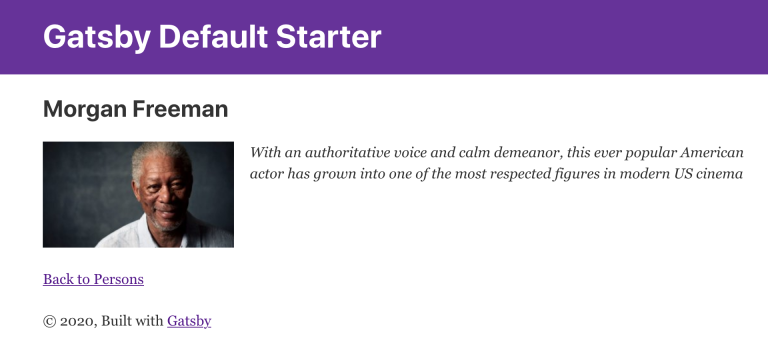
Restart your Gatsby development server and check out the new pages:
Cross-referencing
To enliven our movie page further. Let’s display cast for each movie on the movie’s details page. We’ll add movie characters, including name, actor, actor’s photo, and link to the actor’s detail page.
-
Update the movie query to also extract the cast.
src/queries/getMovies.jsconst query = `{ guillotine { query(contentTypes: "com.example.myproject:movie", query: "valid='true'", sort: "displayName") { id: _id displayName name: _name ... on com_example_myproject_Movie { data { subtitle abstract photos { ... on media_Image { imageUrl: imageUrl(type: absolute, scale: "width(300)") attachments { imageText: name } } } cast { character actor { id: _id name: _name displayName ... on com_example_myproject_Person { data { photos { ... on media_Image { imageUrl: imageUrl(type: absolute, scale: "block(100,100)") } } } } } } } } } } }` module.exports = query;We include the namefield of the persons, as we will use use it to link back to the actor’s detail page. -
Update the movie template to list the cast
src/templates/movie.jsimport React from "react" import Layout from "../components/layout" import Seo from "../components/seo" import {Link} from "gatsby" const getPageTitle = (pageContext) => { const node = pageContext.node; if (!!node && pageContext.title && (node[pageContext.title] || node.data[pageContext.title])) { return node[pageContext.title] || node.data[pageContext.title]; } return pageContext.title || 'Person'; }; const MoviePage = (args) => { const { pageContext } = args; const movie = pageContext.node; const movieMeta = movie.data; return ( <Layout> <Seo title={getPageTitle(pageContext)} /> <div> <div style={{ display: 'flex', alignItems: 'baseline' }}> <h2>{movie.displayName} {movieMeta.release && ( <i style={{ fontStyle: 'normal', fontWeight: 'normal', fontSize: '24px', marginLeft: '10px', opacity: '0.7' }}>({new Date(movieMeta.release).getFullYear()})</i> )} </h2> </div> <div style={{ display: `flex` }}> <img style={{ maxWidth: '400px', width: '50%' }} src={movieMeta.photos[0].imageUrl} title={movieMeta.subtitle} alt={movieMeta.photos[0].attachments[0].imageText} /> <div style={{ margin: `0 20px` }}> <p><i>{movieMeta.abstract}</i></p> {movieMeta.cast && ( <> <h4>Cast</h4> <div style={{ display: `flex`, padding: '0 15px' }}> { movieMeta.cast.map(cast => ( <div key={cast.actor.id} style={{ flex: '1 1 0px', display: `flex`, flexDirection: `column` }} > <img style={{ width: '50%', marginBottom: '0.5rem' }} src={cast.actor.data.photos[0].imageUrl} title={`${cast.actor.displayName} as ${cast.character}`} alt={cast.character} /> <div style={{ display: `flex`, flexDirection: `column` }}> <i style={{ fontSize: '14px' }}>{cast.character}</i> <Link to={`/persons/${cast.actor.name}`}> <span style={{ fontSize: '14px' }}>{cast.actor.displayName}</span> </Link> </div> </div> )) } </div> </> )} </div> </div> </div> <p> <Link to={`${pageContext.listPageUrl}`}>Back to Movies</Link> </p> </Layout> ) } export default MoviePage -
Restart the Gatsby dev server once more, open any movie page and embrace the result:
Going live
So far, we have been accessing draft content. This is indeed useful when developing, or setting up a preview environment. However, for production purposes we need to render the site using published content only.
-
Publish the HMDB site
Visit Content Studio, select the
HMDB`site and choose `Publish treefrom the top right workflow menu. From the dialog, clickPublish Nowto complete the action.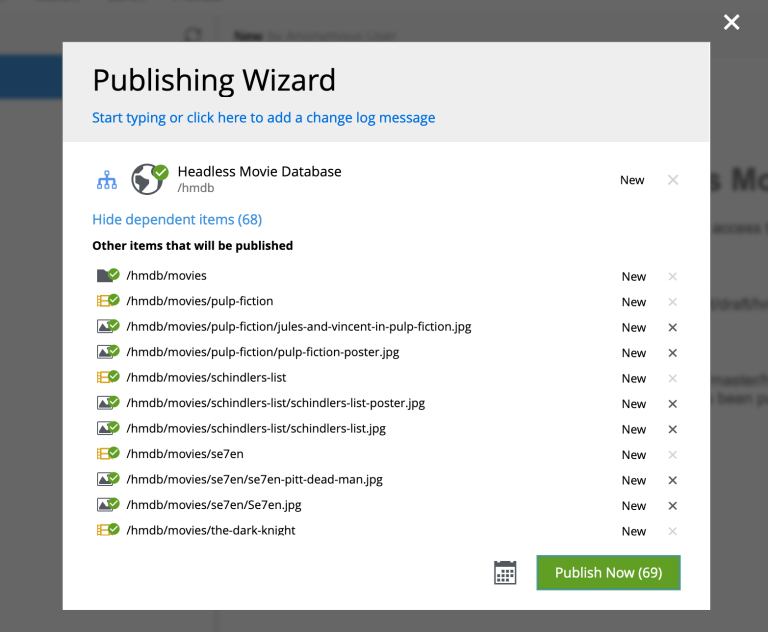
By publishing, your content is "merged" to the
master branch. So far we have only been accessing thedraft branch. -
Verify that both your API and content is live
Visiting the following URL should open the API playground: http://localhost:8080/site/hmdb/draft/hmdb/_graphql
-
Update your plugin configuration to read from master branch.
Update for gatsby-config.js{ resolve: `gatsby-plugin-enonic`, options: { api: 'http://localhost:8080/site/hmdb/master/hmdb/api', refetchInterval: 10, pages: [{ query: require.resolve('./src/queries/getMovies'), list: { url: '/movies', template: require.resolve('./src/templates/list'), title: 'Movies' }, details: { template: require.resolve('./src/templates/movie'), key: 'name', title: 'displayName' } }, { query: require.resolve('./src/queries/getPersons'), list: { url: '/persons', template: require.resolve('./src/templates/list'), title: 'Persons' }, details: { template: require.resolve('./src/templates/person'), key: 'name', title: 'displayName' } }] } } -
Verify the site
Restart Gatsby once more to pickup the new site, and verify that everything is generated like before on http://localhost:8000
-
Finally, test updating and publishing content
Try editing an existing content (updating the draft branch), verify that nothing happes on the Gatsby server.
Publish the content, and Gatsby will re-generate your site with the updated content within a couple of seconds.
Gatsby will only generate new pages when restarted.
Congratulations! You have now built a simple Gatsby site rendering static pages based on content from Enonic XP.
