Setting up Enonic
Contents
In this chapter, we will create an Enonic app based on the Movie DB project and launch a local development environment of the platform.
| For an in-depth tutorial on Enonic, visit the official Enonic Developer 101 guide. |
Enonic at a glance
Our platform is called Enonic XP (XP, or Enonic for short).
Enonic apps
Enonic apps are essentially how you extend and customize the platform. Enonic XP allows you to install and run one or more applications in a single platform instance.
Discover ready to run applications on Enonic Market, or build your own. You will create an app of your own in this tutorial.
An app may provide specific functionality. It may for instance produce everything needed for a large website, or provide smaller specific services, such as an API. An app is given a unique app name when it’s built.
| Useful terminology: A sandbox is a local Enonic development server running on your laptop. Once an app is built, it can be deployed to the sandbox - where it will be started and made available. |
Content
Apps typically ship with one or more content types. Content types typically define data structures, JSON style. Each content type gets a unique name which is automatically pre-fixed with the app-name. e.g. <appName>:<contentTypeName>.
Content types are used to create content items. Content is commonly created and handled via Enonic’s Content Studio. Content may be organised in tree structures, which can be useful both for internal, and external purposes - as you will see in this tutorial.
Each content items has a unique name within it’s path - similar to files and folders in a filesystem. It alsho has a human-friendly displayName.
Content items can exist in two different branches: When creating or editing in Content Studio, you’re always working in the draft branch. When publishing, new items and changes are copied to the master branch.
The Movie Database
With Enonic, you may obviously create your own content model from scratch, but to save time, you’ll be using The Movie Database as a template.
The movie DB ships with a pre-defined content-model, and sample content from the cinematic sphere.
Let’s get going!
Task: Create application from starter
-
Install the Enonic CLI (follow link for instructions).
-
Create a new project using the "The Movie DB" as your template:
Run the following command from your terminal
enonic project create -r app-moviedb
Stick with the standard values and keep the suggested project name com.example.myprojectfor the examples in the tutorial to work properly. This will be referred to as app name later in this tutorial. -
Deploy the application
Run these commands to build and deploy the app:
cd myproject/
enonic project deploy
When asked to create a sandbox (a local developer instance of Enonic XP), just give it a name i.e. next-tutorialand go with the default values.
When the sandbox has started, it outputs some server logs, and the sample content gets imported automatically.
Task: Install Content Studio
| You don’t have to create a user in the Sandbox for this tutorial: |
Navigate to http://localhost:8080/admin and login without creating a user.
-
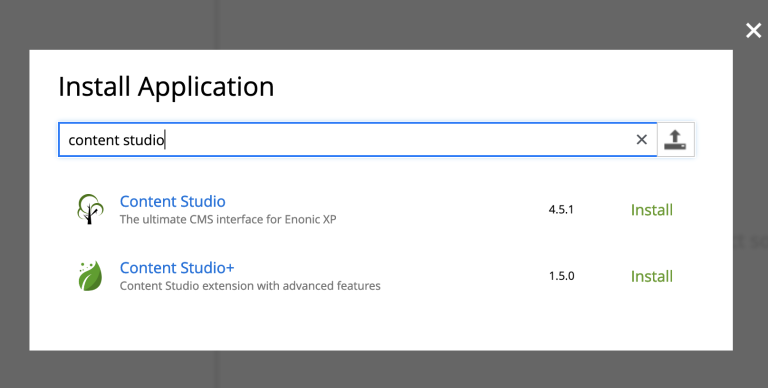
Install Content Studio from the
top right XP menu→Applications→Installand search for "Content Studio".
-
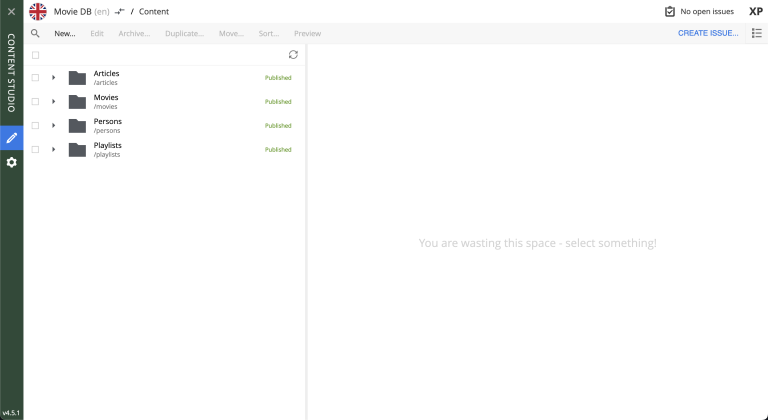
Open Content Studio from
XP menu→Content Studio. Choose theMovie DBproject if asked to select a project. You should now see something like this:
when clicking on the content items, some will have a default preview. That’s okay for now - you’ll customize the preview later.
Congrats on setting up the Enonic development environment
With the SDK running, lets have a look at the API.