Usage
Contents
Follow these steps to start using the ID provider
OIDC server
You will need access to an OIDC server. These are available from a range of different providers like Google, Entra, Auth0 and ID-porten, and you may run your own based on software.
For your respective provider you will typically need to create a Client or application that will represent the Enonic integration. Typical values you will need later from this setup are typically:
-
Client ID
-
Client secret
-
Issuer Identifier (URL)
Installation
On your Enonic server, start by installing the application to your Enonic instance. It is available on Enonic Market.
Configure
Secondly, the application requires a detailed configuration in order to communicate with the 3rd party OIDC server. Create a and tune a configuration file called com.enonic.app.oidcidprovider.cfg and add it to your XP instance.
Full details on how to configure the application is described in the configuration chapter.
You may also find our configuration examples useful.
| Your Enonic ID provider should automatically be created once you add your configuration file |
Manual setup
If you disable autoInit, the ID providers may manually be created by following these steps:
-
From Enonic admin console:
XP menu→Users→New→ID provideradmin tool "Users" -
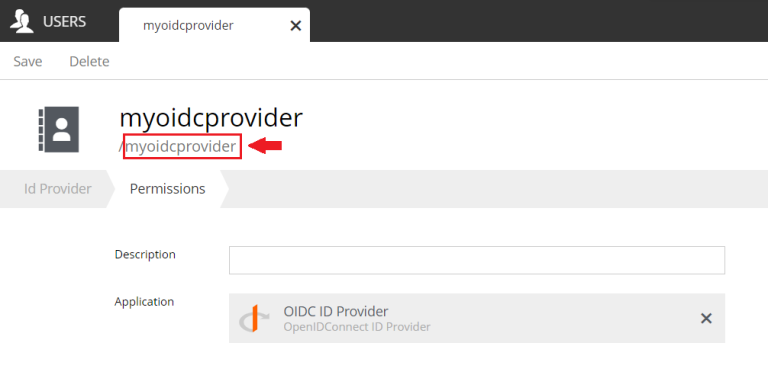
Fill in the
displayNamefield, which generates the ID provider name just below
The ID provider name cannot be changed later, so choose wisely before saving.
-
For the "Application" field, select the "OIDC ID Provider" app you installed earlier.
Mapping
Finally, you will need to map the ID provider to an Enonic ingress/vhost where it will be used - i.e. to enable login for the XP admin console, a website or an API.
Ingress
When using the self-service cloud, simply edit the Ingress, then select the ID provider you created above i.e. myoidcprovider.
Save, and the change should take effect shortly.
Vhost
To manually configure the ID provider on your XP instance, you will need a vhost definition.
Edit the XP configuration file com.enonic.xp.web.vhost.cfg, and map the id provider to your vhost.
(See Virtual Host Configuration for more information).
mapping.example.host = xp.example.com
mapping.example.source = /
mapping.example.target = /admin
mapping.example.idProvider.myoidcprovider = default
myoidcprovider in the example above must match the name you used in the ID provider configuration. |
Redirect/Callback URI
Finally, if you want to use form-based authenticated (aka Authorization Code Flow), End-Users will be redirected back to your Enonic endpoint from the authorization server. For security reasons you will need to register this URL in the configuration of your OIDC providers Client/Application.
The callback URL depends on your Enonic Vhost/Ingress and the name of the ID Provider you want to use. It typically has the following format: [host+sourcepath]/_/idprovider/[idprovidername], where idprovidername must match the ID provider registered in Enonic XP.
- Example for a site
- Example for admin