Creating a Google Kubernetes Engine (GKE) cluster
Contents
Instructions on setting up a managed k8s cluster on the Google Cloud Platform
Prerequisites
You will need the following:
- A Google account and project
-
Log in to GCP, and select or create a
Projectwhere you will create the k8s cluster. - Gcloud
-
The Google Cloud CLI. Visit https://cloud.google.com/sdk/docs/install for instructions to install.
- Kubectl
-
The Kubernetes command-line tool, kubectl, allows you to run commands against Kubernetes clusters. Download it from Kubernetes.io.
Create a GKE Cluster
-
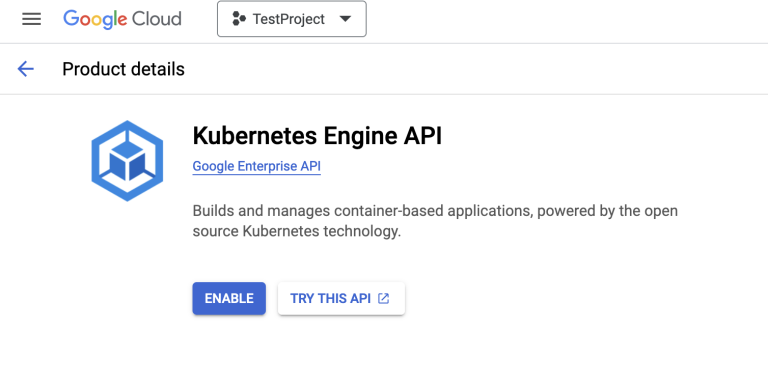
Enable the Kubernetes Engine API
If the kubernetes engine API is not enabled for your GCP project, you need to enable it from the GCP console

The XP Operator does not support Autopilot clusters, so we will need to create the cluster from command line. -
Connect gcloud to your project
gcloud auth login
gcloud config set project <PROJECT_ID>
-
Create the cluster
Run the following command:
gcloud container clusters create mygkecluster \
    --release-channel regular \
    --zone europe-north1-c \
    --node-locations europe-north1-c,
This will create a cluster called
mygkeclusterin the europe-north1 region, using zone c. For more details check out Googles own docs.
Connect kubectl
Once the k8s cluster is created, you can test connecting to it
-
From the Cluster details page in the Google console, click Connect on the top of the page. This shows you the gcloud command you can use to connect to the k8s cluster from your computer. It should look something like this:
gcloud container clusters get-credentials mygkecluster --zone europe-north1-c --project <PROJECT_ID>
-
Copy and run the gcloud command.
If the output says
kubeconfig entry generated for mygkecluster, you are good to go. -
To verify your access to the k8s cluster run the command
kubectl get namespacesThis should display the list of namespaces in the newly created k8s cluster. The "Age" column in the output shows how long has it been since the namespaces are created.
Node pool
The cluster is created with a default node pool, using VMs (nodes) that are not suitable for running XP.
-
To fix this, simply create a new node pool:
gcloud container node-pools create custom-pool \
  --cluster=mygkecluster\
  --machine-type=n2-standard-4 \
  --num-nodes=1 \
  --enable-autoscaling \
  --min-nodes=1 --max-nodes=10 \
  --zone=europe-north1-c
The new pool is based on 4vCPU VMs, suitable for production grade deployments of Enonic XP.
-
When done, you may delete the old node pool:
gcloud container node-pools delete default-pool \
  --cluster=mygkecluster\
  --zone=europe-north1-c
These operation can also be done directly from the Cloud console UI.
Storage classes
XP will require specific storage classes in order to work properly. List the available storage classes using the following command:
kubectl get storageclassesOutput should look something like this:
NAME                     PROVISIONER             RECLAIMPOLICY   VOLUMEBINDINGMODE      ALLOWVOLUMEEXPANSION   AGE
premium-rwo              pd.csi.storage.gke.io   Delete          WaitForFirstConsumer   true                   89m
standard                 kubernetes.io/gce-pd    Delete          Immediate              true                   89m
standard-rwo (default)   pd.csi.storage.gke.io   Delete          WaitForFirstConsumer   true                   89m
We recommend using standard-rwo or premium-rwo when deploying XP. |
Shared storage
If you plan to run XP clusters, you will also need a ReadWriteMany (RWM) storage class.
A cost effective solution is to deploy an NFS server in your cluster. Google also offers a managed RWM via the Filestore CSI driver. For more details, visit the storage chapter.
Install operator
You are now ready to install the XP operator and start deploying XP instances.