Setting up the development sandbox
Contents
Install the CLI and create a development sandbox.
Install CLI
The Enonic CLI manages sandboxes, projects and deployments.
If you have npm on your device, run this command:
npm install -g @enonic/cli
If not, here are some alternative ways to install Enonic CLI.
To verify that the CLI has been installed, run enonic -v. This should output the version of your installed CLI.
To see all available options, simply run enonic.
To upgrade, use enonic latest. If there are new versions you will see instructions on how to upgrade. |
Create a sandbox
A sandbox is a local development instance of the platform — Enonic XP. Create and start a sandbox called mysandbox by running this command in your terminal:
enonic sandbox create mysandbox -t essentials -f
The -f flag accepts the default answer to every prompt, which selects the most recent release of Enonic XP and starts the sandbox. |
Sandbox admin
Let’s have a look at the sandbox’s web interface — also known as XP admin. Open http://localhost:8080 in your browser (or just click the link).
You should now see the XP boot page:
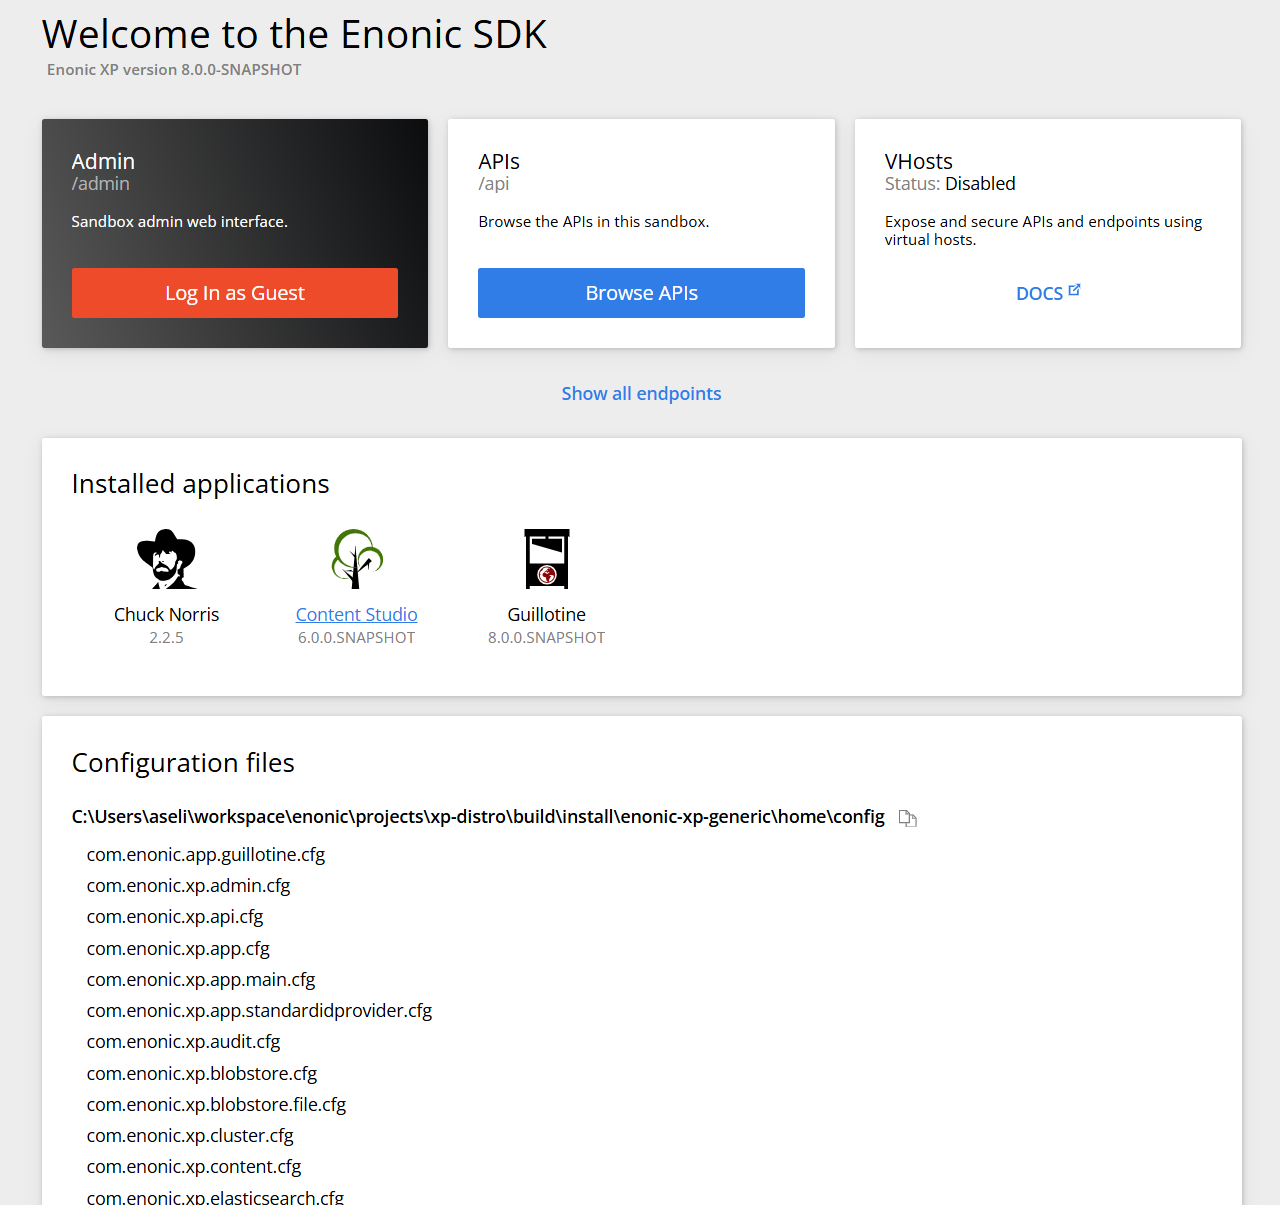
The boot page provides an overview of the sandbox, including installed applications, as well as the standard configuration files.
Click Log In as Guest to open the XP admin dashboard to see if everything is working.
Coming up
Next you’ll create an Enonic application.