Custom pages
Contents
By defining a page component, editors may start composing pages using pre-defined components.
Set up page rendering
Content types are required before an editor can create content. Similarly, pages components must be defined before they can create pages.
-
Add the component files:
/src/main/resources/react4xp/components/page/Page.tsximport {Region, ComponentProps, PageData} from '@enonic/react-components'; import React from 'react' export const Page = ({component, meta}: ComponentProps<PageData>) => { return ( <Region data={component.regions.main.components} meta={meta} name="main"/> ); };/src/main/resources/react4xp/components/page/Page.module.css.page { padding-bottom: 0; margin-bottom: 0; display: flow-root; } -
Update the componentRegistry
/src/main/resources/componentRegistry.tsximport {Page} from '/react4xp/components/page/Page'; import {ComponentRegistry} from '@enonic/react-components'; //import {Hello} from './components/hello/Hello'; import {Person} from './components/content/Person'; import {Factbox} from './components/macro/FactBox'; export const componentRegistry = new ComponentRegistry(); //componentRegistry.addContentType('portal:site', {View: Hello}); componentRegistry.addContentType('com.enonic.app.hmdb:person', {View: Person}); componentRegistry.addMacro('factbox', {View: Factbox}); componentRegistry.addPage('com.enonic.app.hmdb:main', {View: Page});Here we also disabled the "Hello" component, as it is no longer needed. -
Disable the HelloProcessor as well:
Your dataFetcher should now look like this:
/src/main/resources/react4xp/dataFetcher.tsimport {DataFetcher} from '/lib/enonic/react4xp'; import {commonProcessor} from '/react4xp/components/common/CommonProcessor'; //import {helloProcessor} from './components/hello/HelloProcessor'; import {personProcessor} from './components/content/PersonProcessor'; import {factboxProcessor} from "./components/macro/FactboxProcessor"; export const dataFetcher = new DataFetcher(); //dataFetcher.addContentType('portal:site', {processor: helloProcessor}); dataFetcher.addCommon({processor: commonProcessor}); dataFetcher.addContentType('com.enonic.app.hmdb:person', {processor: personProcessor}); dataFetcher.addMacro('factbox', {processor: factboxProcessor});
Defining a paragraph part
The HMDB dataset already contains sample content with pages. By selecting the front-page in Content Studio, you should immediately see something like this:
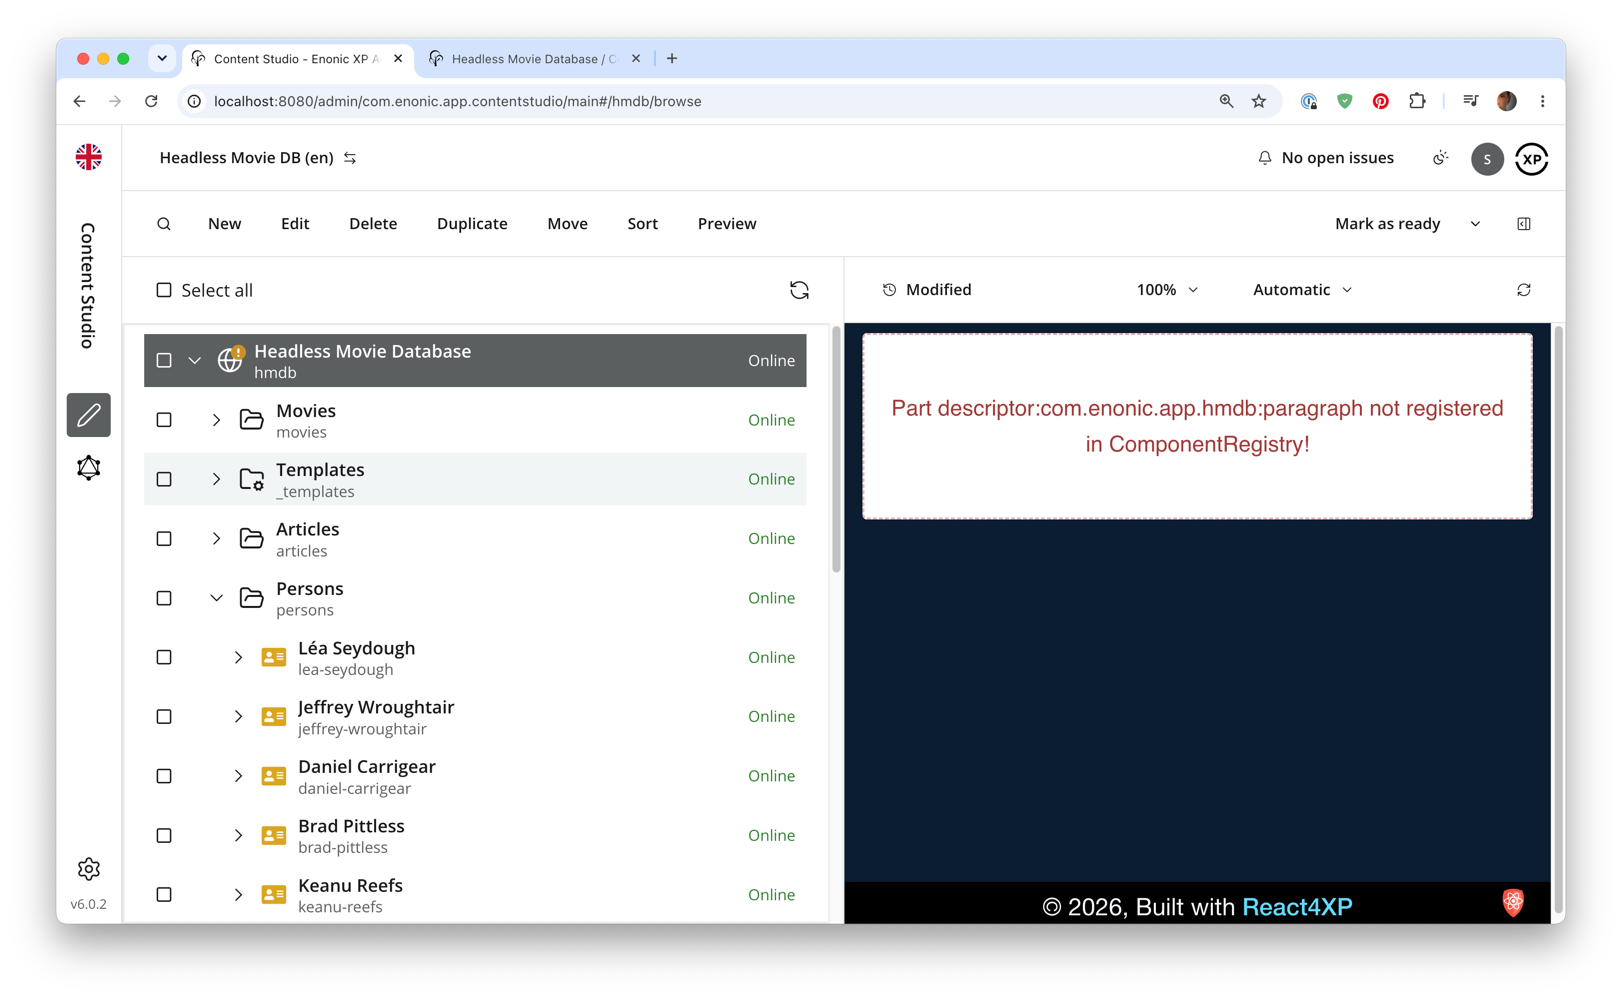
That means that the page is now working, and contains a single component, the Paragraph part that we need to define too.
| Deeper dive into parts and components will be covered in the next chapter. |
-
Create the part implementation
src/react4xp/components/parts/Paragraph.tsximport React from 'react'; import {ComponentProps, RichText, PartData, RichTextData} from '@enonic/react-components'; export const Paragraph = (props: ComponentProps<PartData>) => { return ( <RichText data={props.data.text as RichTextData} component={props.component} meta={props.meta}/> ); };The
RichTextcomponent (from the @enonic/react-components) takes care of resolving links, sizing images and rendering macros. -
Register the part by adding following line to the componentRegistry file:
/src/main/resources/componentRegistry.tsximport {Paragraph} from '/react4xp/components/parts/Paragraph'; ... export const componentRegistry = new ComponentRegistry(); ... componentRegistry.addPart('com.enonic.app.hmdb:paragraph', {View: Paragraph}); -
Create the ParagraphProcessor:
/src/main/resources/react4xp/components/parts/ParagraphProcessor.tsimport {PartComponent} from '@enonic-types/core'; import type {ComponentProcessor} from '@enonic-types/lib-react4xp/DataFetcher'; import {processHtml} from '/lib/enonic/react4xp'; export const paragraphProcessor: ComponentProcessor<'com.enonic.app.hmdb:paragraph'> = (params) => { const component = params.component as PartComponent; const text = component.config?.text as string; return { text: text ? processHtml({ value: text, imageWidths: [200, 400, 800], dataFetcher: params.dataFetcher, component: params.component }) : '', }; }; -
Register its dataFetcher by adding following lines to the dataFetcher file:
/src/main/resources/react4xp/dataFetcher.tsimport {paragraphProcessor} from '/react4xp/components/parts/ParagraphProcessor'; ... export const dataFetcher = new DataFetcher(); ... dataFetcher.addPart('com.enonic.app.hmdb:paragraph', {processor: paragraphProcessor});
If you edit the front page now, you will see a page with a region main, containing a single Paragraph part component.
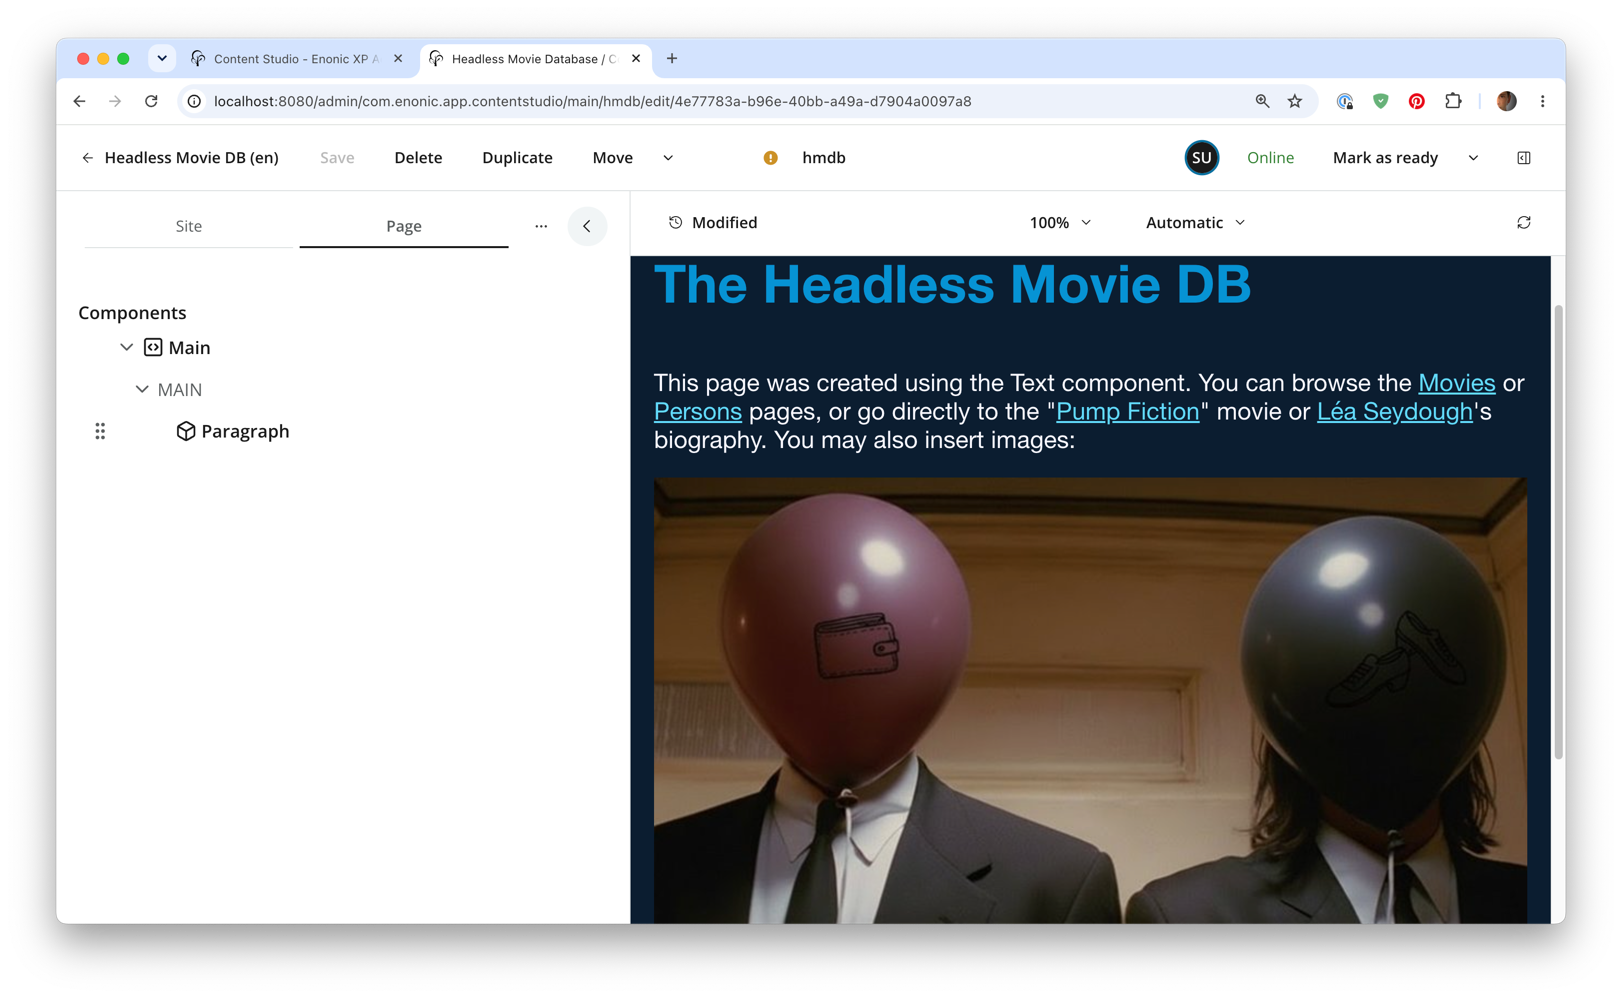
Custom components
Pages also support custom components. Try selecting the Movies page, and you will see that some components are not rendering properly. Content Studio has a built-in fallback handling for these, so you can interact with them, even if they are not yet rendering.
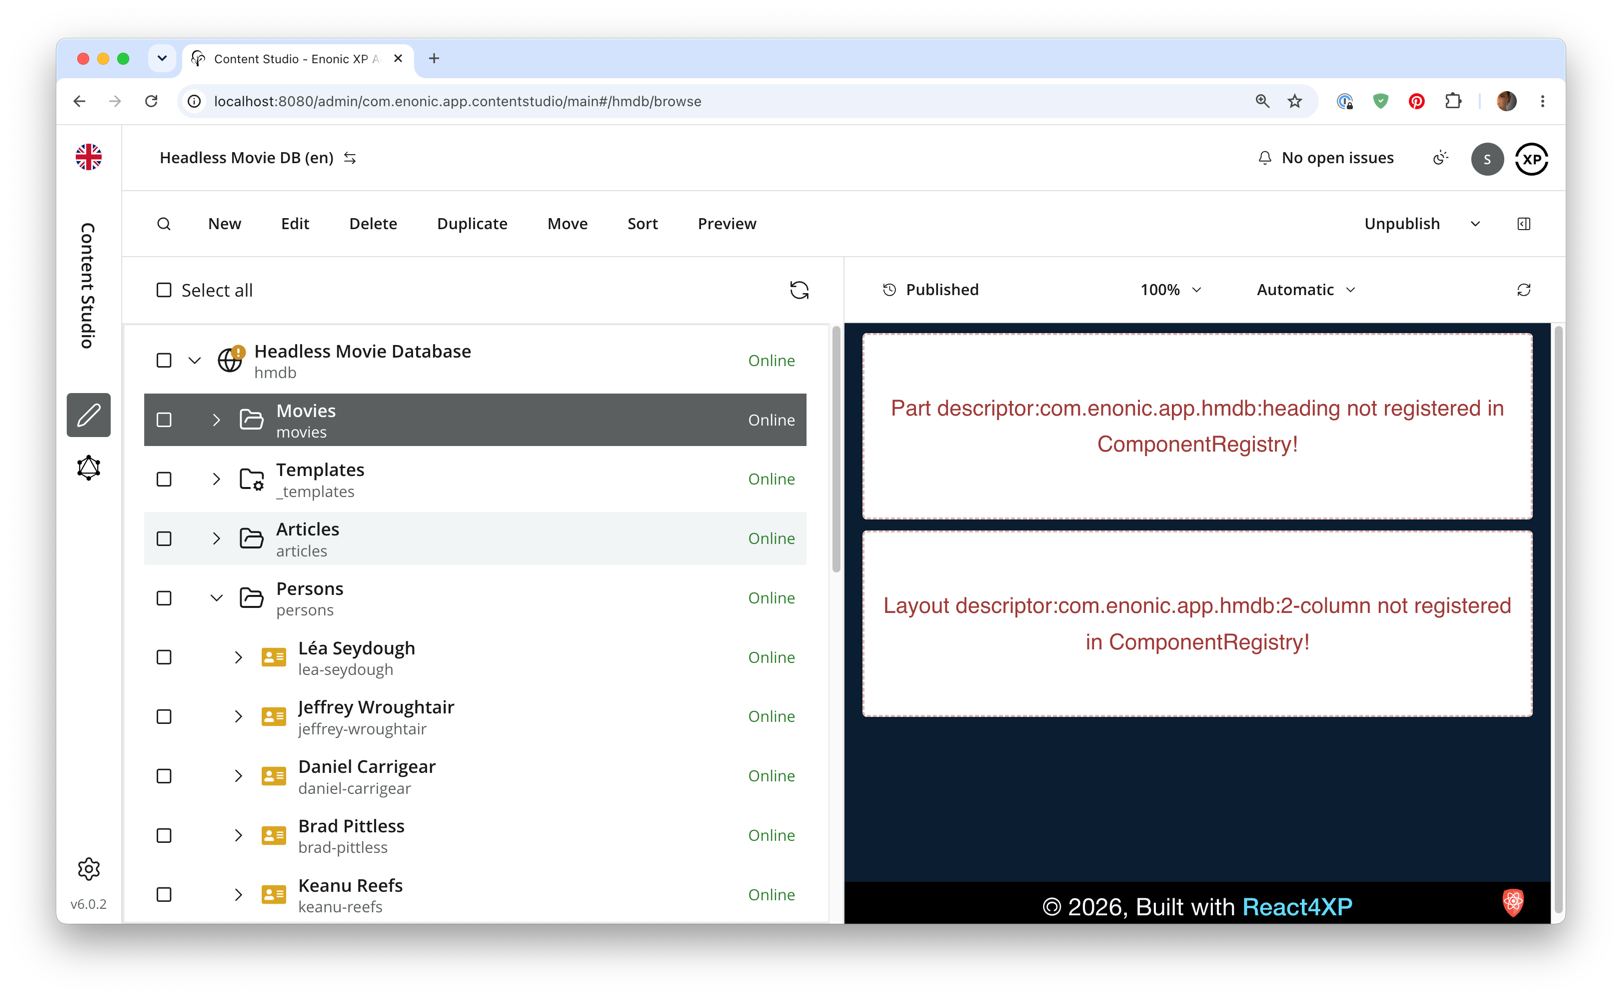
We’ll start dealing with this in the parts chapter.