Usage
Contents
How to install and enable Booster on your site
1. Install
Booster is available on Enonic Market.
Install via XP menu → Applications → Install button, or via the Cloud Console.
2. Add to site
Next, edit the site where you wish to activate Booster, and add Booster to the list of site applications.
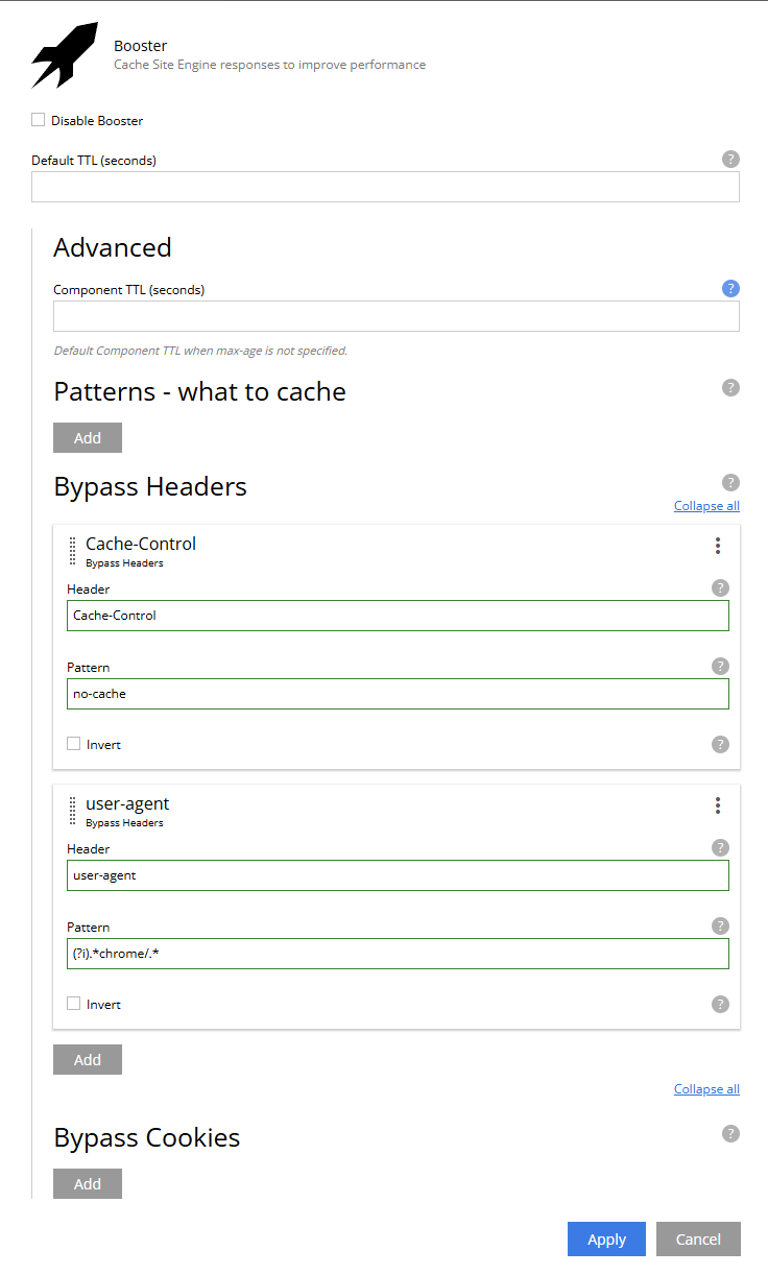
Optionally configure the application by setting Time To Live and exclude patterns
| Remember to publish the site after adding Booster for changes to take effect. |
3. Add License
Unlike most Enonic apps, Booster requires a valid Enonic subscription to work. In Content Studio, open the Booster context panel and upload your license file - if it was not already installed.
| Contact us for a trial license, or for activating a subscription. |
4. Verify
With a licensed version of Booster deployed to your site, it is time to verify that it is working properly.
Beyond experiencing much faster pages, the best way of validating that Booster is working proerly is by looking at the HTTP response headers (using your browser’s dev tools, or by using cURL commandline utility)
You should see the Cache-Status header, and it should contain Booster; as one of its values.
For more details, visit the How it works chapter
5. Cache Invalidation
Booster will automatically invalidate cache for common scenarios like publishing and changes to applications, there are however two other ways you may clear the cache:
Manually
Clear cache for an entire content project by using the Booster context panel, available in Content Studio.
One of the roles CMS Admin, Project Owner or System Admin is required to access to this widget. NOTE: Manual cache purge requests are recorded in the audit log with purge scope details. |

You may verify that the cache was cleared by checking the Cache-Status header. |
Programmatically
Sometimes you may wish to clear the Booster cache based on other changes. This can be done by invoking the Booster API tasks invalidate or purge-all.
Visit the API chapter for more details.