Setting up Next.js
Contents
In this chapter we will create a front-end application that renders pages based on content in the CMS.
Next.js at a glance
Next.js runs on top of Node.js, and provides a shrink-wrapped approach to building sites using the React framework). Next.js supports both client-side rendering and Server side rendering, as well as pre-generation of static HTML files.
Task: Create the Next.js project
From an empty folder, run the following command:
npx degit git@github.com:enonic/nextxp-template.gitThe "nextxp-template" is based on Next.js' own introduction app, so if you’re familiar with that, you’ll recognize the structure of the files.
The template includes some boilerplate we will customize, and a npm dependency aka ´The Enonic Adapter` that facilitates and simplifies integration with Enonic.
Code overview
The following file structure should now exist within your new project folder:
.env (1)
src/
    components/ (2)
    pages/
        [[...contentPath]].tsx (3)
        _app.tsx (4)
        _document.tsx (5)
        _renderable.tsx
        api/ (6)
            revalidate.ts
preview.ts| 1 | Environment variables are placed in this file |
| 2 | Contains your implementation of CMS components |
| 3 | The fallback next.js router. Enables dynamic rendering based on content in the CMS. File name is not a typo, but Next.js syntax that makes it catch all HTTP requests. |
| 4 | Invoked on every request. Add common structures here (eg. <head> etc), but be careful not to remove functionality needed by Content Studio |
| 5 | Vanilla Next.js file that outlines the basic document structure of all pages. |
| 6 | These files support preview mode and regeneration of cached pages |
Task: Configure application
By default, the configuration should work for your setup, but have a look to be sure:
-
Verify your configuration
The following configuration values should match your environment
.env extract:# Provide a unique value which will be used to secure the preview mode API_TOKEN=mySecretKey # Enonic app name, must match the name of your app APP_NAME=com.example.myproject # Path to site, or site ID SITE_KEY=/hmdb # Absolute URL to Content API CONTENT_API_DRAFT=http://127.0.0.1:8080/site/moviedb/draft CONTENT_API_MASTER=http://127.0.0.1:8080/site/moviedb/master
| The configuration values can be overridden later when deplying your app to a live server. |
Task: Boot the server
Let’s fire up Next and see if things are working as planned…
| Make sure Enonic XP and the Movie DB app is running on localhost:8080 before you continue |
Start Next.js in dev mode by running the following commands from within your next project folder:
npm install
npm run dev
If Next boots without errors, point your browser to http://localhost:3000 to see the glorious result.

|
Running Next in For more details on booting Next, check out the Next.js CLI docs. |
Next URL patterns
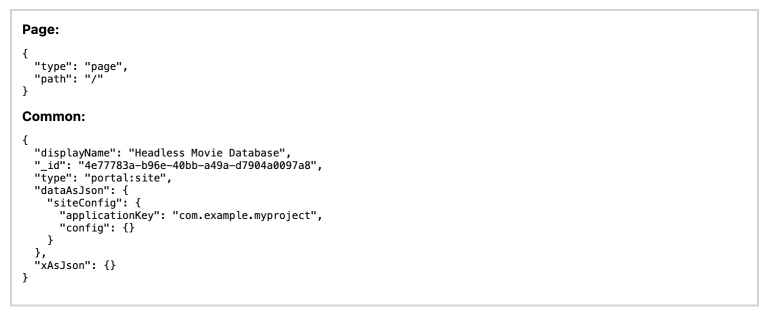
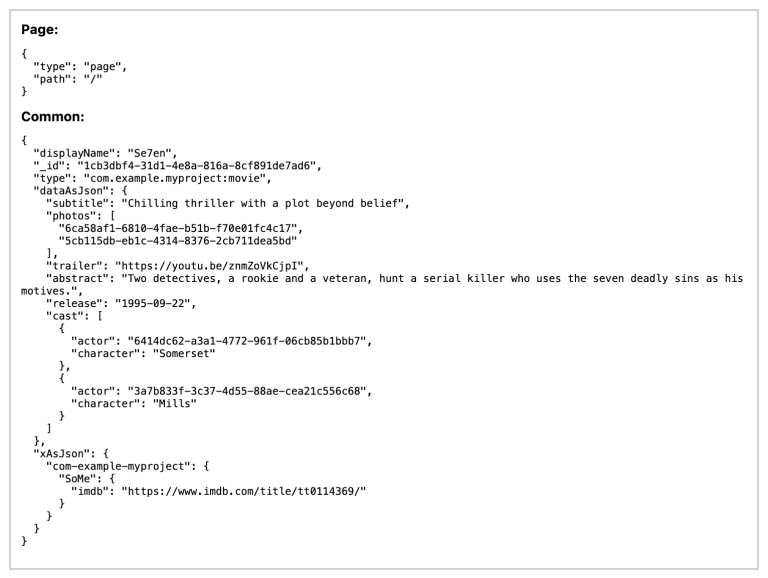
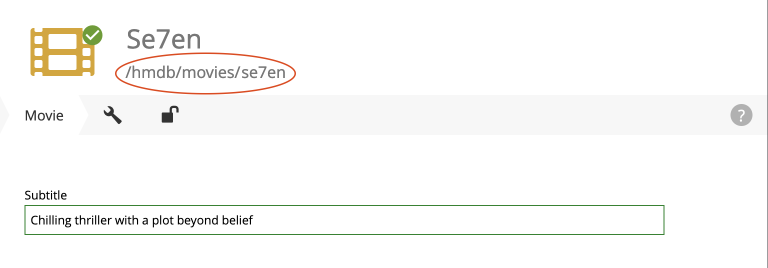
The URL structure of your front-end will mirror the structure of the content in the CMS. http://localhost:3000/ will be mounted to the site root, which in our case has the internal path /hmdb.
Using the Movie Se7en as an example:

/hmdb/movies/se7en

Task: Visit some more pages
Give the default rendering a spin by trying out some other URLs, for example:
…etc.
That’s it for the basic Next.js setup.
Next, well have a closer look at how to customize the rendering.