Next.XP TL;DR
Contents
tl;dr
Want to learn what is really happening? Head on to the first chapter of the tutorial instead.
1. Setup Enonic
-
Sign up for a free Enonic account: on https://enonic.com/sign-up
-
After logging in to your account, create a new solution from
Solutions → Create → Next.XP Demo. This will install all required Enonic apps and setup the routes needed. -
From your new solution, click
Environments- Notice the URL to theAPIroute, you will need it later.Visiting the API link will give you a 404 page, because the GraphQL APIs are located on /draft and /master respectively. Also, GraphQL communicates via HTTP POSTrather thanGET.
2. Create Git repo
To deploy an app on Vercel (the Next.js hosting provider), Vercel will need access to a Git repo with the app code, where you have write access.
Vercel uses this access to automatically fetch and build the app based on events. The write permission is used to setup the required webhooks etc in Github.
-
Clone or fork https://github.com/enonic/nextxp-demo/ to your personal Github/Bitbucket/Gitlab account.
If you are using Github, simply press the Forkbutton at the top right.
3. Deploy the Next.js front-end
Vercel are the makers of Next.js, and you’ll be using their service to host the front-end.
-
Sign up to Vercel: https://vercel.com/
-
Create a new project i.e.
enonic-demo, and follow the steps to connect it to the Git repo you created in step 2. -
Add environment variables telling the app where to find the API endpoints, as well as a secret you will need to access preview mode in a later step.
- KEY:VALUE
-
CONTENT_API_DRAFT:<API URL>/draft
- KEY:VALUE
-
CONTENT_API_MASTER:<API URL>/master
- KEY:VALUE
-
API_TOKEN:mySecretKey
-
After deploying, the Vercel app should render the front page:
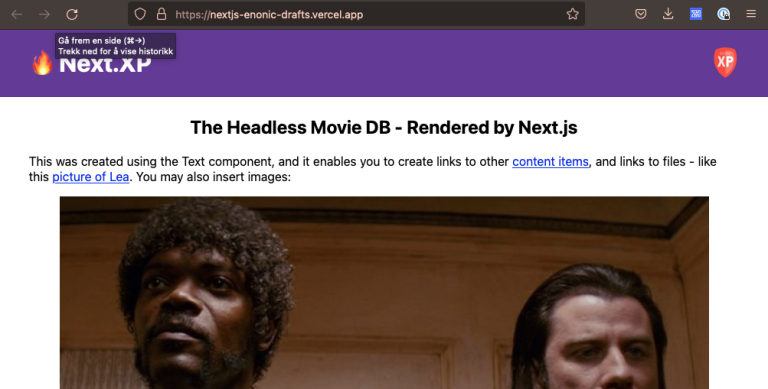
Make a note of the application URL, you will need it when setting up the preview later.
Check the Vercel function logs if you are not getting the expected result.
4. Activate preview
With the front-end running, it is time to enable preview in Content Studio.
The fastest way to try it out goes as follows:
-
Launch Enonic XP admin from the solution dashboard.
-
Open Content Studio from the top right
XP menu → Content Studio. -
Choose the
Headless Movie DBproject, then click the root item in the tree structure/hmdband clickEdit.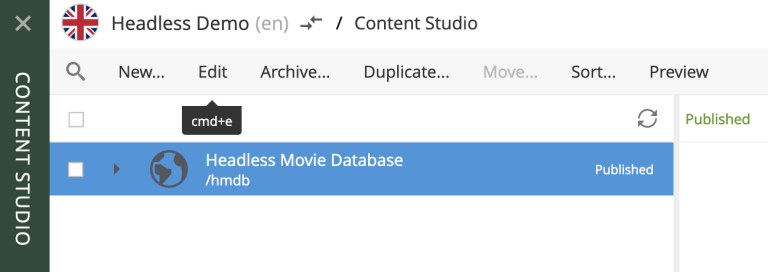
-
Add the
Next.XPapp to the list of applications on the site. It will override the default preview for the content within the site.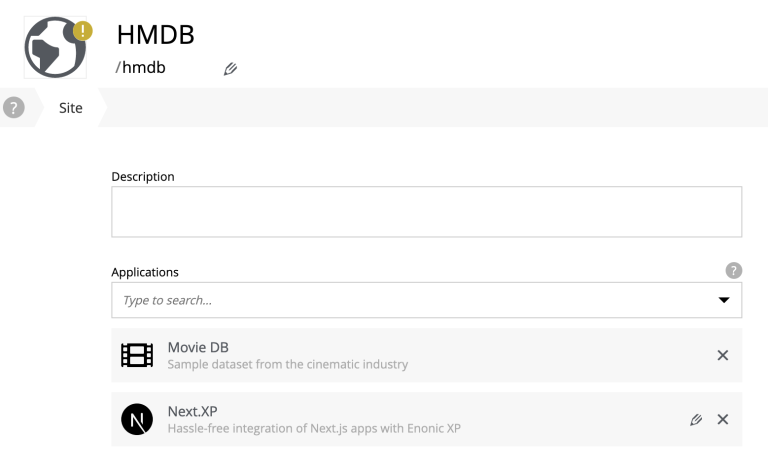
-
Finally, and edit the Next.XP app configuration by clicking the pencil icon. Make sure it matches the URL to your Vercel site, and uses the correct token.
Savethe changes.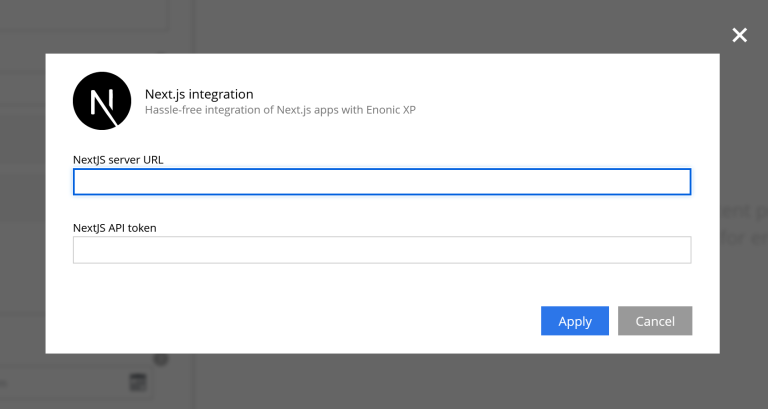
-
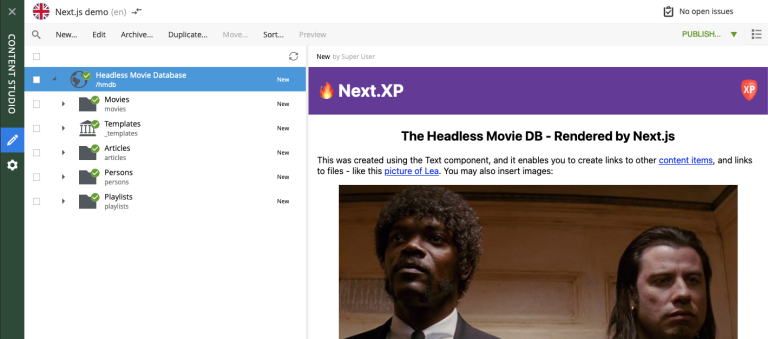
After saving, the preview should update to show your front-end.
|
For production use, we recommend moving the configuration to the solution console - as described here. |
How does it work?
The Next.XP app acts as a proxy, and forwards the token from the configuration to activate Next.js' preview mode.
Your edits will only be visible in Content Studio, until published.
When publishing changes, Next.XP will automatically trigger revalidation of all pages in the front-end, and the changes will go live.
Congratulations, you now have a Next.js site powered by Enonic! 🚀