Content Studio preview
Contents
In this chapter, you’ll enable Content Studio to load the preview directly from the Next.js app.
Task: Enable preview
Install and configure the Next.XP app on your site.
-
Install the NextJS integration app:
From
XP menu→Applications→Installand search forNext.XP -
Activate the preview
In Content Studio, select the
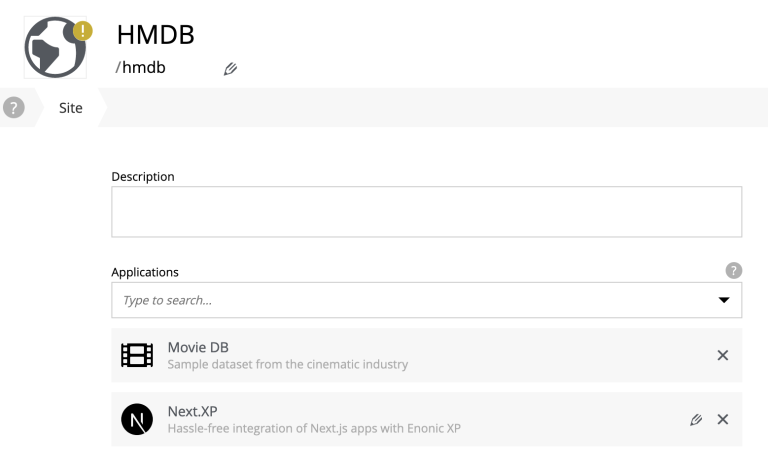
HMDBsite and clickEdit.Add the Next.XP app to the site by selecting it in the applications combobox.

Configure the
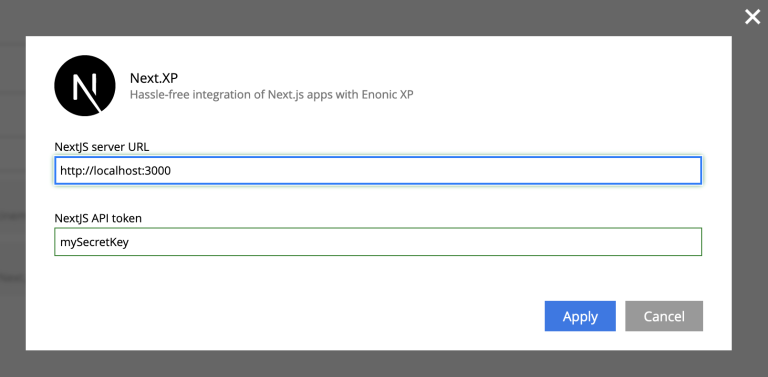
Next.XPapp by clicking the pencil icon. Use the same values that were configured in the Next.js front-end:-
mySecretKey.
-
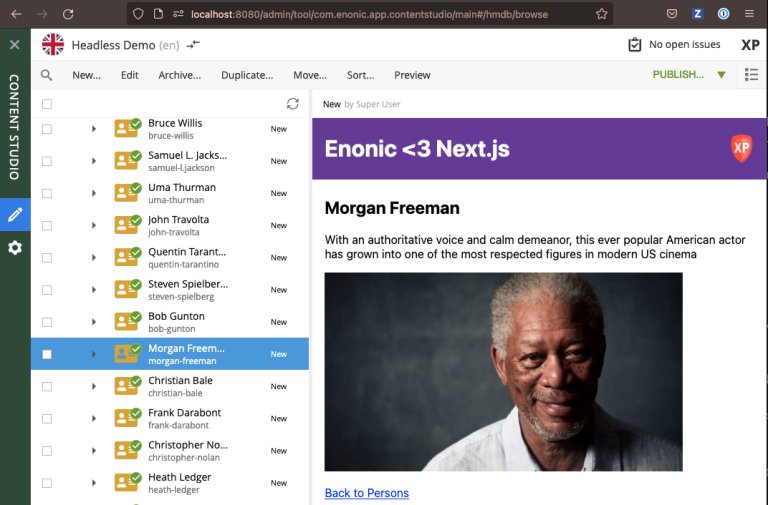
After applying and saving the changes, you should be able to see the live preview in Content Studio.

How does it work?
There are several aspects that come into play for the preview to work seamlessly, and still remain secure.
The following aspects need to be handled:
-
Next.js preview mode must be activated
-
API queries from Next.js must have access to the draft content
-
Permissions must be limited to the current editorial user
-
Links in the Next.js response must be processed to work properly in Content Studio

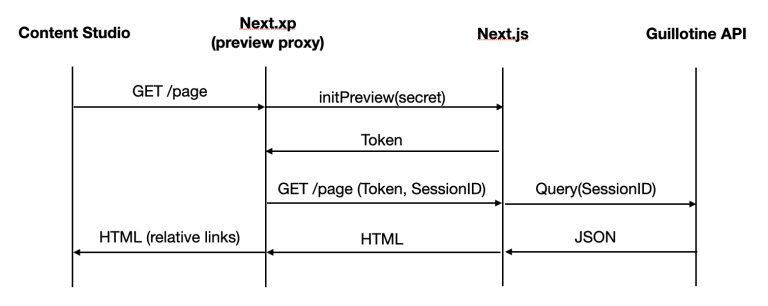
As you can see from the above flowchart, Next.XP acts as a proxy, but it is also assisted by the Enonic Adapter which exists inside the Next.js project
Link handling
Content Studio internally uses a set of different relative URLs to handle preview. These are: /preview, /inline and /edit.
Next.js on the other hand will use a single basepath, typically / for the site. As Next.js does not support dynamically changing the basepath, the getUrl() function that was mentioned earlier needs to be used in the Next.js project. This will take care of all links controlled by the developer’s code.
Additionally, Next.js will "hardcode" links to various static assets and code, which cannot be handled by getURL(). These remaining URLs are the automatically processed by the Next.XP proxy before the result can be seen in Content Studio.
That completes the preview setup, moving forward, we’ll make it possible to create pages editorially.