Sites
Contents
In this chapter, you’ll build a tree structure of your content, with a site item at the root + learn about a handy trick for the GraphQL API.
Introduction
Next.XP is built to provide complete control over a website, including landing pages and the URL structure. For this use-case, Content Studio’s tree structure will come in handy.
Task: Creating the site
Next.XP needs a root content item. This item will act as the front-page of your site.
| Before you continue, clear all selections in the Content Studio list view (this way the site content will be placed on the project root). |
-
Create a new item by clicking
Newin Content Studio toolbar, then select theSitecontent type. This will open the content editor in a new tab. -
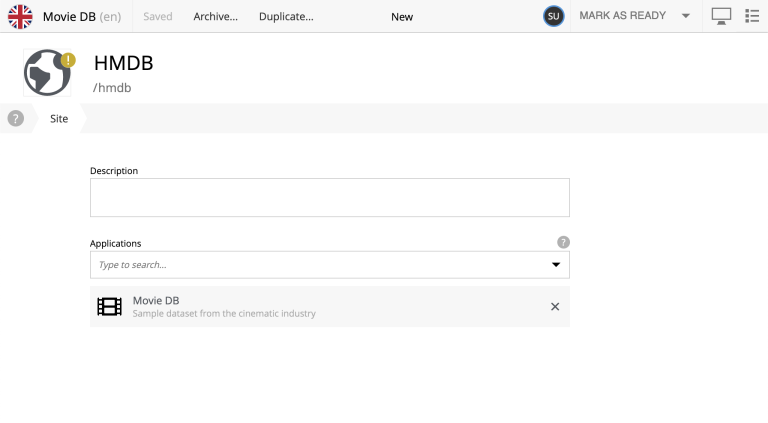
Give the site a name by filling in a display name for the site, "HMDB" (short for Headless Movie DB) will do fine.
If you choose a different name, make sure the site path name (seen below the Display name) is set to hmdb- as this will be used throughout the tutorial. -
Add the Movie DB app to the site - by selecting it in the
Applicationsform field.Sites acts as scopes in the content structure. By adding an app to the site, you effectively allow editors to create content based on the app within this scope. 
When completed, your form should look something like this, and you can now press
Savein the toolbar.This will leave the item in In progressstate, which is ok for now.
Add content
To quickly get some content and structure within the site, let’s move the Movie DB content into the site.
-
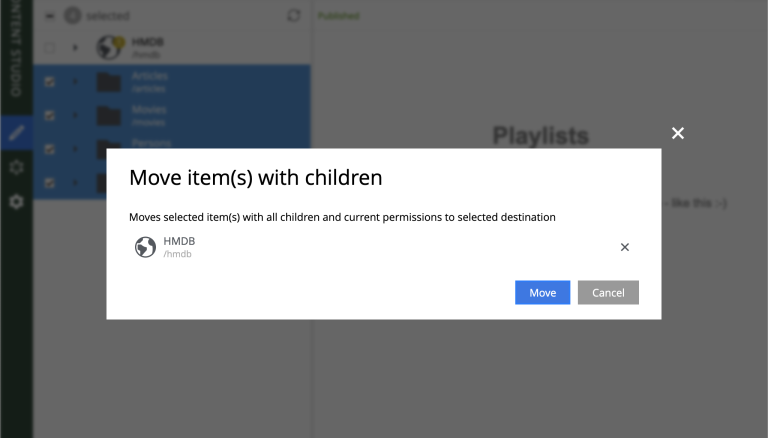
Select the folders in the list, and click
Movefrom the toolbar. -
Selecting the
HMDBsite as the target and clickMoveonce more.
-
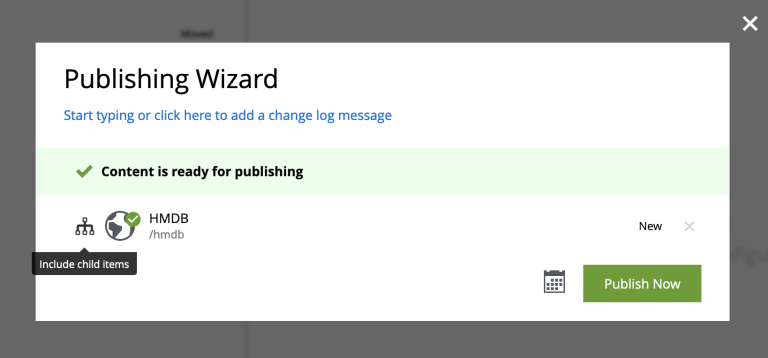
Wrap up by publishing the changes. Select the site (root item) in the tree structure, and click
Mark as ready…in the top right action button. This will bring up the Publishing Wizard.
-
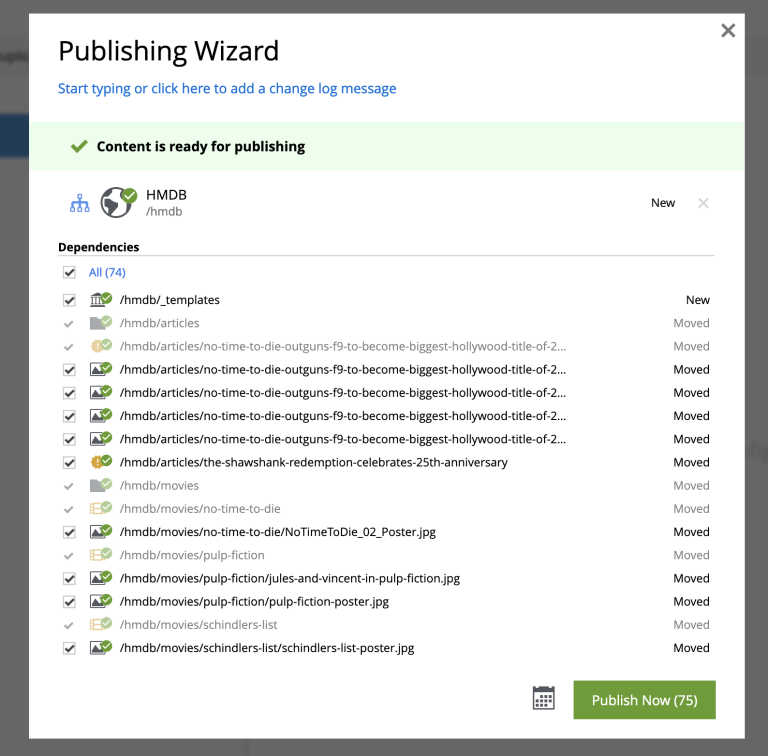
To publish the entire new tree structure select the hierarchy icon to the left of the site. This will expand to include all items that have been moved as well. Then click
Publish Now
Sweet, you should now have a site with content and a basic tree structure.
Task: Site contextual queries
In GraphQL queries, you may use a so-called "site context". This is activated by passing an HTTP header along with the query.
-
Specify header
Back in Query Playground, open the
Request Headerspanel at the bottom, and add the following configuration:Configure HTTP headers{ "X-Guillotine-SiteKey": "/hmdb" }SiteKey can be either path, or the site’s unique ID. A benefit of using the ID is that you can change the name and path of the site, without affecting your queries. -
Run a query with the site context
One of the new features you get from the site context is the
${site}placeholder, which can be used in paths. Update your Query Variables as follows, and run the movie query from the previous chapter once more:
{
    "path": "${site}/movies/se7en"
}
Here, ${site} will resolve to the path of the site and expand - in this case the full path will be expanded to /hmdb/movies/se7en. |
Coming up - get your your Next.js developer environment up and running.