Set up Enonic
Contents
In this chapter, you will launch an Enonic instance that contains a dataset your React application is going to use.
You can choose between two options:
Alternative 1 - Free Cloud instance
Follow these steps to get your Cloud service up and running:
-
Sign up to Enonic’s Free Plan account, and verify your e-mail
-
Log in, and create your account
-
Create a solution
Choose the template called
Intro, thenFree plan, give it a suitable name, and complete the setup. -
Once the solution has started, click the
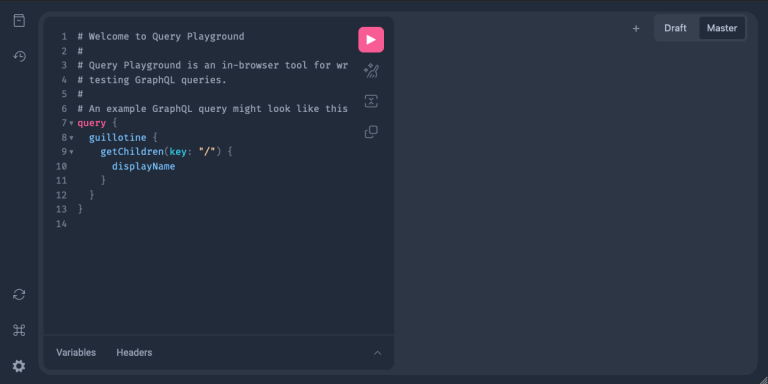
Headless APIingress link, this will launch Query Playground in your browser.
Continue in the Test API section.
Alternative 2 - Enonic SDK
Follow the instructions below to launch a local developer instance of Enonic:
-
If you haven’t installed Enonic CLI already, start by running the following command:
npm install -g @enonic/cliMore installation methods along with CLI documentation can be found here -
Create sandbox
Create a new sandbox (a developer instance of Enonic XP) by running the following command:
enonic sandbox create react_tutorial -t intro -fThis will create a sandbox named
react-tutorialusing latest Enonic XP distribution and start it.The -t introflag tells the CLI to provision a set of standard Enonic apps, including sample content you will use later in this tutorial.You are now ready to test that the API is working:
-
Open Query Playground by pointing your browser to http://localhost:8080/site/intro and continue below.
Test the API
If you followed the instructions above, you should now see the Query Playground in your browser.
Paste and run the query below:
query PersonListQuery {
    guillotine {
        queryDsl(
            first: 3
            query: {
                term: {
                    field: "type",
                    value: {
                        string: "com.enonic.app.intro:person"
                    }
                }
            }
            sort: {
                field: "modifiedTime",
                direction: DESC
            }
        ) {
            _id
            _name
            displayName
            type
        }
    }
}
This should produce a result looking something like this:
{
  "data": {
    "guillotine": {
      "queryDsl": [
        {
          "_id": "a8b374a2-c532-45eb-9aa1-73d1c37cd681",
          "_name": "lea-seydoux",
          "displayName": "Léa Seydoux",
          "type": "com.enonic.app.intro:person"
        },
        {
          "_id": "569d127d-b6bd-45d6-94b0-949ec6171336",
          "_name": "jeffrey-wright",
          "displayName": "Jeffrey Wright",
          "type": "com.enonic.app.intro:person"
        },
        {
          "_id": "f29ba9b7-a73a-4767-82db-9da4df952924",
          "_name": "daniel-craig",
          "displayName": "Daniel Craig",
          "type": "com.enonic.app.intro:person"
        }
      ]
    }
  }
}
Next step
In the next chapter you will create a React application which will fetch data from the Enonic sandbox we’ve just created, using GraphQL queries.
