Custom pages
Contents
So far, rendering has been based on hardcoded mappings made by the developer. In this chapter we will enable editors to compose their own pages.
Task: Disable debug view
For every page you select, the debug view keeps appearing - even in Content Studio. Disable this by following the steps below.
-
Comment out the
CATCH_ALLdebug view at the bottom of your mappings file - like this:src/components/_mappings.ts... /* // Debug ComponentRegistry.addContentType(CATCH_ALL, { view: PropsView }); */ -
Verify that pages are no longer rendering json body by visiting your site on
http://localhost:3000.The same will now apply to Content Studio.
Task: Setup page rendering
Content types need to exist in Enonic before an editor can create content. Similarly, page components must be defined before Content Studio can enable editors to create pages.
-
Verify Enonic app (not the Next.js frontend) has a page component descriptor at:
src/main/resources/cms/pages/main/main.yamlkind: "Page" title: "Main" description: "Contains a single main region" form: [ ] regions: - "main"The definition of the region main, allows Content Studio editors to add components to the page, as you will see later.Redeploy the Enonic app to register the page component if it didn’t have it (happens automatically if you started
enonic project dev). -
Configure page rendering in Next.js
Rendering a page is similar to rendering a content type. Go to the folder
./src/components, create a new folder here calledpages, and inside it a new file calledMain.tsxcontaining the following code.Make sure to use src/components/pages, notsrc/pages!src/components/pages/Main.tsximport type {PageProps} from '@enonic/nextjs-adapter'; import React from 'react' import RegionsView from '@enonic/nextjs-adapter/views/Region'; const MainPage = (props: PageProps) => { const page = props.page; const regions = (!page.regions || !Object.keys(page.regions).length) ? { main: { name: 'main', components: [], } } : page.regions; return ( <> <RegionsView {...props} page={{...page, regions}} name="main"/> </> ); }; export default MainPage;The <RegionsView> element is referring to the 'main' region we defined in the page component earlier. Finally, register it in the component mappings by adding the following lines to _mappings.ts
src/components/_mappings.tsimport MainPage from './pages/Main'; import {APP_NAME} from '@enonic/nextjs-adapter'; // Page mappings ComponentRegistry.addPage(`${APP_NAME}:main`, { view: MainPage });
Both Enonic and Next.js are now able to handle custom pages.
Task: Create your first page
It’s time to build a custom page.
-
Turn the site into a page
From Content Studio, select and edit the
/hmdbcontent item. From the edit view, activate the Context Panel by clicking theShow Context Menuicon in the top right corner, and selectMain pageextension from the dropdown menu.You should now see the following:
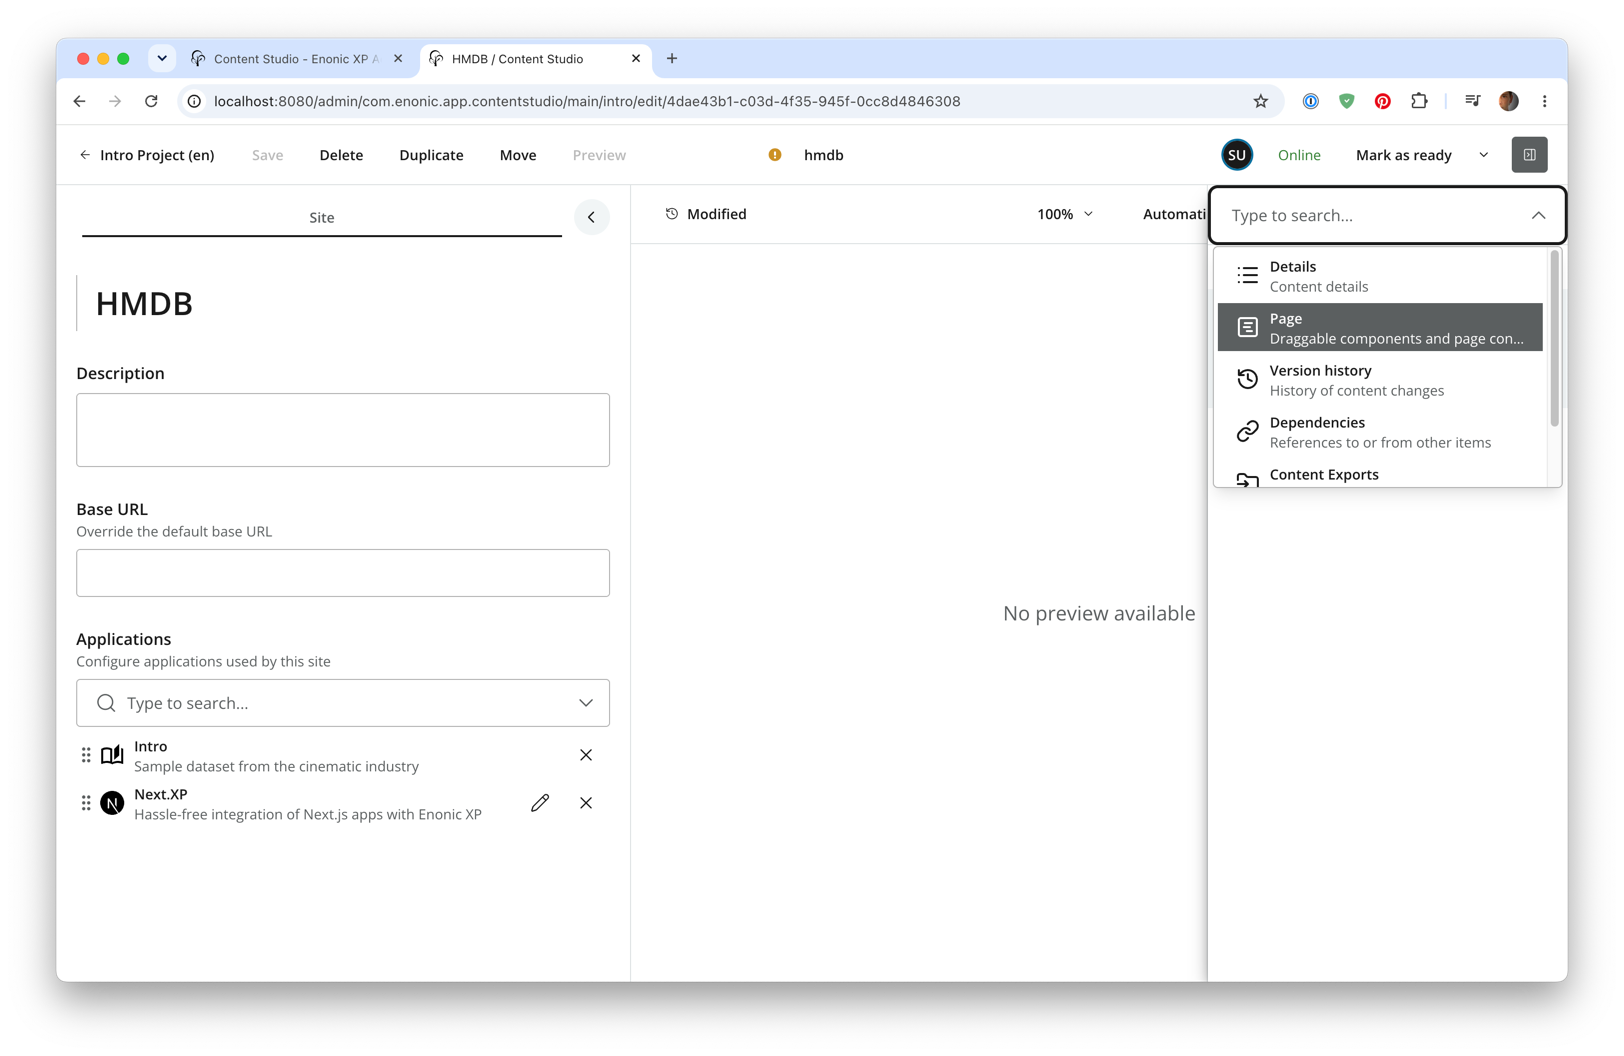
In the preview area, select the
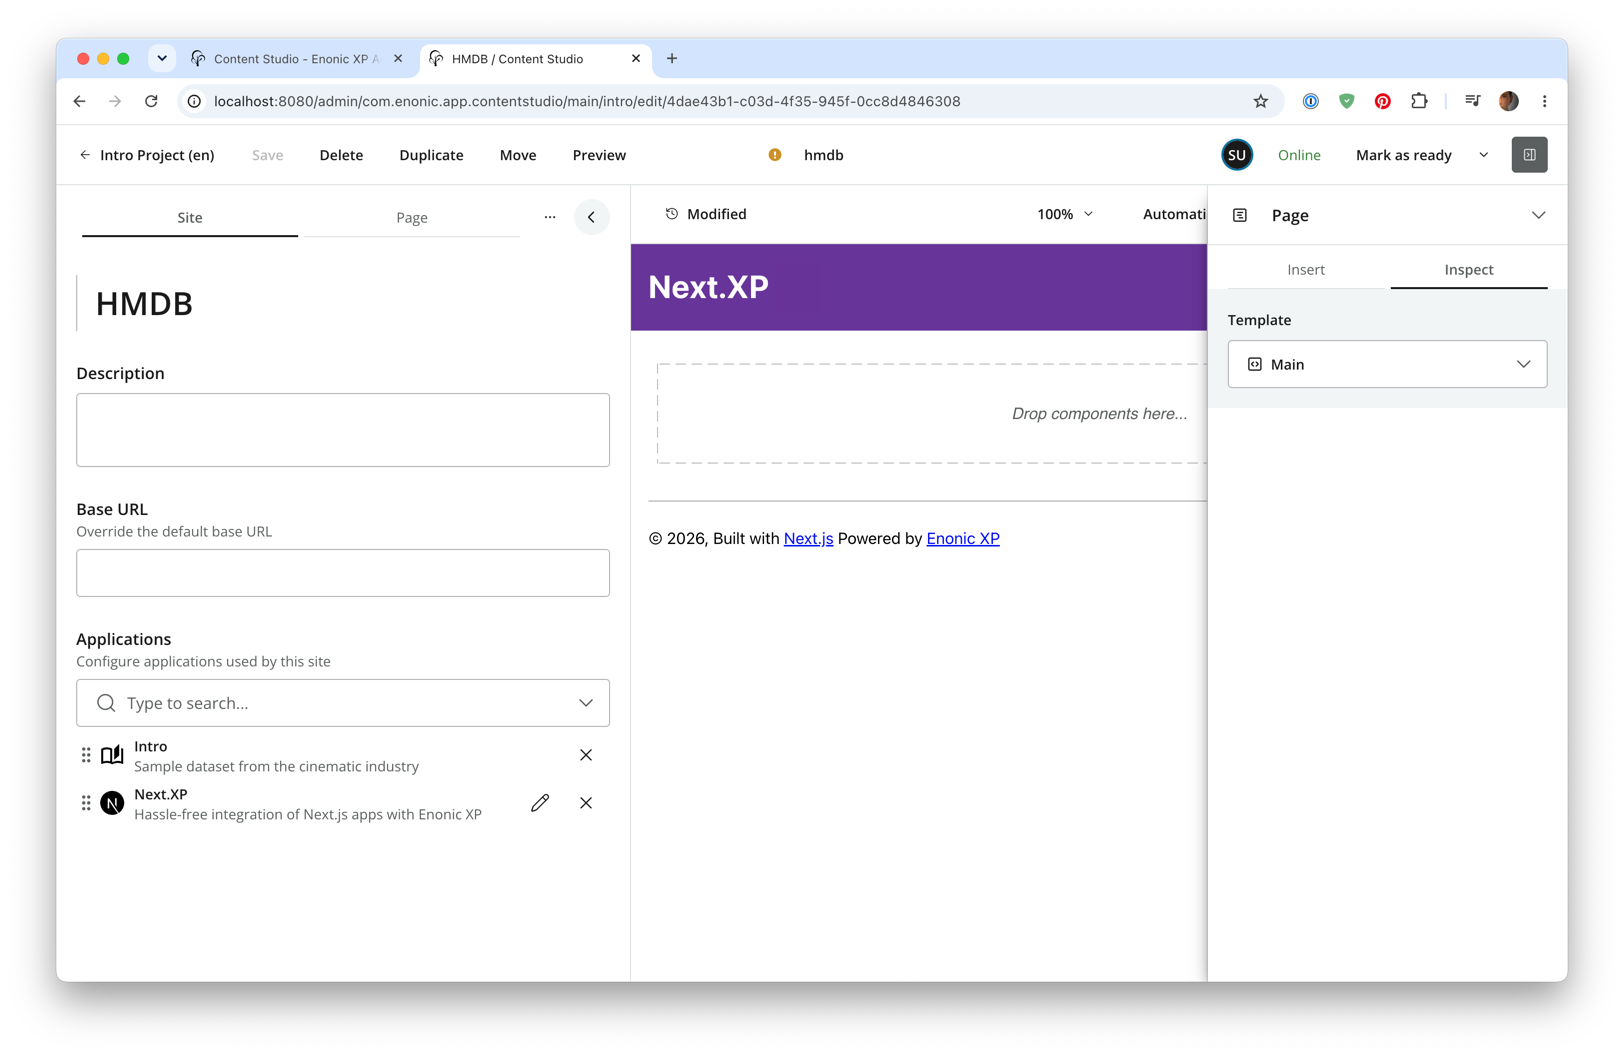
Maincomponent we created earlier from the Template dropdown menu.You should then see a page with a single "dropzone" inside (the region we specified earlier).
Task: Adding a paragraph part
To put something on the page, we need a component editors can drop into the region. Let’s create a simple Paragraph part that holds rich text.
| Deeper dive into parts and components will be covered in the next chapter. |
-
Verify Enonic app (not the Next.js frontend) has the
paragraphpart:src/main/resources/cms/parts/paragraph/paragraph.yamlkind: "Part" title: "Paragraph" description: "Rich text paragraph" form: - type: "HtmlArea" name: "text" label: "Text"The HtmlArea input gives editors a rich-text editor with formatting, links, images and macros. Redeploy the Enonic app if it didn’t have it to register the part (happens automatically if you started
enonic project dev). -
Add the part implementation to the Next.js app
src/components/parts/Paragraph.tsximport React from 'react' import {PartProps} from '@enonic/nextjs-adapter'; import RichTextView from '@enonic/nextjs-adapter/views/RichTextView'; const Paragraph = (props: PartProps) => { return ( <RichTextView data={props.part.config.text || ''} meta={props.meta}/> ); }; export default Paragraph;The
RichTextViewcomponent (from the Enonic adapter) takes care of resolving links, sizing images and rendering macros. -
Register the part by adding the following lines to _mappings.ts:
src/components/_mappings.tsimport {richTextQuery} from '@enonic/nextjs-adapter'; import Paragraph from './parts/Paragraph'; // Part mappings ComponentRegistry.addPart(`${APP_NAME}:paragraph`, { view: Paragraph, configQuery: `{${richTextQuery('text')}}` });richTextQuerygenerates the query fragment needed for the adapter to resolve link, image and macro metadata within the rich text field of the part config form. -
Add the part to your page
Back in Content Studio, from the Insert tab on the right hand side, drag a part component into the region and select
Paragraphin the Context Window. Use the rich-text editor to write and format text, as well as insert images or macros.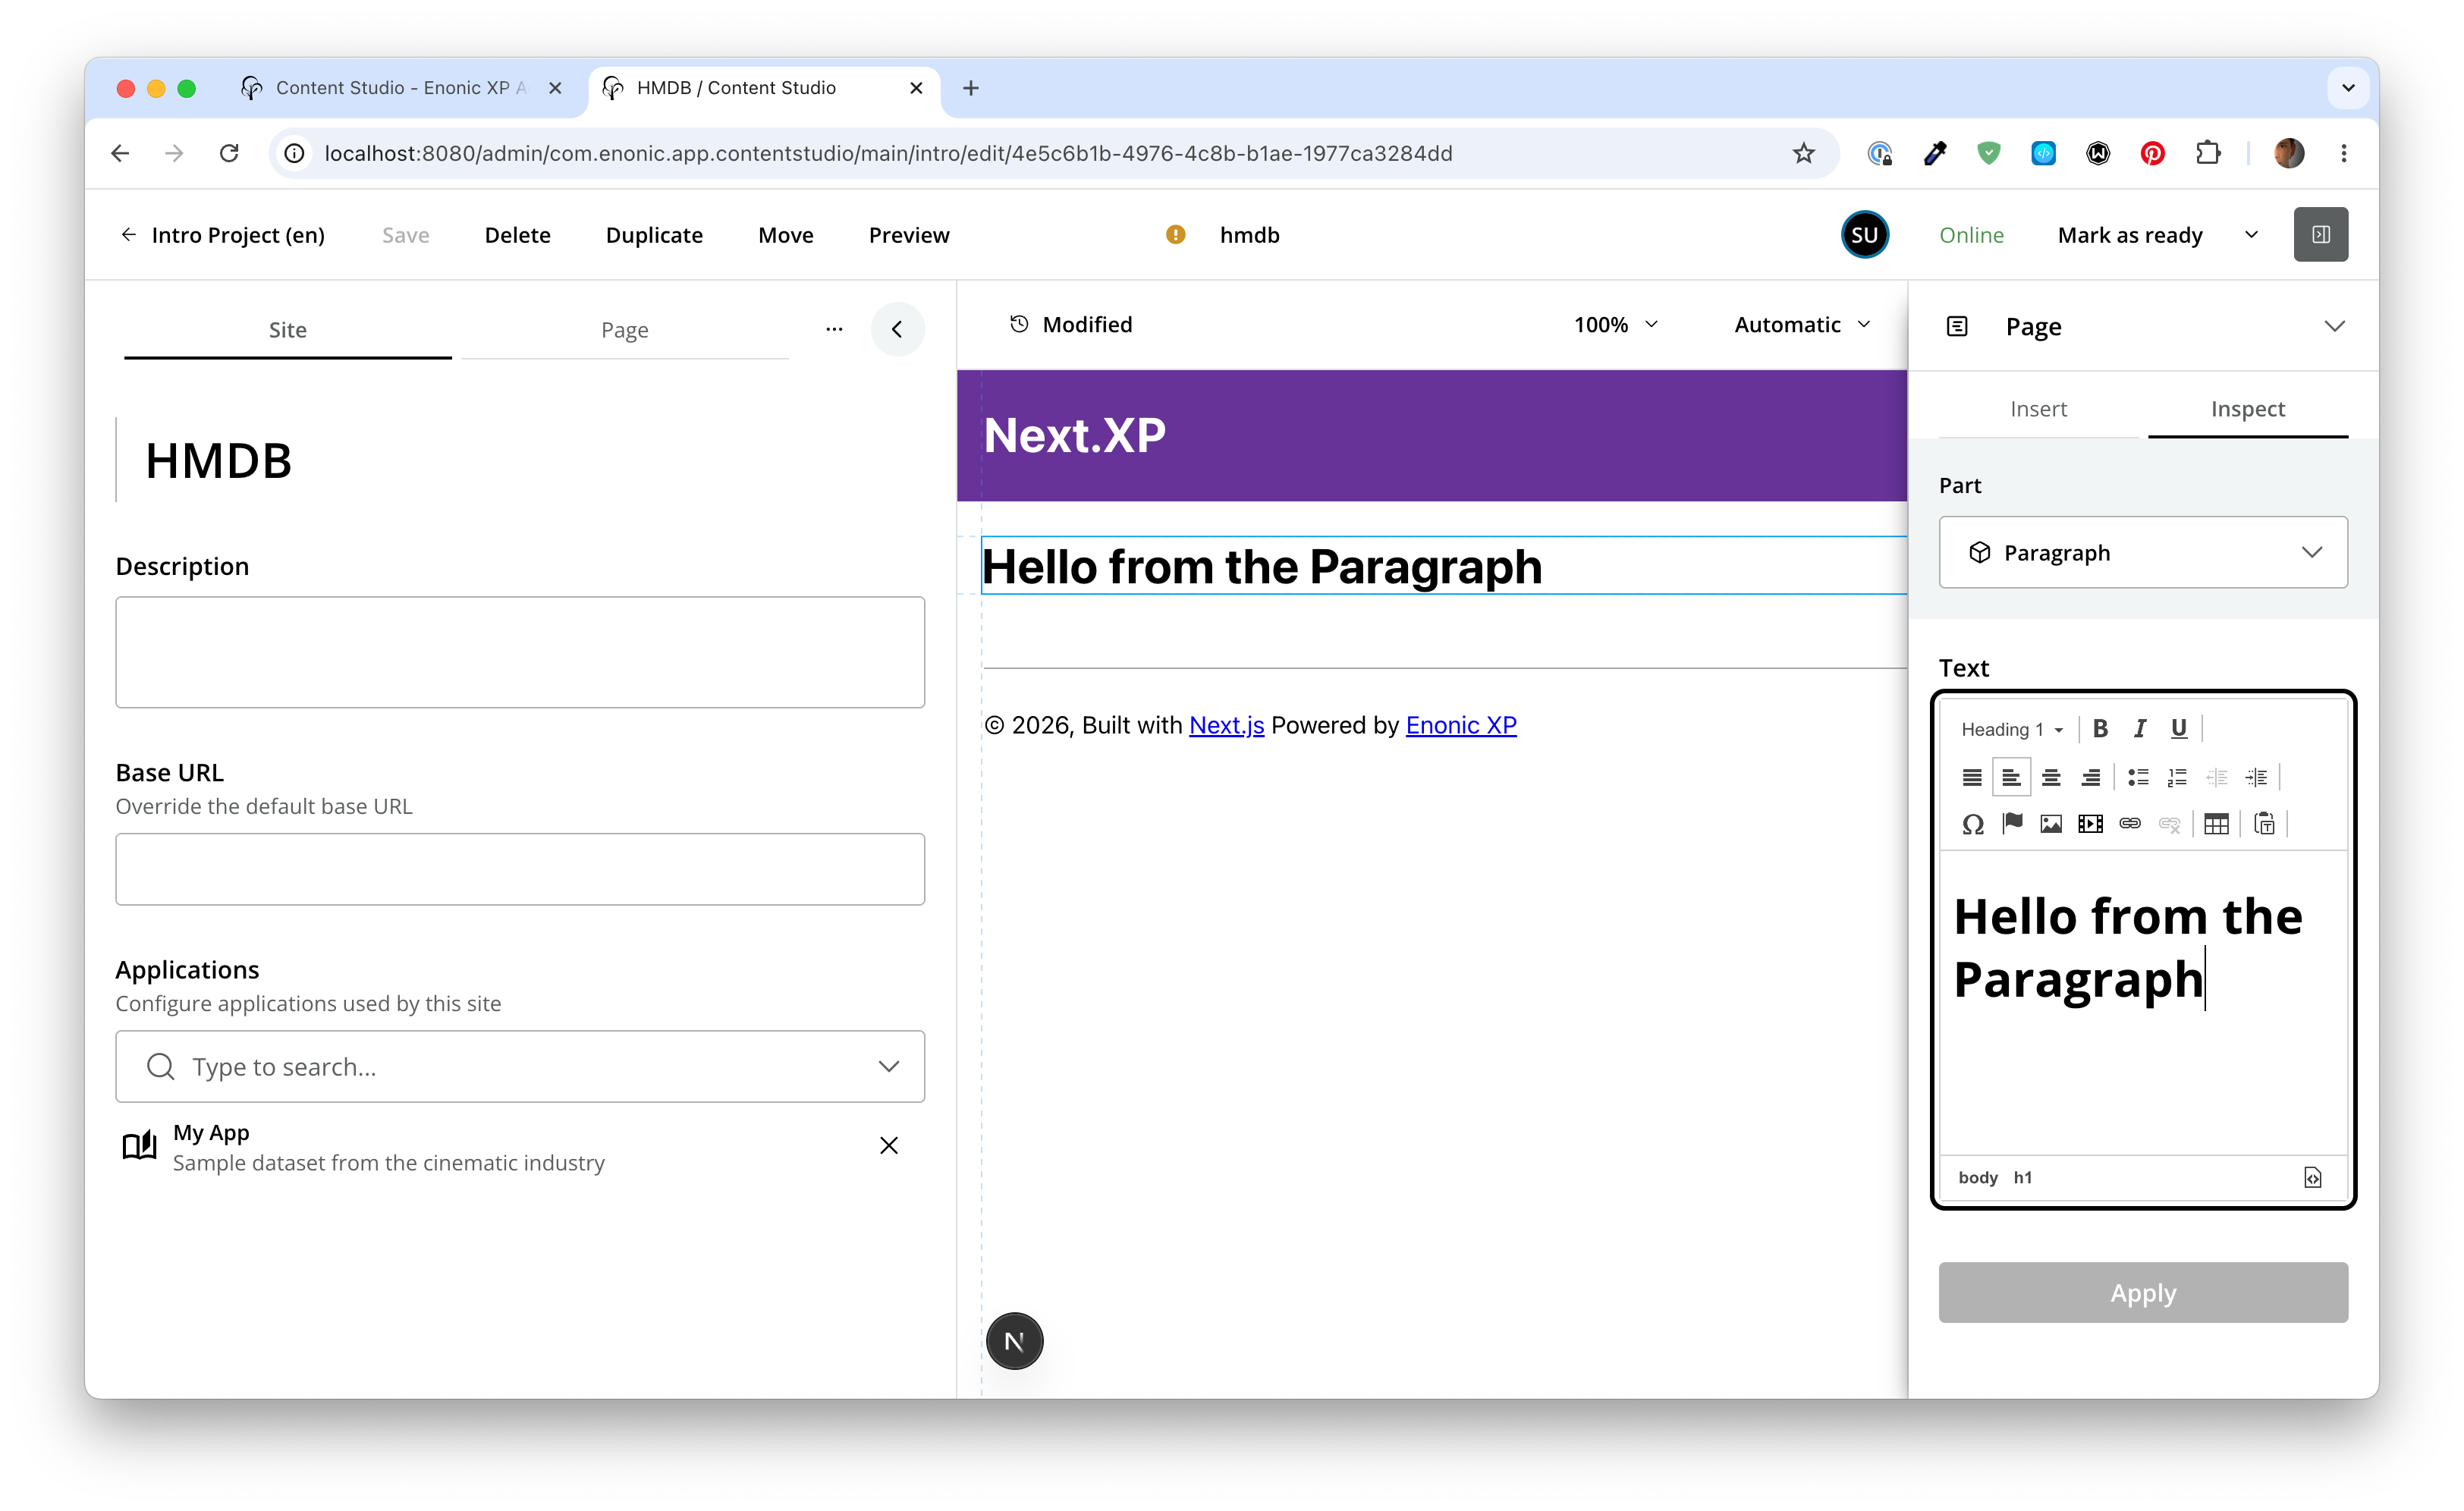
-
You may also click the
Previewbutton in Content Studio for a full screen version.
Task: Publish page
Your new page is looking good. However, if you visit http://localhost:3000 in an incognito window or different browser - you’ll get a "404 page not found" error. This is because preview mode is off in incognito window and only published changes are visible from the front end.
Content Studio activates Next.js' preview mode, which in turn uses the drafts API. When accessing the front-end directly, Next.js fetches published content from the master branch.
-
Publish the page by clicking
Mark as ready…, and thenPublish.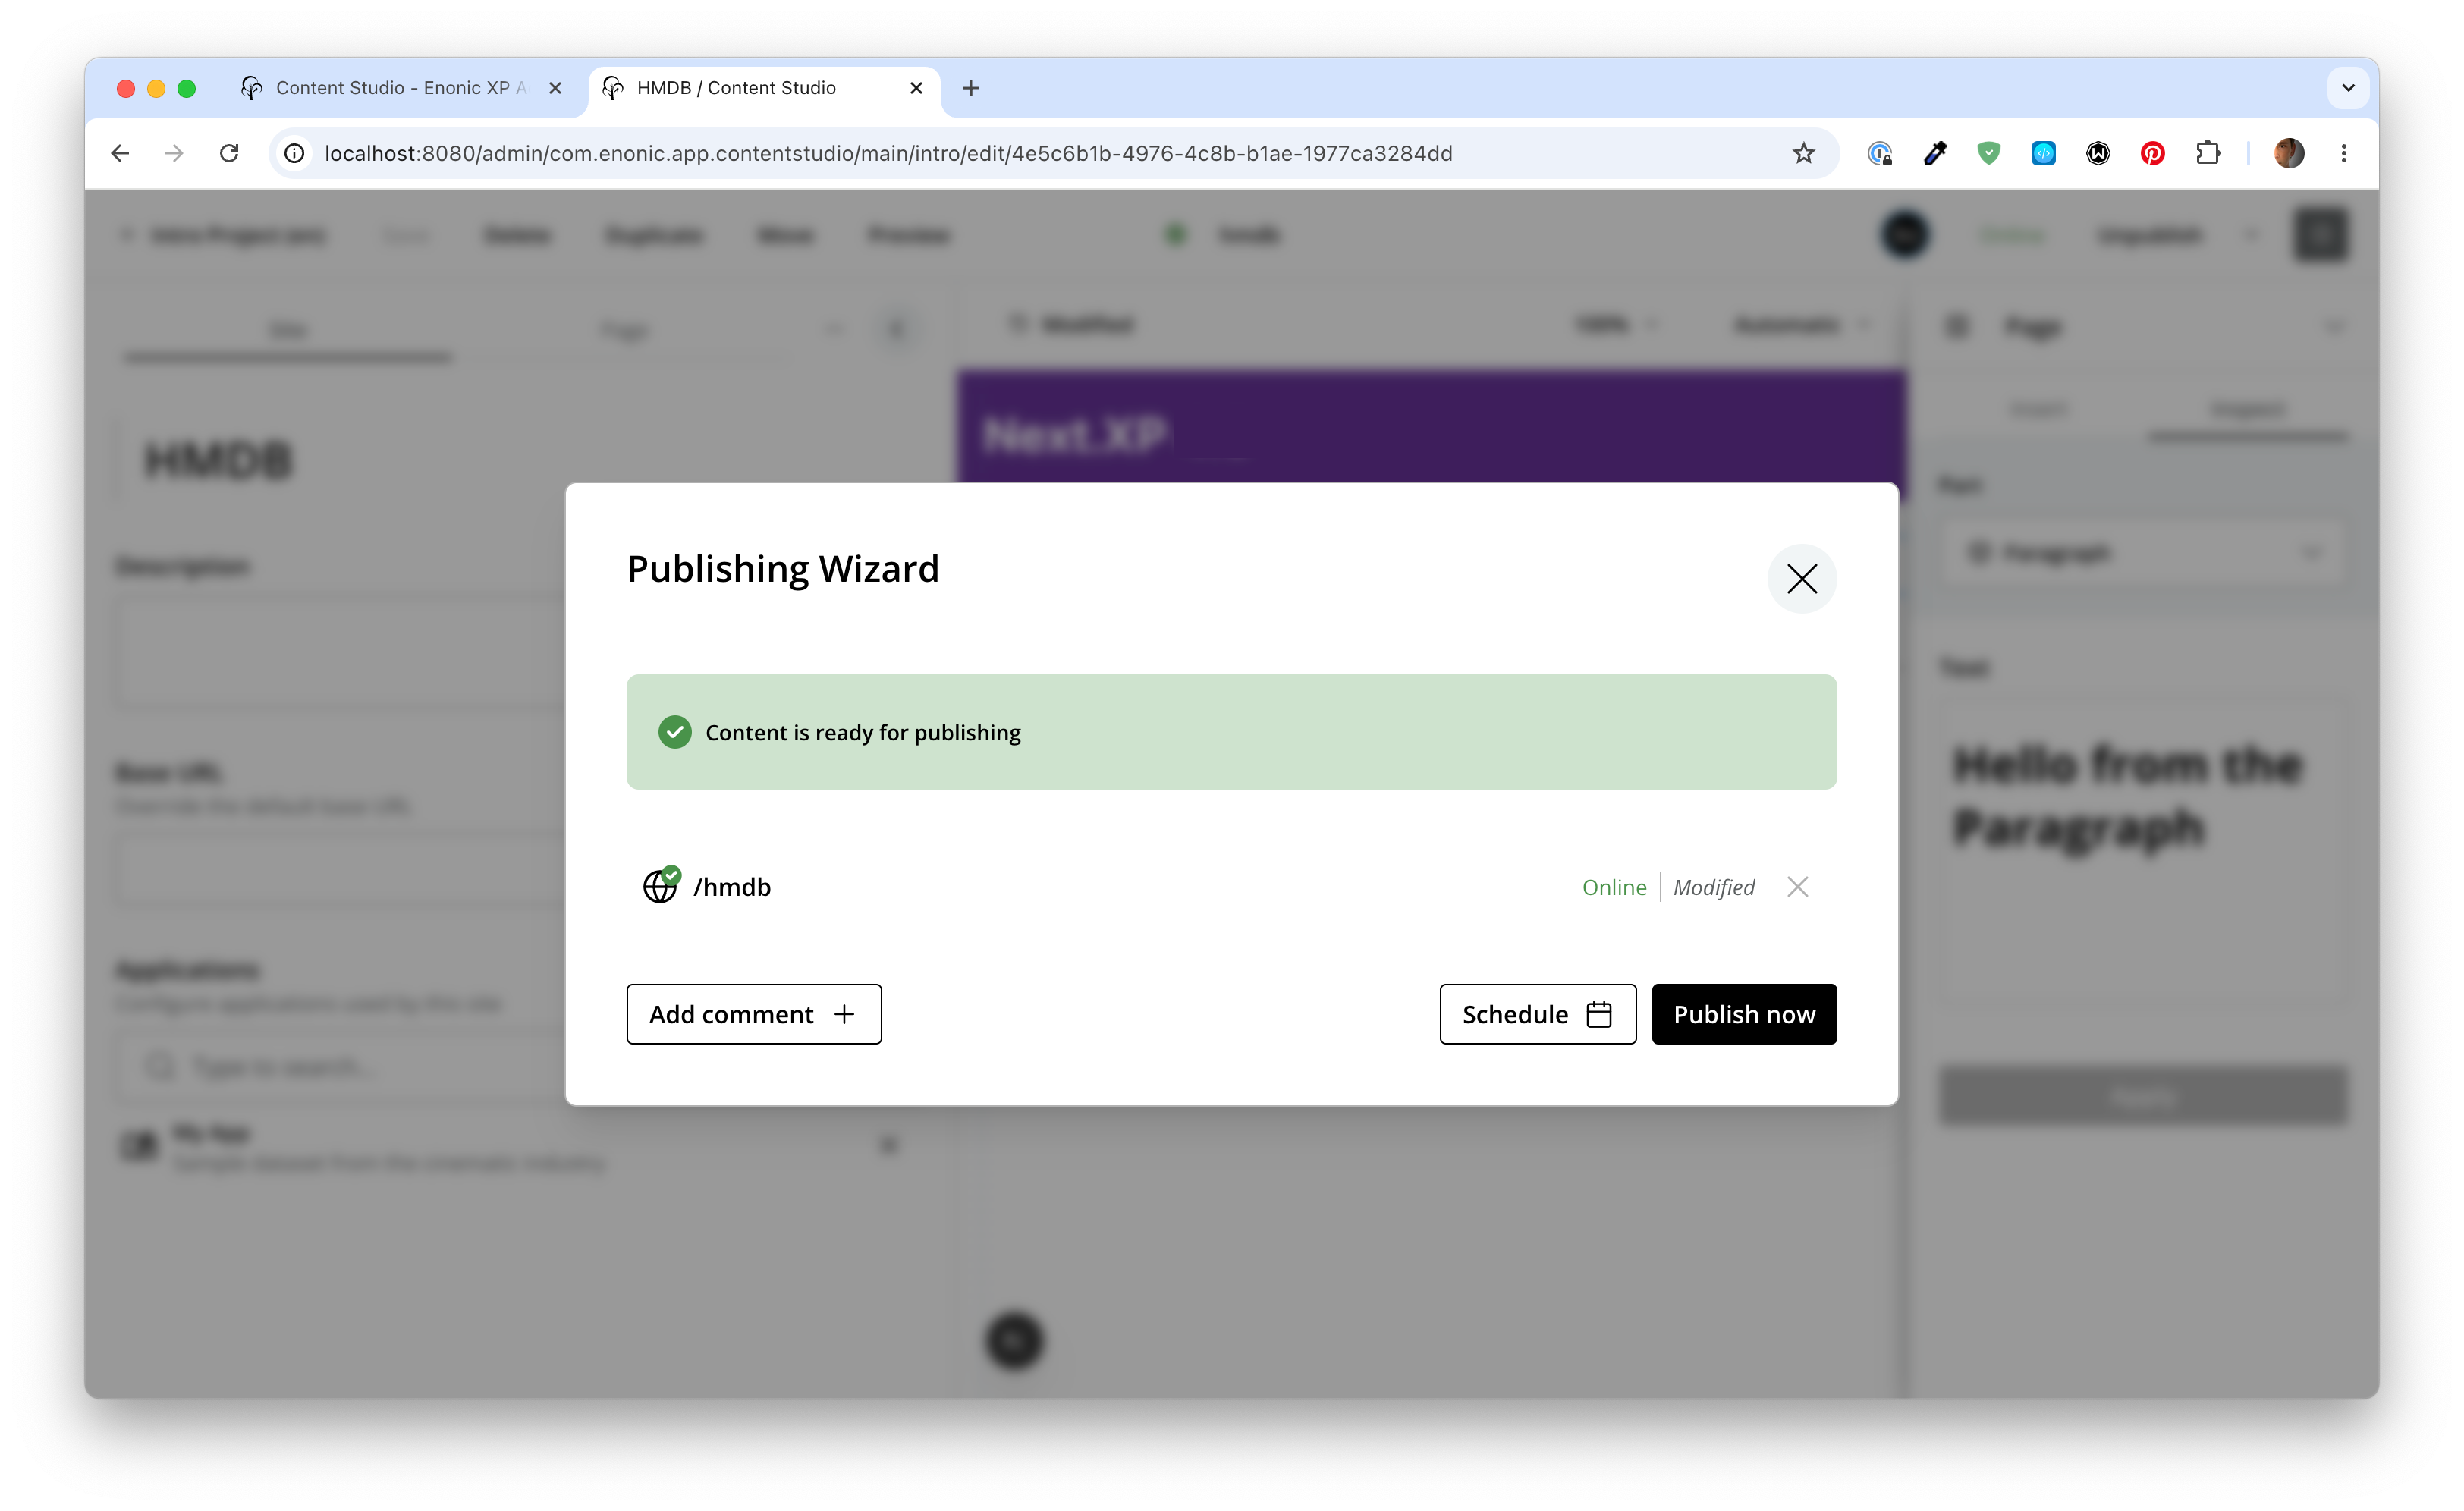
-
Verify that your page is live by visiting
http://localhost:3000in incognito window once again.
That concludes the introduction to page rendering, coming up we’ll add some configurable page components to play with.