Create a React app
Contents
In this chapter you will create a React application with TypeScript support.
Create React app
With the sandbox running, open a new terminal tab/window and run the following command:
npm create vite@8.2.0 react-enonic -- --template react-tsThis will create a React app and place it in a folder called react-enonic/.
Install dependencies
With the basic project files in place, you must add some handy npm modules as well:
cd react-enonic

npm install react-router-dom sass @enonic/react-components
Configure the API connection
The application is a client-side SPA. It uses fetch(import.meta.env.VITE_GUILLOTINE_URL, …) to call Guillotine 9; no Next.js adapter is needed.
Development proxy
Update vite.config.ts so Vite forwards /api requests to XP. This keeps browser requests on the frontend’s own origin and avoids cross-origin preflight requests:
import { defineConfig, loadEnv } from 'vite'
import react from '@vitejs/plugin-react'

// https://vitejs.dev/config/
export default defineConfig(({command, mode}) => ({
  plugins: [react()],
  // Development requests must stay same-origin, including with an older absolute URL in .env.
  define: command === 'serve' ? {
    'import.meta.env.VITE_GUILLOTINE_URL': JSON.stringify('/api/com.enonic.app.guillotine:graphql'),
  } : undefined,
  server: {
    proxy: {
      '/api': {
        target: loadEnv(mode, '.', 'ENONIC_').ENONIC_URL || 'http://localhost:8080',
        changeOrigin: true,
      },
    },
  },
}))
During development, define sets the existing endpoint variable to /api/com.enonic.app.guillotine:graphql, even if an older .env contains an absolute XP URL. The proxy forwards both GraphQL and media paths without rewriting them. For a Cloud backend, change the proxy target to its public host, which must expose the same /api routes.
Environment variables
Create .env in the root of your project with the following contents:
VITE_GUILLOTINE_URL=/api/com.enonic.app.guillotine:graphqlVITE_GUILLOTINE_URL is the GraphQL endpoint, not a site URL or just the API root. The relative value uses the frontend’s own origin. The queries select guillotine(project: "intro", branch: "master", scopeKey: "/") directly; master selects published content.
VITE_ENONIC_MEDIA_URL is optional. The media API root defaults to the endpoint’s parent: /api for the relative endpoint above, or an absolute API root when an absolute endpoint is configured. Leave it unset to send images and downloads through the same proxy. Set it only when media is served from a separate public API root.
Vite exposes VITE_ variables in the browser bundle. These values are public configuration, not a place for credentials or secrets. |
Restart Vite after changing .env. The development proxy is not part of the production build: configure equivalent /api routing on the production host when building with the relative endpoint. Alternatively, build with an absolute endpoint and configure Guillotine CORS for the deployed frontend. vite preview also needs suitable API routing or an absolute, CORS-enabled endpoint.
Start
Run this command from inside your project’s folder:
npm run dev -- --port 3000This starts Vite on port 3000. Keep Enonic running so the browser can fetch content and media.
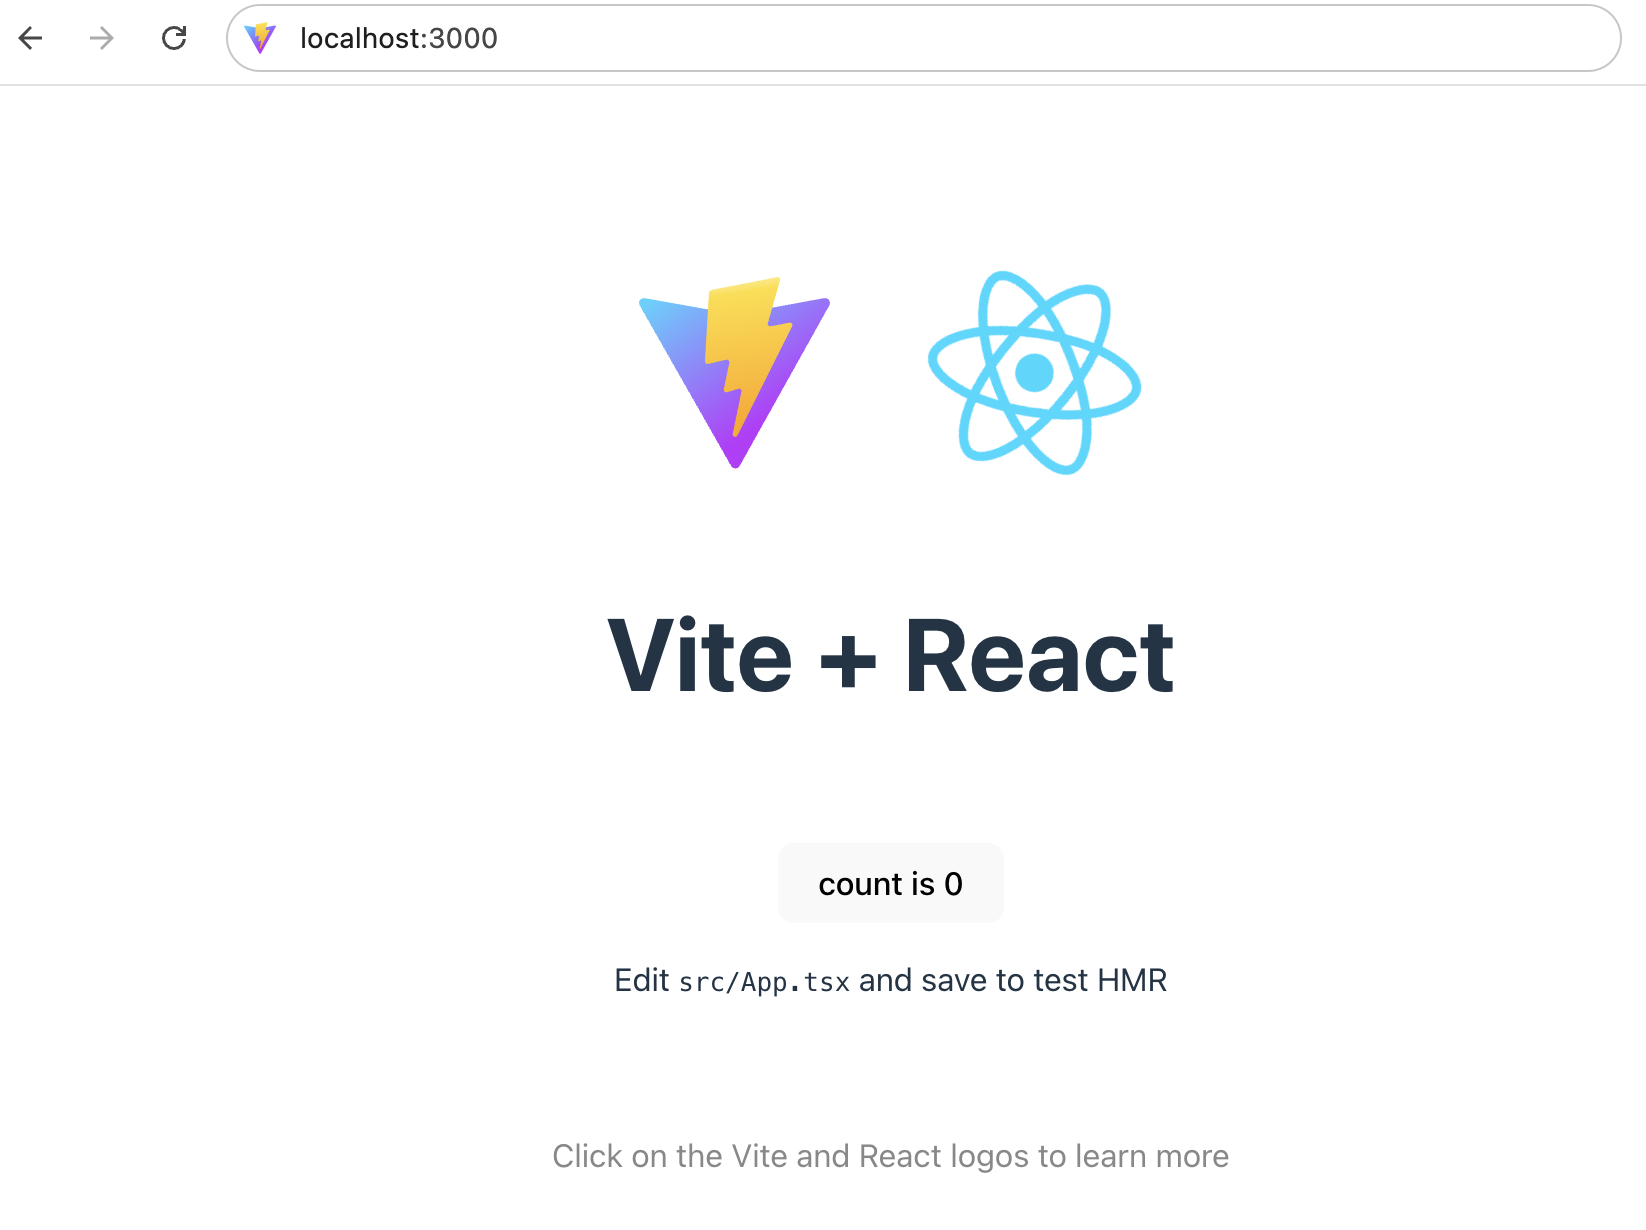
| Open http://localhost:3000 in your browser. |
React router
Although beautiful, the app doesn’t do much yet and just shows the Vite+React splash screen. Let’s begin by adding a router and some custom styling:
-
First, set the contents of
index.cssfile to the following:src/index.csshtml { padding: 0; } body { margin: 0; font-family: -apple-system, BlinkMacSystemFont, 'Segoe UI', 'Roboto', 'Oxygen', 'Ubuntu', 'Cantarell', 'Fira Sans', 'Droid Sans', 'Helvetica Neue', sans-serif; -webkit-font-smoothing: antialiased; -moz-osx-font-smoothing: grayscale; } html body a { pointer-events: all; } code { font-family: source-code-pro, Menlo, Monaco, Consolas, 'Courier New', monospace; } -
Add a file called
App.sassto the/srcfolder. We’ll use it instead of the built-inApp.css.src/App.sassbody background-color: #fff color: #595959 // 7:1 AAA #595959 on #fff padding: 0 margin: 0 font-family: roboto, arial, serif width: 100% box-sizing: border-box .back-link padding: 30px -
Then update
App.tsxfile with the following code:src/App.tsximport './App.sass'; import { Route, BrowserRouter as Router, Routes, } from 'react-router-dom'; export default function App() { return ( <Router> <Routes> <Route path='*' element={<p>Hello router!</p>}/> </Routes> </Router> ) } -
Your browser should now display the text
Hello router!.
Next step
In the following chapter you’ll create a proper React component - the Person list.