Setting up Next.js
Contents
In this chapter we will create a front-end application that renders pages based on content in the CMS.
Next.js at a glance
Next.js runs on top of Node.js, and provides a shrink-wrapped approach to building sites using the React framework. Next.js supports both client-side rendering and Server side rendering, as well as pre-generation of static HTML files.
Task: Create the Next.js project
From an empty folder, run the following command:
npx degit git@github.com:enonic/nextxp-template.gitThe "nextxp-template" is based on Next.js' own introduction app, so if you’re familiar with that, you’ll recognize the structure of the files.
The template includes some boilerplate we will customize, and a npm dependency aka ´The Enonic Adapter` that facilitates and simplifies integration with Enonic.
Code overview
The following file structure should now exist within your new project folder:
.env (1)
src/
    components/ (2)
    pages/
        [[...contentPath]].tsx (3)
        _app.tsx (4)
        _document.tsx (5)
        _renderable.tsx
        api/ (6)
            revalidate.ts
preview.ts| 1 | Environment variables are placed in this file |
| 2 | Contains your implementation of CMS components |
| 3 | The fallback next.js router. Enables dynamic rendering based on content in the CMS. File name is not a typo, but Next.js syntax that makes it catch all HTTP requests. |
| 4 | Invoked on every request. Add common structures here (eg. <head> etc), but be careful not to remove functionality needed by Content Studio |
| 5 | Vanilla Next.js file that outlines the basic document structure of all pages. |
| 6 | These files support preview mode and regeneration of cached pages |
Task: Configure application
By default, the configuration should work for your setup, but have a look to be sure:
-
Verify your configuration
The following configuration values should match your environment
.env extract:# Provide a unique value which will be used to secure the preview mode ENONIC_API_TOKEN=mySecretKey # Enonic app name, must match the name of your app ENONIC_APP_NAME=com.example.myproject # Enonic XP projects configuration for different locales ENONIC_PROJECTS=moviedb/hmdb (1) # Absolute URL to Content API ENONIC_API=http://127.0.0.1:8080/site (2)1 XP projects configuration. More about it in multi-language support. <2>Base URL of the Guillotine API discussed in the API, but without project and branch parts. We don’t need to specify the project and branch parts here, as the Enonic Adapter will automatically add these based on the runtime environment. For example, when serving the preview for Content Studio, the project will be set to the currently opened one, and the branch will be set to
draft. On the other side, when serving a live site, the project will be set based on contents ofENONIC_PROJECTSvariable and current locale, and the branch will be set tomaster.The configuration values can be overridden later when deplying your app to a live server.
Task: Boot the server
Let’s fire up Next and see if things are working as planned…
| Make sure Enonic XP and the Movie DB app is running on localhost:8080 before you continue |
Start Next.js in dev mode by running the following commands from within your next project folder:
npm install
npm run dev
If Next boots without errors, point your browser to http://localhost:3000 to see the glorious result.

|
Running Next in For more details on booting Next, check out the Next.js CLI docs. |
Next URL patterns
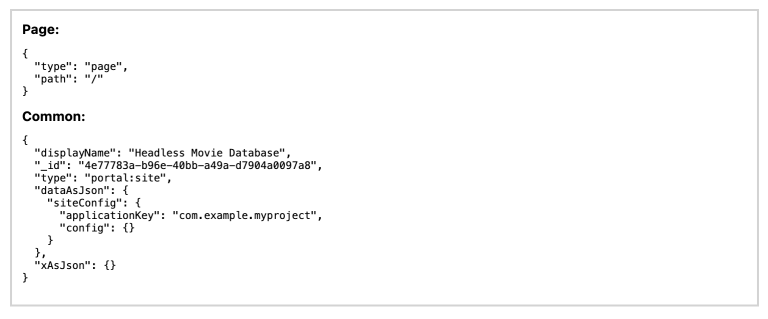
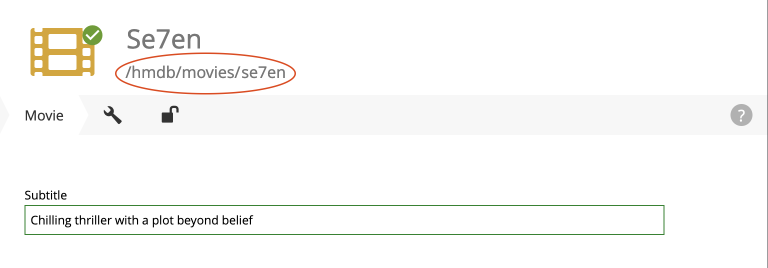
The URL structure of your front-end will mirror the structure of the content in the CMS. http://localhost:3000/ will be mounted to the site root, which in our case has the internal path /hmdb.
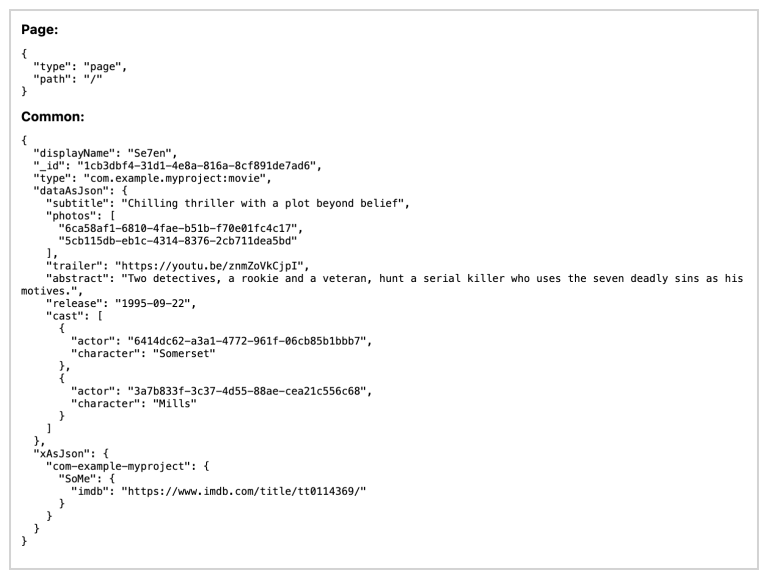
Using the Movie Se7en as an example:

/hmdb/movies/se7en

Task: Visit some more pages
Give the default rendering a spin by trying out some other URLs, for example:
…etc.
That’s it for the basic Next.js setup.
Next, well have a closer look at how to customize the rendering.