Layouts
Contents
Layouts are essentially parts, with an extra trick up their sleve. Regions. This means that layouts may host other components, and build rich page structures.
Task: Add layout to Enonic
Adding layouts is more or less identical to pages and parts. Simply follow the steps below:
-
Add the
2-columnlayout to the Enonic appsrc/main/resources/site/layouts/2-column/2-column.xml<?xml version="1.0" encoding="UTF-8" standalone="yes"?> <layout xmlns="urn:enonic:xp:model:1.0"> <display-name>2 columns</display-name> <description>Provides left and right regions</description> <form/> <regions> <region name="left"/> <region name="right"/> </regions> </layout>Just like a page, layouts may declare named regions. When completed, as always redeploy the Enonic app (happens automatically if you started
enonic project dev).
Task: Add layout rendering to the front-end
Moving over to the the Next.js app. Add the component that will render the layout.
-
Add the front-end layout component files
src/components/layouts/TwoColumnLayout.tsximport type {LayoutProps} from '@enonic/nextjs-adapter'; import React from 'react' import {RegionView} from '@enonic/nextjs-adapter/views/Region'; import styles from './TwoColumnLayout.module.css'; const TwoColumnLayout = (props: LayoutProps) => { const regions = props.layout.regions; const {common, meta} = props; return ( <> <div className={styles.row}> <RegionView name="left" components={regions['left']?.components} common={common} meta={meta}/> <RegionView name="right" components={regions['right']?.components} common={common} meta={meta}/> </div> </> ); }; export default TwoColumnLayout;And it’s CSS module
src/components/layouts/TwoColumnLayout.module.css.row { display: flex; gap: 10px; margin-bottom: 10px; flex-wrap: wrap; } .row :global(> div) { flex: 1; min-width: 200px; } .row :global(.xp-page-editor-region-placeholder) { margin-bottom: 0; }This is an example of using CSS modules. For more details visit the Next.js style documentation -
Register the component in _mappings.ts:
Add these new lines to the _mappings.ts file.
src/components/_mappings.tsimport TwoColumnLayout from './layouts/TwoColumnLayout'; // Layout mappings ComponentRegistry.addLayout(`${APP_NAME}:2-column`, { view: TwoColumnLayout });this specific layout does not need any additional data - hence no query or processor:
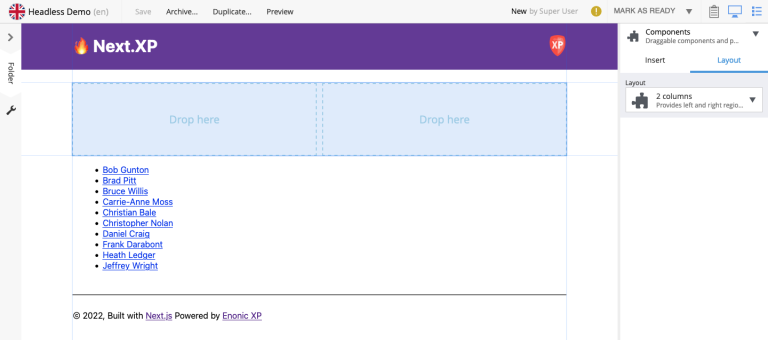
After completing these steps, you should be able to add the layout to a page, and then add components inside the layout. It might look something like this:

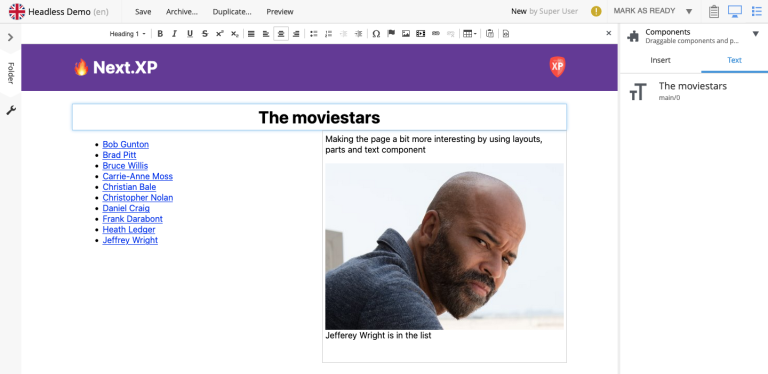
By combining layout, part and text we are starting to see the potential of the page editor:

In the next chapter we will look into page templates. Page templates allow us to reuse a page definition across multiple content items.