Rich Text
Contents
In this chapter you’ll learn how to render Rich Text content.
Intro
Enonic boasts a Rich Text input type which, unlike basic text fields, may contain more complex concepts such as tables, images, links and custom components. Each of these will typically need to be processed during rendering to provide a contextually correct URL, ideal image sizes, etc.
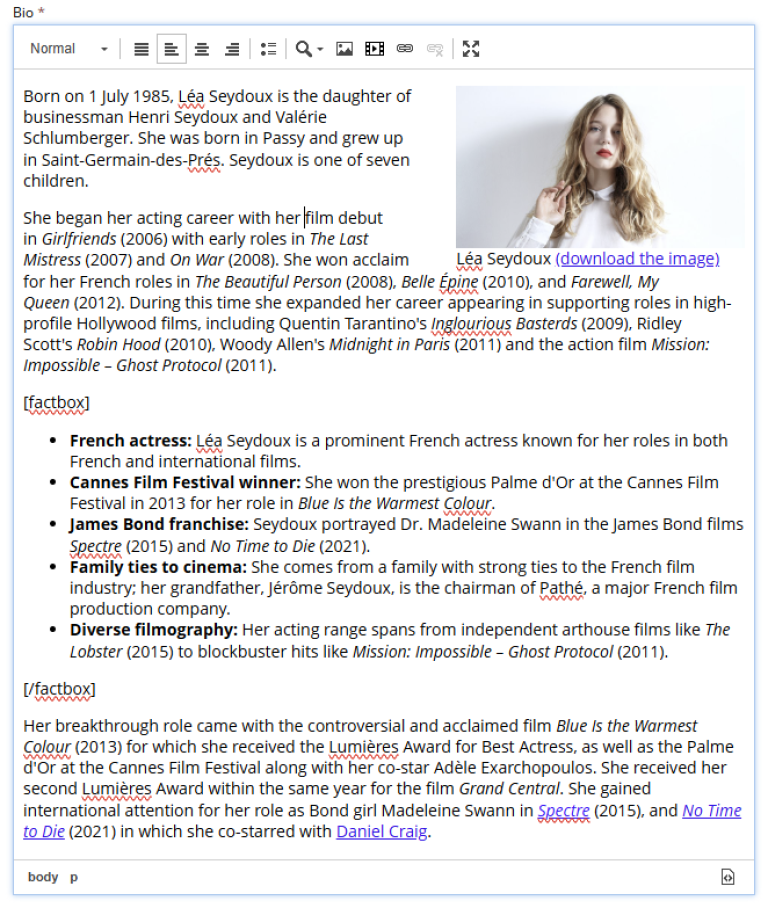
Sample content
Luckily, the sample data set contains everything we need to get going. The Bio field for persons is a Rich Text input, and some Persons' data is even populated with relevant content, like you see below:
Task: Rich text rendering
Follow these steps to implement rendering of the Bio field in Next.js:
-
Update the Person query
To properly render Rich text, we need access to additional metadata (such as links and images) within it.
To simplify things, Next.XP provides a
richTextQueryhelper function that generates the query for us. Also, this way we don’t have to repeat the query for every rich text field.Add a new query file to your project with the following content:
src/components/queries/getPersonWithBio.tsimport {APP_NAME_UNDERSCORED, richTextQuery} from '@enonic/nextjs-adapter'; const getPersonWithBio = () => ` query($path:ID!){ guillotine { get(key:$path) { displayName ... on ${APP_NAME_UNDERSCORED}_Person { data { ${richTextQuery('bio')} dateofbirth photos { ... on media_Image { imageUrl: imageUrl(type: absolute, scale: "width(500)") attachments { name } } } } } parent { _path(type: siteRelative) } } } }`; export default getPersonWithBio;Since we use ${richTextQuery('bio')}`now, that is dependant on registered macros,getPersonquery must now be a function! This guarantees that it is executed when querying for data, and all the macros are already registered.For further insight, visit the rich text chapter in the Developer 101 tutorial, or have a look at the tutorial covering our standard react components.
-
The RichTextView component
Now that we got the data, we need to use
RichTextViewcomponent that knows how to render it. All we need to do is pass value of thebiofield from the query response to theRichTextViewcomponent.Create a new component with the following content:
src/components/views/PersonWithBio.tsximport React from 'react' import {FetchContentResult, getUrl, I18n} from '@enonic/nextjs-adapter'; import Link from 'next/link'; import RichTextView from '@enonic/nextjs-adapter/views/RichTextView'; import styles from './PersonWithBio.module.css'; const PersonWithBio = (props: FetchContentResult) => { const {displayName, data, parent} = props.data?.get as any; const {bio, photos} = data; const meta = props.meta; return ( <> <div className={styles.person}> <h2>{displayName}</h2> <RichTextView className={styles.bio} data={bio} meta={meta}></RichTextView> { photos.length && <h4 className={styles.photosheader}>Photos</h4> } <div className={styles.photos}> { photos.map((photo: any, i: number) => ( <img key={i} src={getUrl(photo.imageUrl, meta)} title={getTitle(photo, displayName)} alt={getTitle(photo, displayName)} width="500" /> )) } </div> </div> <p><Link href={getUrl(`/${parent._path}`, meta)}>{I18n.localize('back')}</Link></p> </> ) } export default PersonWithBio; function getTitle(photo: any, displayName: string) { return (photo.attachments || [])[0].name || displayName; }Add styling to the new component:
src/components/views/PersonWithBio.module.css.person, .person .bio { font-family: sans-serif; } .person { display: flex; flex-direction: column; } .bio { line-height: 24px; } .bio figcaption { font-size: 12px; } .bio figure > img { width: 100%; height: auto; } .photos { padding: 0 20px; display: grid; grid-template-columns: repeat(auto-fit, minmax(200px, 1fr)); grid-gap: 50px; gap: 50px; } .photos img { width: 100%; height: auto; /* Ensures images scale properly */ } @media screen and (max-width: 720px) { .bio figure { width: auto !important; } } -
Update the mapping
Finally, we need to update the mappings to use the new query and view.
Replace the
getPersonquery withgetPersonWithBioandPersonview withPersonWithBio. It should look something like this:src/components/_mappings.tsimport getPersonWithBio from './queries/getPersonWithBio'; import PersonWithBio from './views/PersonWithBio'; ComponentRegistry.addContentType(`${APP_NAME}:person`, { query: getPersonWithBio, view: PersonWithBio }); -
That’s it!
The resulting page for Lea Seydoux should look like this:
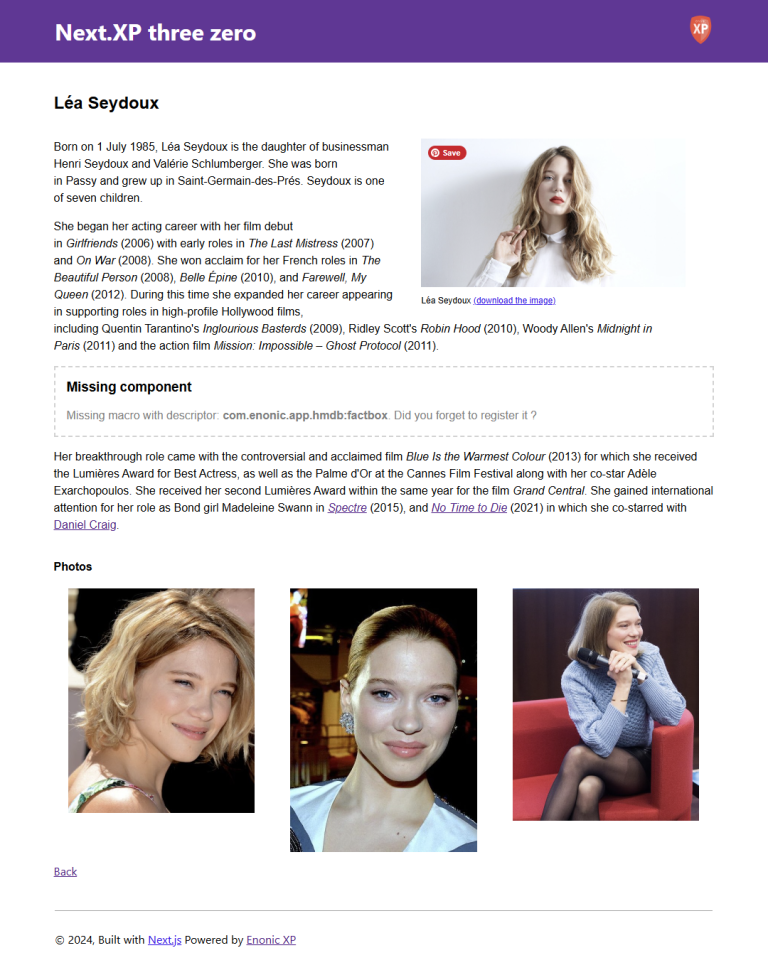 Figure 2. Person content rendered with rich text
As you can see from the above screenshot, there is a missing component. The next chapter addresses this by looking into Macros.