Content Studio and Content Types
Contents
Introduction to Content Studio, content types, and content items
Content Studio
Your application creates a content project called My First Site the first time it starts. Let’s have a closer look.
Open Content Studio from the right hand XP menu → Content Studio. You should now see some of the imported content.
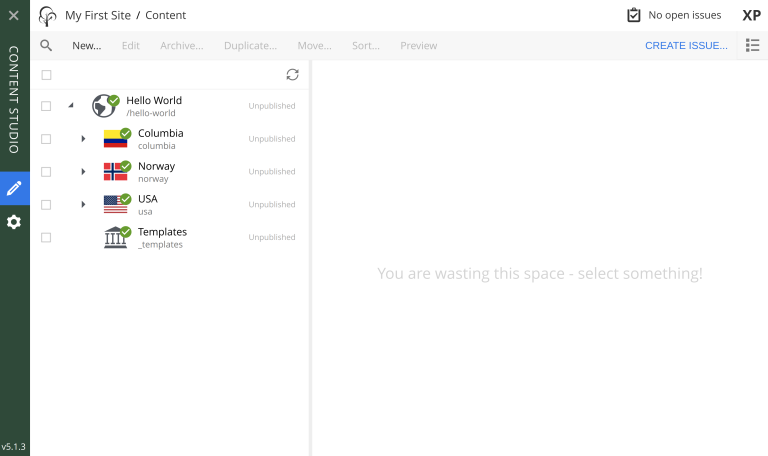
A content structure with Hello World as the root item will now appear. From the content icon, one can recognize that this is a site. Expanding the site will reveal Columbia, Norway, USA and Templates as child items.
Ignore the Templates folder for now. We’ll get back to it later. |
Sites and apps
Select the "Hello World" content and click edit.
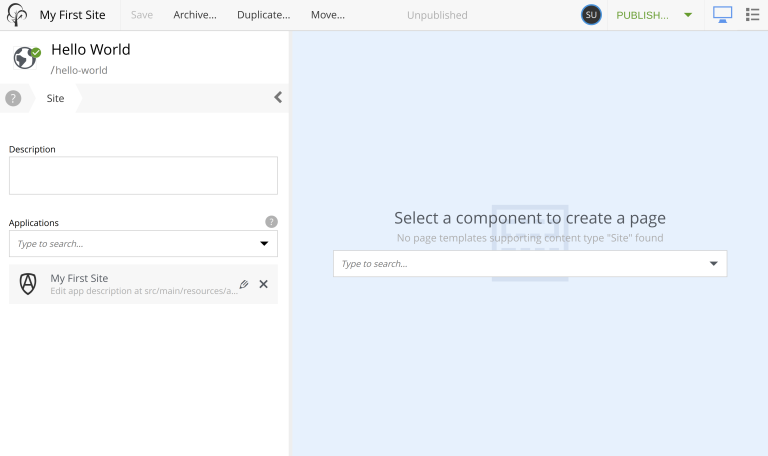
From the left-hand form, you can see that your app My first site has been added to the site. This gives Content Studio access to any goodies the app might contain, for instance, additional content types.
Content Types
Every content item has a specific content type.
Enonic XP ships with a set of standard content types: Shortcut, Folder, Site, and a selection of Media Types. Media types handle different kinds of files.
Additionally, applications may define their own custom content types. Your app contains two: Country and City. They are defined under src/main/resources/site/content-types/. Let’s explore the City content type. In Content Studio, it should look something like this:
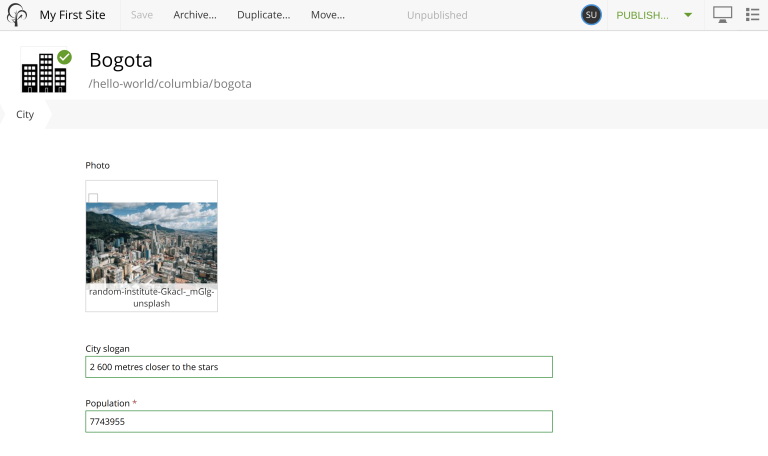
The content type is defined in a descriptor file, looking like this:
<content-type xmlns="urn:enonic:xp:model:1.0">
  <display-name>City</display-name>
  <description>Place where many people live</description>
  <super-type>base:structured</super-type>
  <form>
    <input type="ImageSelector" name="photo">
      <label>Photo</label>
      <occurrences minimum="0" maximum="1"/>
    </input>
    <input type="TextLine" name="slogan">
      <label>City slogan</label>
      <occurrences minimum="0" maximum="1"/>
    </input>
    <input type="Long" name="population">
      <label>Population</label>
      <occurrences minimum="1" maximum="1"/>
      <config>
          <min>1</min>
      </config>
    </input>
  </form>
</content-type>
Now that you understand the basics of content and content types, use Content Studio to create a new Country of your choosing. Then, add a City (or more) within it.
Summary
You’ve been introduced to content items and content types and even created some content based on the content types from your application.
| For more details, visit the reference documentation for content types and the schema system. |
Let’s now move forward to previewing or rendering the existing content. To do that, we’ll start with the concept of Pages.