Content Projects
Contents
By using Content Projects you can split your content into several independent repositories. Each project can have a default language, its own set of permissions and independent access level. When you open Content Studio, you will select a project (or context) you will be working in.
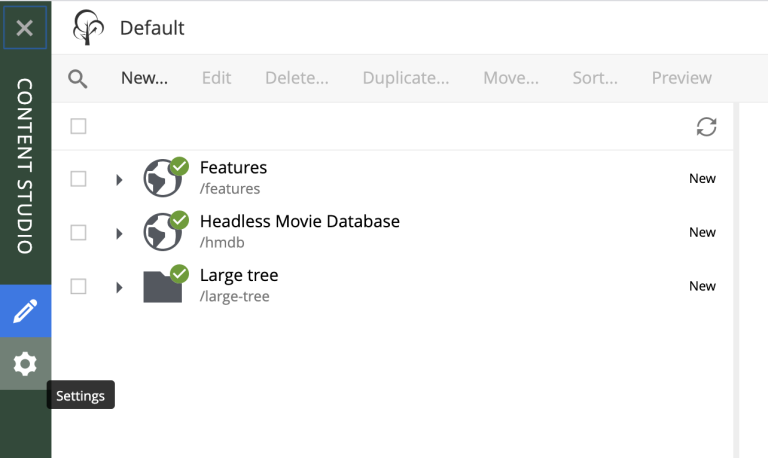
Management of projects and layers in Content Studio is done from the "Settings" section, which can be accessed by clicking the cog icon in the left-side menu.
Project Management
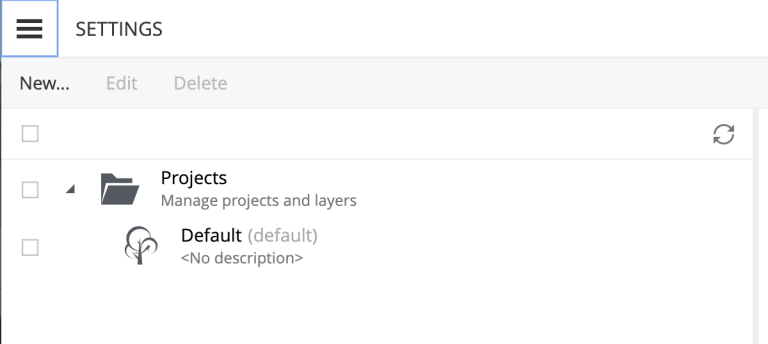
The Settings section lists all Content Projects that current user has permissions for. Users with roles Content Manager Administrator and System Administrator will always have full access to all projects.
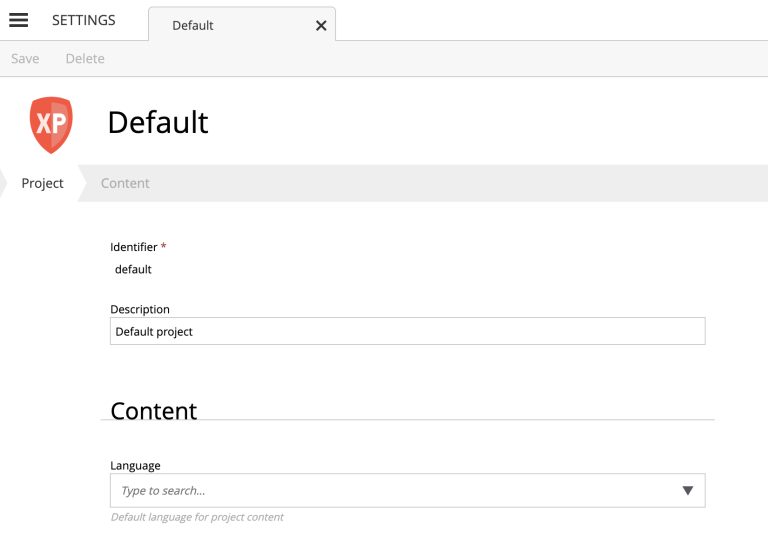
You can modify one or multiple projects by selecting them in the Settings grid and clicking the Edit button in the toolbar. You can also double-click a project to open the Project wizard.
| Changing a project’s default language will not change language of existing content items in this project, it will only affect new items created after the project has been saved. |
| Click the project thumbnail to replace the default icon with a custom one. |
| If you change Access mode of an existing project to or from Public, you will have to confirm the change since this will update permissions on every single content item inside the project repository once the project is updated. |
You can delete a project by selecting it in the Settings grid and clicking the Delete button in the toolbar.
| Deleting a project will delete its repository and all the data inside. This action has to be confirmed and cannot be undone. |
Default Project
In a clean new instance of XP there’s only one project (called "Default") which cannot be deleted but can be hidden using a configuration file. You can modify its display name and description, set default language for a new content which will be created in this repository and replace the icon in the "Settings" section.
| Default project doesn’t support project roles or customization of read permissions. |
New Project wizard
Project setup in Content Studio is done from the "Settings" section, which can be accessed by clicking the cog icon in the left-side menu.
Click "New" button in the toolbar to start the multistep New Project wizard dialog.
| Upload of project icon is not possible until after the project is created. |
Project Type
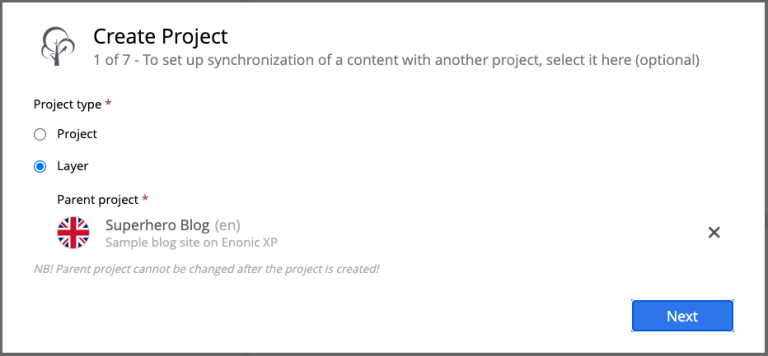
On the first step of the Wizard select what type of project you want to create. Select "Project" for a top-level Content Project, or "Layer" if you want to set up a localised project which will synchronise its contents with an upstream project/layer. In the latter case you will also be asked to select the upstream project.
Default Language
Optional "Default Language" setting will determine default language for a new content that will be created in the root of this project.
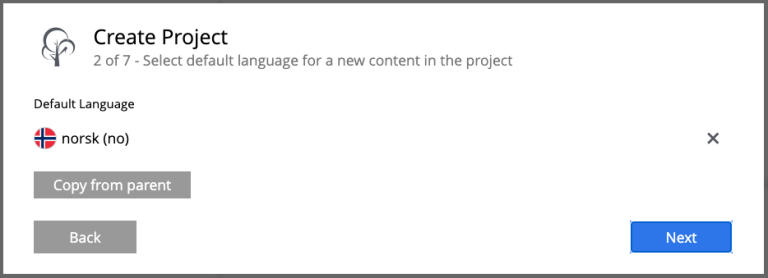
| If an upstream project is selected, you can use "Copy from parent" button to quickly select this setting from the upstream project. |
Access Mode
On the Access mode step you can configure READ access to content items inside the project.
-
Items inside a Public project will by default be visible to Everyone.
-
Items inside a Private project will NOT be visible to Everyone. Only principals with project roles (see below) or administrators will be able to access the content.
-
By choosing Custom access you will limit READ access to specific principals in the system (in addition to project roles and administrators). This is useful if you want to give READ access for content inside the project to users from other projects.
| Principals that were given Custom access will be added to a special project role called "Viewer". |
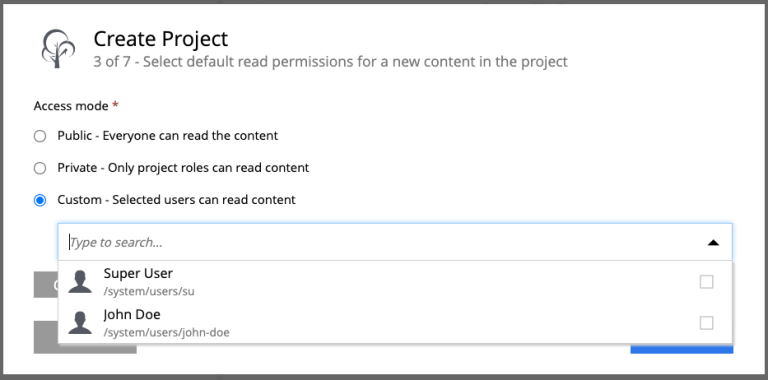
| If an upstream project is selected, you can use "Copy from parent" button to quickly select this setting from the upstream project. |
Roles
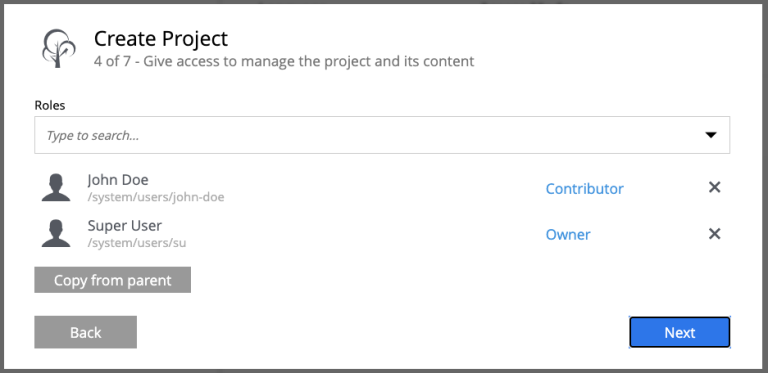
Every project has a fixed set of roles that can be used to assign different levels of permissions inside a project to users or groups. A principal must have at least one of these roles to be able to access the project in the Content Studio.
-
Contributor has access to the project in Content Studio but can only view the content inside.
-
Author: same as Contributor + create, modify and delete content. Author is not allowed to publish content, create sites or change their configuration.
-
Editor: same as Author + publish content and modify content permissions.
-
Owner: same as Editor + create and configure sites, and modify project settings.
| If an upstream project is selected, you can use "Copy from parent" button to quickly select this setting from the upstream project. |
Applications
You may assign applications to the project. This will enable usage of content types and controller mappings defined in the assigned applications when creating or rendering content outside of sites. This is especially useful for management of headless content as opposed to site-oriented approach.
Only applications containing site.xml can be assigned to content projects. |
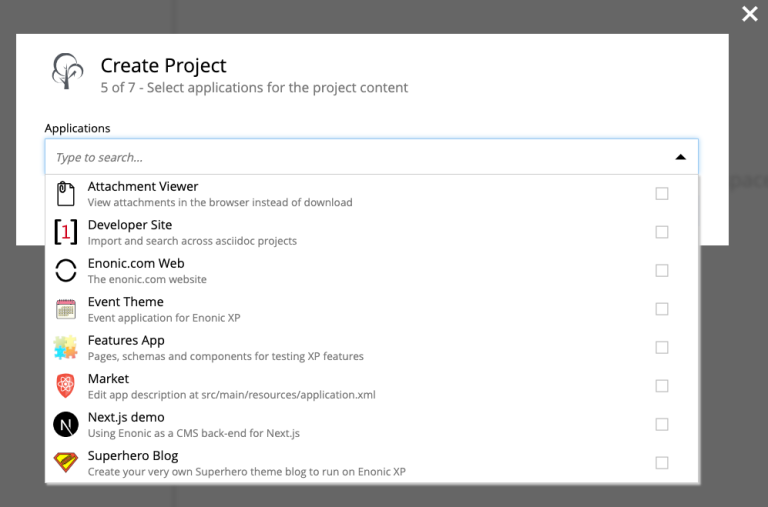
| Applications assigned to projects will not work for a site or content items inside a site. Assign applications directly to the site if you want to use them for site contents. |
Base Properties
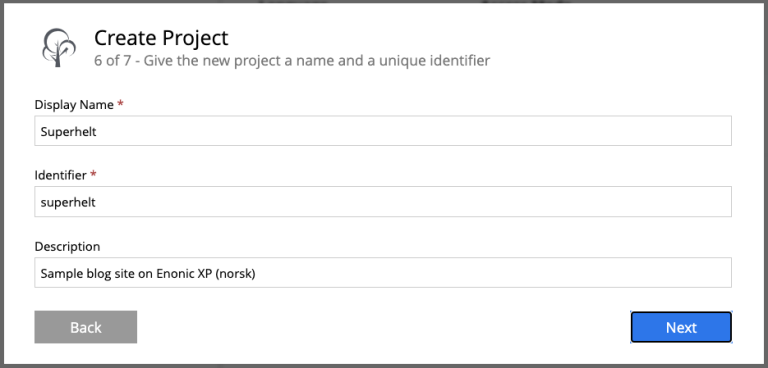
Fill in display name and - optionally - description for your new project. Value in the Identifier field will be auto-generated based on the display name. This value will be used in the repository name of the project and therefore cannot be changed after the project has been created. For example, if you enter "My cool project" into the Display name field, the system will auto generate "my-cool-project" in the Identifier field and upon save the new repository will be called com.enonic.cms.my-cool-project.
| You can only use alphanumeric characters and "-" in the Identifier field. Value of the field will be validated for uniqueness. |
| If you are creating a layer (an upstream project is selected) and have selected Default Language on a previous step, the system will try to predict/preset values in the Display Name and Description fields based on combination of the upstream project’s display name/description and the new layer’s language. |
Summary
Last step of the Wizard allows you to verify settings of the new project you are about to create.
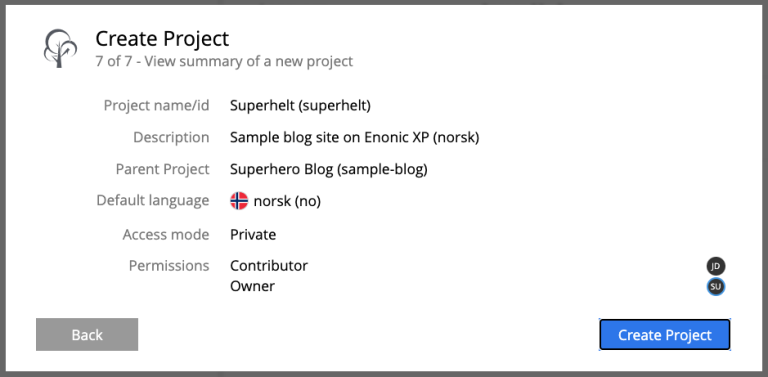
Click the "Create" button to create a new project or layer.
| If you have created a new layer, the synchronisation job will kick in and inherit content from the upstream project/layer. |