Application development
Contents
An application is the defacto way of adding functionality Enonic XP. Almost everything you’ll be using and interacting with in Enonic is an app.
For instance, you already have several applications installed, some of them even accessible from the XP menu.
| Not all installed apps will show on XP menu, this is something that is configured on app level. |
To clarify on the previous claims, here are some examples of XP apps that have already been installed on your sandbox:
-
Enonic’s content authoring interface - Content Studio is an app
-
Enonic’s headless CMS GraphQL API - Guillotine is also an app.
-
Even your own project idea will most likely also be an app.
In the end, apps are compiled and then deployed to XP instances where they run.
Starters
Creating a project from scratch can be a daunting task for any system you’re not familiar with. To make things easier for you, Enonic provides a range of different templates (known as starters).
| The complete list of starters can be found on the Enonic Market. |
For our first app, we’ll use the "Vanilla" starter. This starter contains the bare minimum. We’ll use this to familiarize ourselves with how an XP app is structured and how to deploy it on your sandbox.
Run this command to create your application:
enonic project create --sb tutorial -r starter-vanilla -d myapp -v 1.0.0 -n com.example.myappThis command links the app to the tutorial sandbox, uses starter-vanilla as a template, places the code in the folder myapp, sets version to 1.0.0, and finally gives the app the name com.example.myapp.
You don’t need to open the starter docs, so type N and press Enter if asked. |
| Project names matter. XP does not support running two apps with the same name within a single instance. |
The project directory contains a fairly minimal XP application. The most relevant parts of the directory are:
build.gradle (1)
gradle.properties (2)
src/
  main/
resources/ (3)| 1 | The main build file for defining dependencies and more build-related details. |
| 2 | Contains the standard project settings, as defined by the CLI. |
| 3 | The main project folder. JavaScript code and assets are placed here. |
Deploy your app
Now that we’ve set up a project, let’s see how we build (or compile) and deploy the project to the sandbox. Again, the CLI is key to making this process as smooth as possible.
Here are the steps we need to take:
-
Change to the project directory:
cd myapp -
Start the deploying with Enonic CLI:
enonic project dev
While deploying the project, the CLI will print what it’s doing to your terminal. It will look something like this:
Building in sandbox 'tutorial'...
Starting a Gradle Daemon (subsequent builds will be faster)

BUILD SUCCESSFUL in 5s
3 actionable tasks: 3 executed| Gradle got you worried? Enonic uses Gradle to support other programming languages and tools beyond JavaScript. Just stay calm and continue the journey! |
This copies the application .jar file to your sandbox’s home/deploy/ folder when changes are made. Since in this case we deployed myapp.jar into tutorial sandbox, we should expect that file to be on ~/.enonic/sandboxes/tutorial/home/deploy.
| .enonic is the folder used by CLI to manage your sandboxes and Enonic XP distributions. |
XP picks up on this automatically and starts the app for you. The enonic project dev command will automatically pick up changes and deploy your project.
If you want to build or deploy your project manually, you can use the enonic project build and enonic project deploy commands. |
To confirm that your application was started correctly, you can look at the logs in the sandbox’s terminal window. They should say something like this:
[...] - Local application [com.example.myapp] installed successfully
[...] - Application [com.example.myapp] started successfully
You can also verify that the application was installed correctly from the welcome page http://localhost:8080, or from the XP admin via XP Menu → Applications:
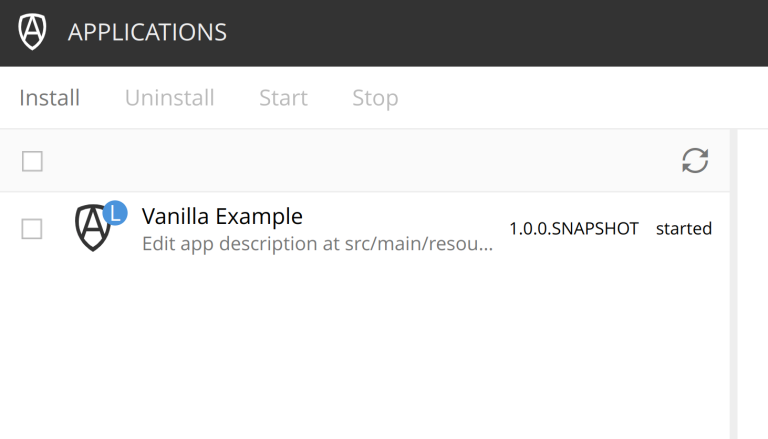
You’ve now successfully built and deployed your first Enonic XP application!
Changing apps display name
You might have noticed that the application we created is listed as "Vanilla Example". What if you wanted to change that to something more descriptive? To do that, we can head to the gradle.properties file in the project’s root directory. Change the appDisplayName to whatever you want it to display.
Similarly, you can change your application’s description to something more appropriate at the file src/main/resources/application.xml by replacing the stock text inside of the description element.
After those changes, redeploy your app and revisit your installed applications list:
Troubleshooting
If the application doesn’t show up under the Applications tab in XP after you’ve run enonic project deploy, check the logs (for the build first, and then for XP) for errors. The build might have failed or something may have gone wrong when deploying.
If the build works, but nothing shows up in the Applications tab, make sure you’re on the right sandbox. The CLI deploys to the sandbox specified during the project creation, and that’s stored in the project’s .enonic file, which is placed in the project directory root. This has to match the name of the sandbox that’s running:
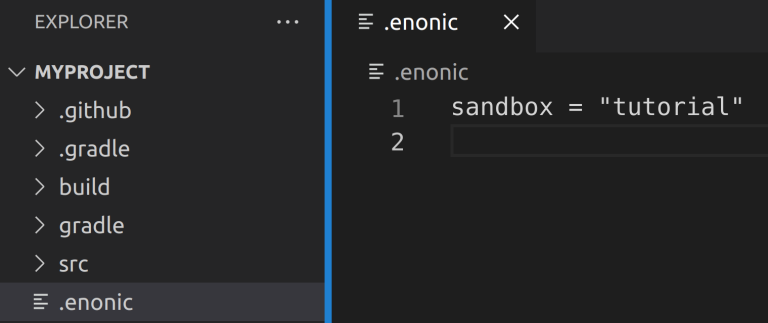
|
You may change the applications sandbox by running the following command from your project root: And then select the desired sandbox. |
Manual deployment
If you’ve checked that you’re running the right sandbox and that the deploy succeeded, but you’re still not seeing the application, you can do a manual deploy.
The project build result is available in the build/libs directory of the project. You can copy this .jar file to the sandbox’s home/deploy directory. This will make XP pick it up. If you’ve used the suggested names in the steps above (and the default directories for XP configuration), this command will move the file for you on Unix systems when run from the project root:
mv build/libs/myapp.jar ~/.enonic/sandboxes/tutorial/home/deploy/| If you had to deploy manually when going through this tutorial, please get in touch on the community slack so we can improve the documentation and the process. |
Summary
You have now created, built and deployed an application to your sandbox. Next up you’ll get familiar with Content Studio and content types.