X-data
Contents
X-data (short for eXtra-data) is a smart way of dynamically extending existing content types with more fields.
The idea is to basically define new fields and decide to what content type those fields should be applied to. If no content type is selected while creating an X-data, those fields will be enabled to all content types.
In Content Studio, X-data is visually displayed as a new step in the form, listed below the content type’s standard fields.
| The tasks and examples in this chapter are based on work done in previous chapters (starting with the sandboxes chapter). If you want to follow along with the examples, make sure you’re all caught up. |
Your first X-data
If your requirement is to add new fields to a specific content type, it doesn’t make sense to use X-data, since you can directly update that content type.
Now, if your requirement is to add new fields to multiple content types, that is when X-data comes into place.
The same behaviour of extending multiple content types can be achieved through mixins. You can create a mixin and add it to the content types you want to extend the fields. The difference is where the data on those fields will be stored, and also in the fact that X-data are easier to maintain when adding to a lot of content types.
Let’s now add a "notes" X-data, which will extend both Artist and Animal content types.
Similar to content types, X-data schemas have a specific naming and placement convention within your app: src/main/resources/site/x-data/<xdata-name>/<xdata-name>.xml.
-
Create the "notes" X-data schema:
site/x-data/notes/notes.xml<x-data> <display-name>Notes X-data</display-name> <form> <input name="notes" type="TextLine"> <label>Notes</label> <occurrences minimum="0" maximum="3"/> </input> </form> </x-data> -
Additionally, you need to define the injection rules for the X-data, and for that you need to edit the
site.xmlfile:src/main/resources/site/site.xml<site> <x-data name="notes" allowContentTypes="com.example.myapp:artist|com.example.myapp:animal"/> <form/> </site> -
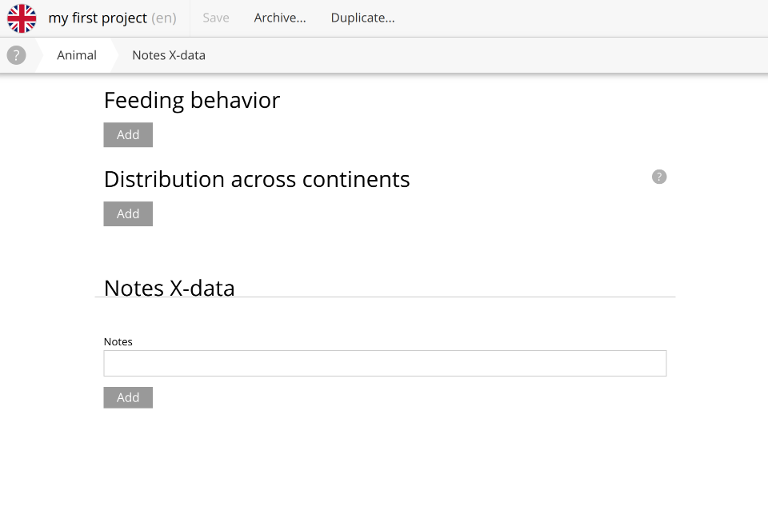
Redeploy your app and access a Artist or an Animal content. You should see the following section in the bottom of the form:
-
Finally, add some notes to some content.
| For more details and configuration options for X-data, visit the X-data documentation. |
Headless
As you might expect, your x-data fields are also available via the Guillotine API.
Use the following query to quickly access all x-data fields in your content.
{
  guillotine {
    queryDsl(
      query: {
        boolean: {
          must: [
            {
              term: {
                field: "type",
                value: {
                  string: "com.example.myapp:animal"
                }
              }
            },
            {
              term: {
                field: "displayName",
                value: {
                  string: "Lynx"
                }
              }
            }
          ]
        }

      }
    ) {
      displayName
      xAsJson
    }
  }
}
If you’ve added any values to your Lynx’s Notes X-data fields, this is what you might get.
{
  "data": {
    "guillotine": {
      "queryDsl": [
        {
          "displayName": "Lynx",
          "xAsJson": {
            "com_example_myapp": {
              "notes": {
                "notes": [
                  "Lynx note 1",
                  "Lynx note 2",
                  "Lynx note 3"
                ]
              }
            }
          }
        }
      ]
    }
  }
}
Should you require specific fields only, or wish to drill into more details, for instance by following a reference, use the typed graphQL fields instead of xAsJson. For instance like this:
{
  guillotine {
    queryDsl(
      query: {
        boolean: {
          must: [
            {
              term: {
                field: "type",
                value: {
                  string: "com.example.myapp:animal"
                }
              }
            },
            {
              term: {
                field: "displayName",
                value: {
                  string: "Lynx"
                }
              }
            }
          ]
        }

      }
    ) {
      displayName
      x {
        com_example_myapp {
          notes { (1)
            notes (2)
          }
        }
      }
    }
  }
}| 1 | This is the name of the X-data. In this case, "notes" because we defined it to be like so in the notes.xml file |
| 2 | This is the "notes" field (TextLine input type) inside the "notes" X-data. |
If you made it here - you are officially equipped with an essential overview of Enonic’s content fundamental content modelling capabilities. 🙌
Bonus: SEO Metafields
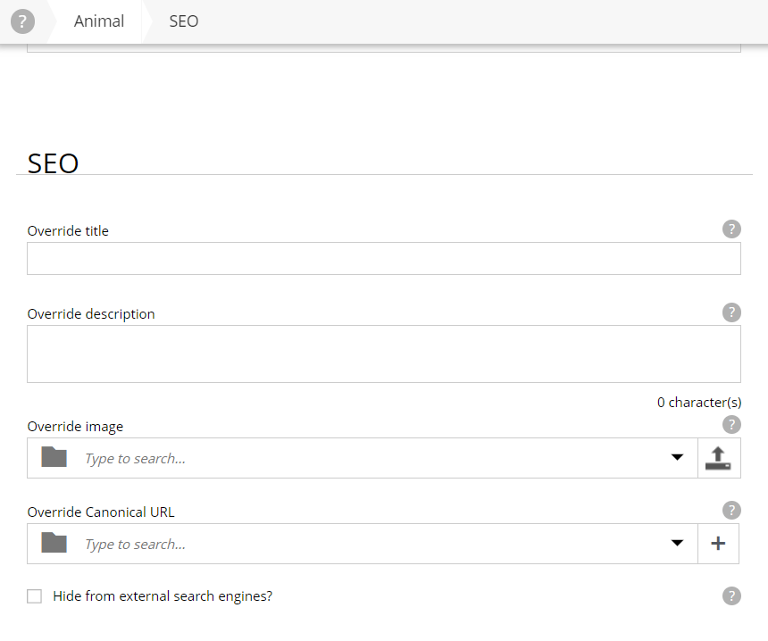
There’s a known app on Enonic market named SEO Metafields app. Its main purpose is to provide SEO capabilities to your project, and for that purpose, it adds a new X-data named meta_data, which is then enabled to all content types in your project.
This is a bonus section, so you’re not missing much to skip it, but it’s worth installing it to better understand capabilities of X-data.
-
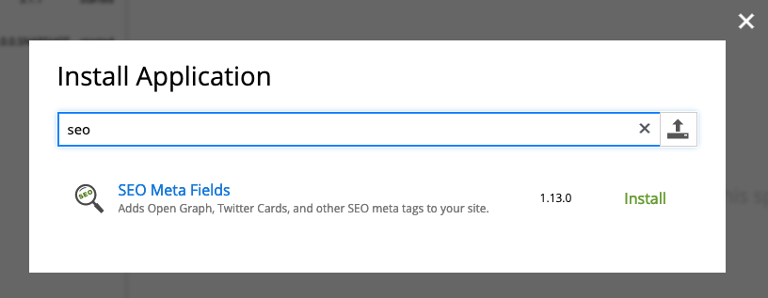
Install the SEO Metafields app.
-
Edit and add the app to your project.
-
Immediately after adding the app to your site, the form should refresh - and add a new step "SEO Metafields":
So, now you have some additional fields for the site. If you check some of your other content items, like an animal. You will see the fields are there as well.