Running the demo
Contents
On this page you will deploy the finished application from this tutorial, without going through the chapters. You get a Next.js front-end running on Vercel, an Enonic back-end with content on Enonic Cloud, and a working preview in Content Studio.
| Want to learn how it works? Start with the first chapter of the tutorial instead. |
To run the demo you will need an account with GitHub, GitLab or Bitbucket. You will sign up for free Enonic and Vercel accounts along the way.
Task: Set up Enonic
-
Sign up for a free Enonic account at https://www.enonic.com/sign-up
-
Create a new solution - After logging in to your account, select
Solutions → Create → Headless Movie DB. This installs all required Enonic apps and sets up the routes needed. -
Find the API URL - From your new solution, click
Environmentsand make a note of the URL to theAPIingress. You will need it when deploying the front-end.
Task: Create a Git repo
To deploy an app, Vercel (the Next.js hosting provider) needs access to a Git repo with the app code, where you have write access.
Vercel uses this access to automatically fetch and build the app based on events. The write permission is used to set up the required webhooks in your Git provider.
-
Clone or fork the demo app - Copy https://github.com/enonic/tutorial-nextjs to your personal GitHub, Bitbucket or GitLab account.
If you are using GitHub, press the Forkbutton at the top right.
Task: Deploy the Next.js front-end
Vercel are the makers of Next.js, and you’ll be using their service to host the front-end.
-
Sign up to Vercel at https://vercel.com/
-
Create a new project - Name it
enonic-demoor similar, and follow the steps to connect it to the Git repo you created in the previous task. -
Add environment variables - These tell the app where to find the API endpoints, and define a secret you will need to access preview mode in a later step.
Name Value ENONIC_APP_NAMEcom.enonic.app.hmdbENONIC_APIURL to the Enonic API root, for example
https://<environment>/apiENONIC_ADMINOptional. Enonic admin URL, only needed if admin is on a different domain than the API
ENONIC_MEDIA_CDNOptional. Media URL, only needed if images and attachments are served from a different domain than the API
ENONIC_API_TOKENA secret of your choice
ENONIC_MAPPINGSen:hmdb/hmdbENONIC_MAPPINGSuses the pattern<locale>:<project>/<site-path>to tell the front-end which project and site to use. -
Verify the deployment - After deploying, the Vercel app should render the front page:
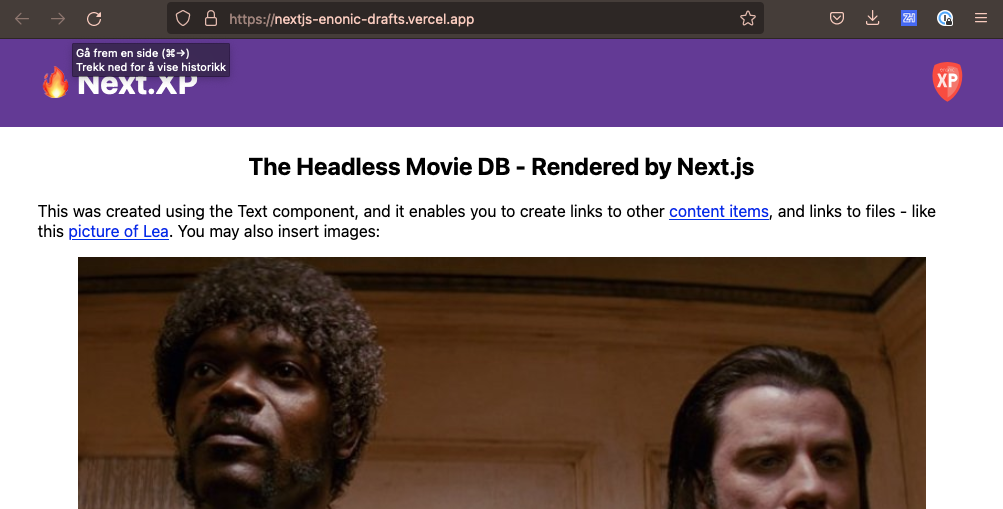
Make a note of the Vercel application URL, you will need it when setting up the preview.
Check the Vercel function logs if you are not getting the expected result.
Task: Activate preview
With the front-end running, it is time to enable preview in Content Studio.
The Next.XP app, which provides the "Next.js Preview" widget, is already installed in the solution, so no changes are needed in Content Studio. The app only needs to know where to find the front-end server.
-
Open the Next.XP app - In the Enonic Cloud console, go to
Applicationsand selectNext.XP.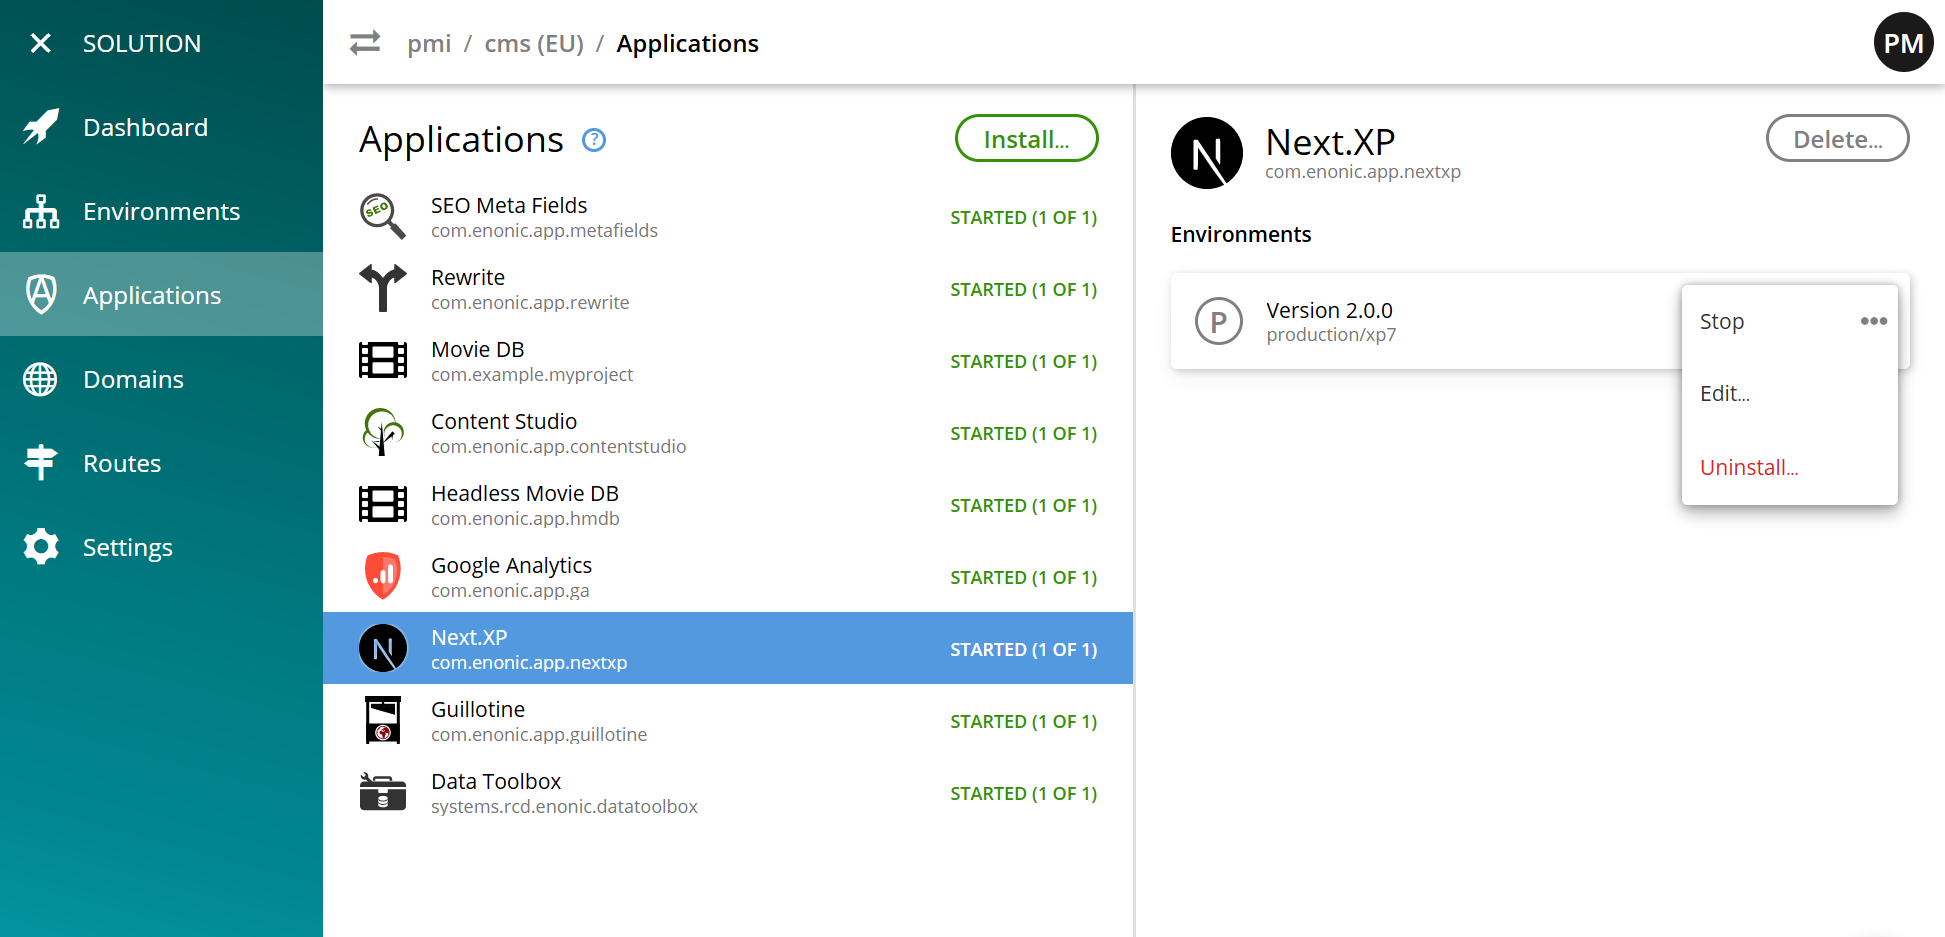
-
Configure the app - Select
Edit…from the app context menu, then add the URL and secret of the Vercel app you deployed in the previous task:nextjs.default.url=<Vercel application URL> nextjs.default.secret=<yourSecret>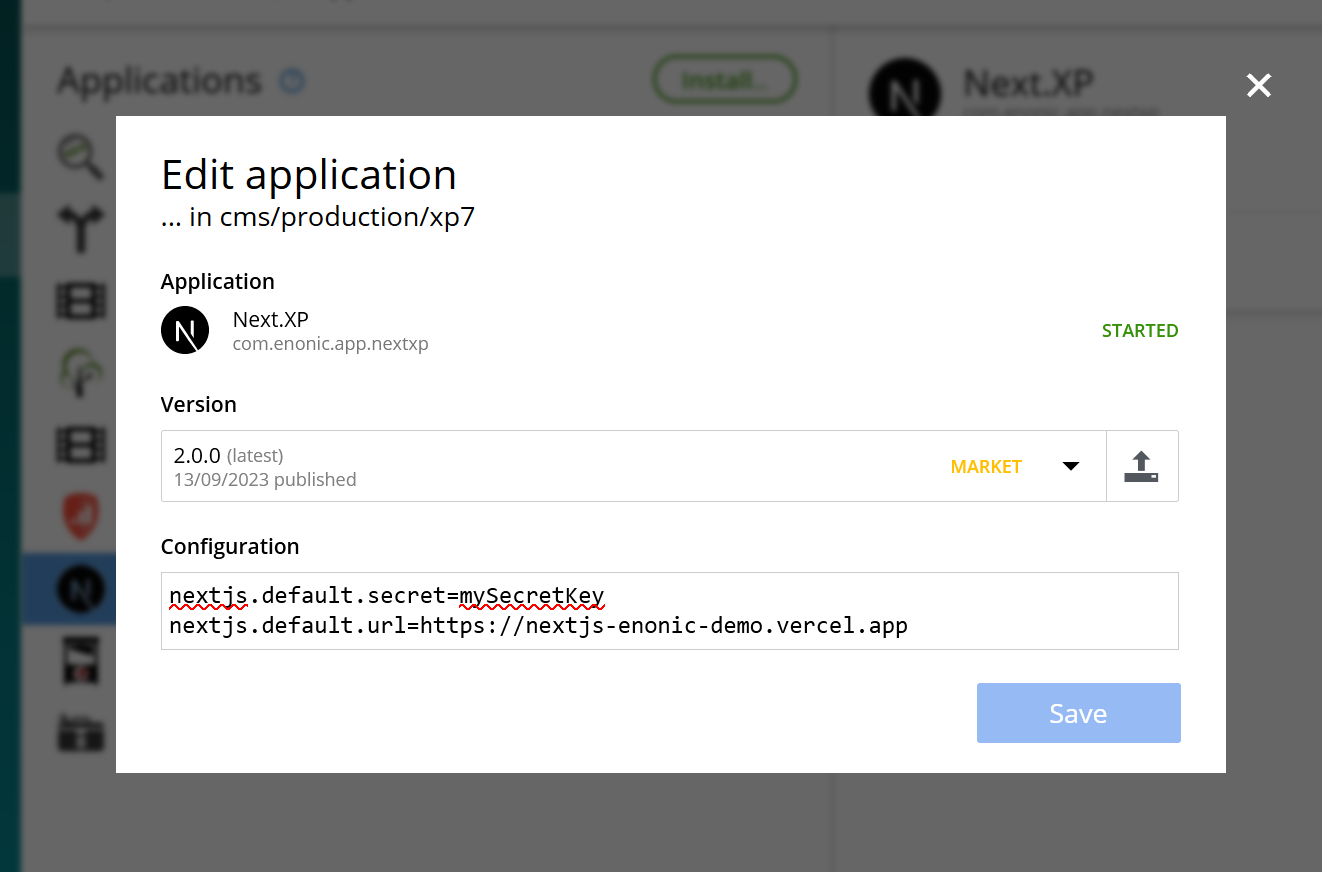
This overrides the default preview configuration for all sites using the Next.XP app. Use a different keyword than defaultto define multiple front-ends. -
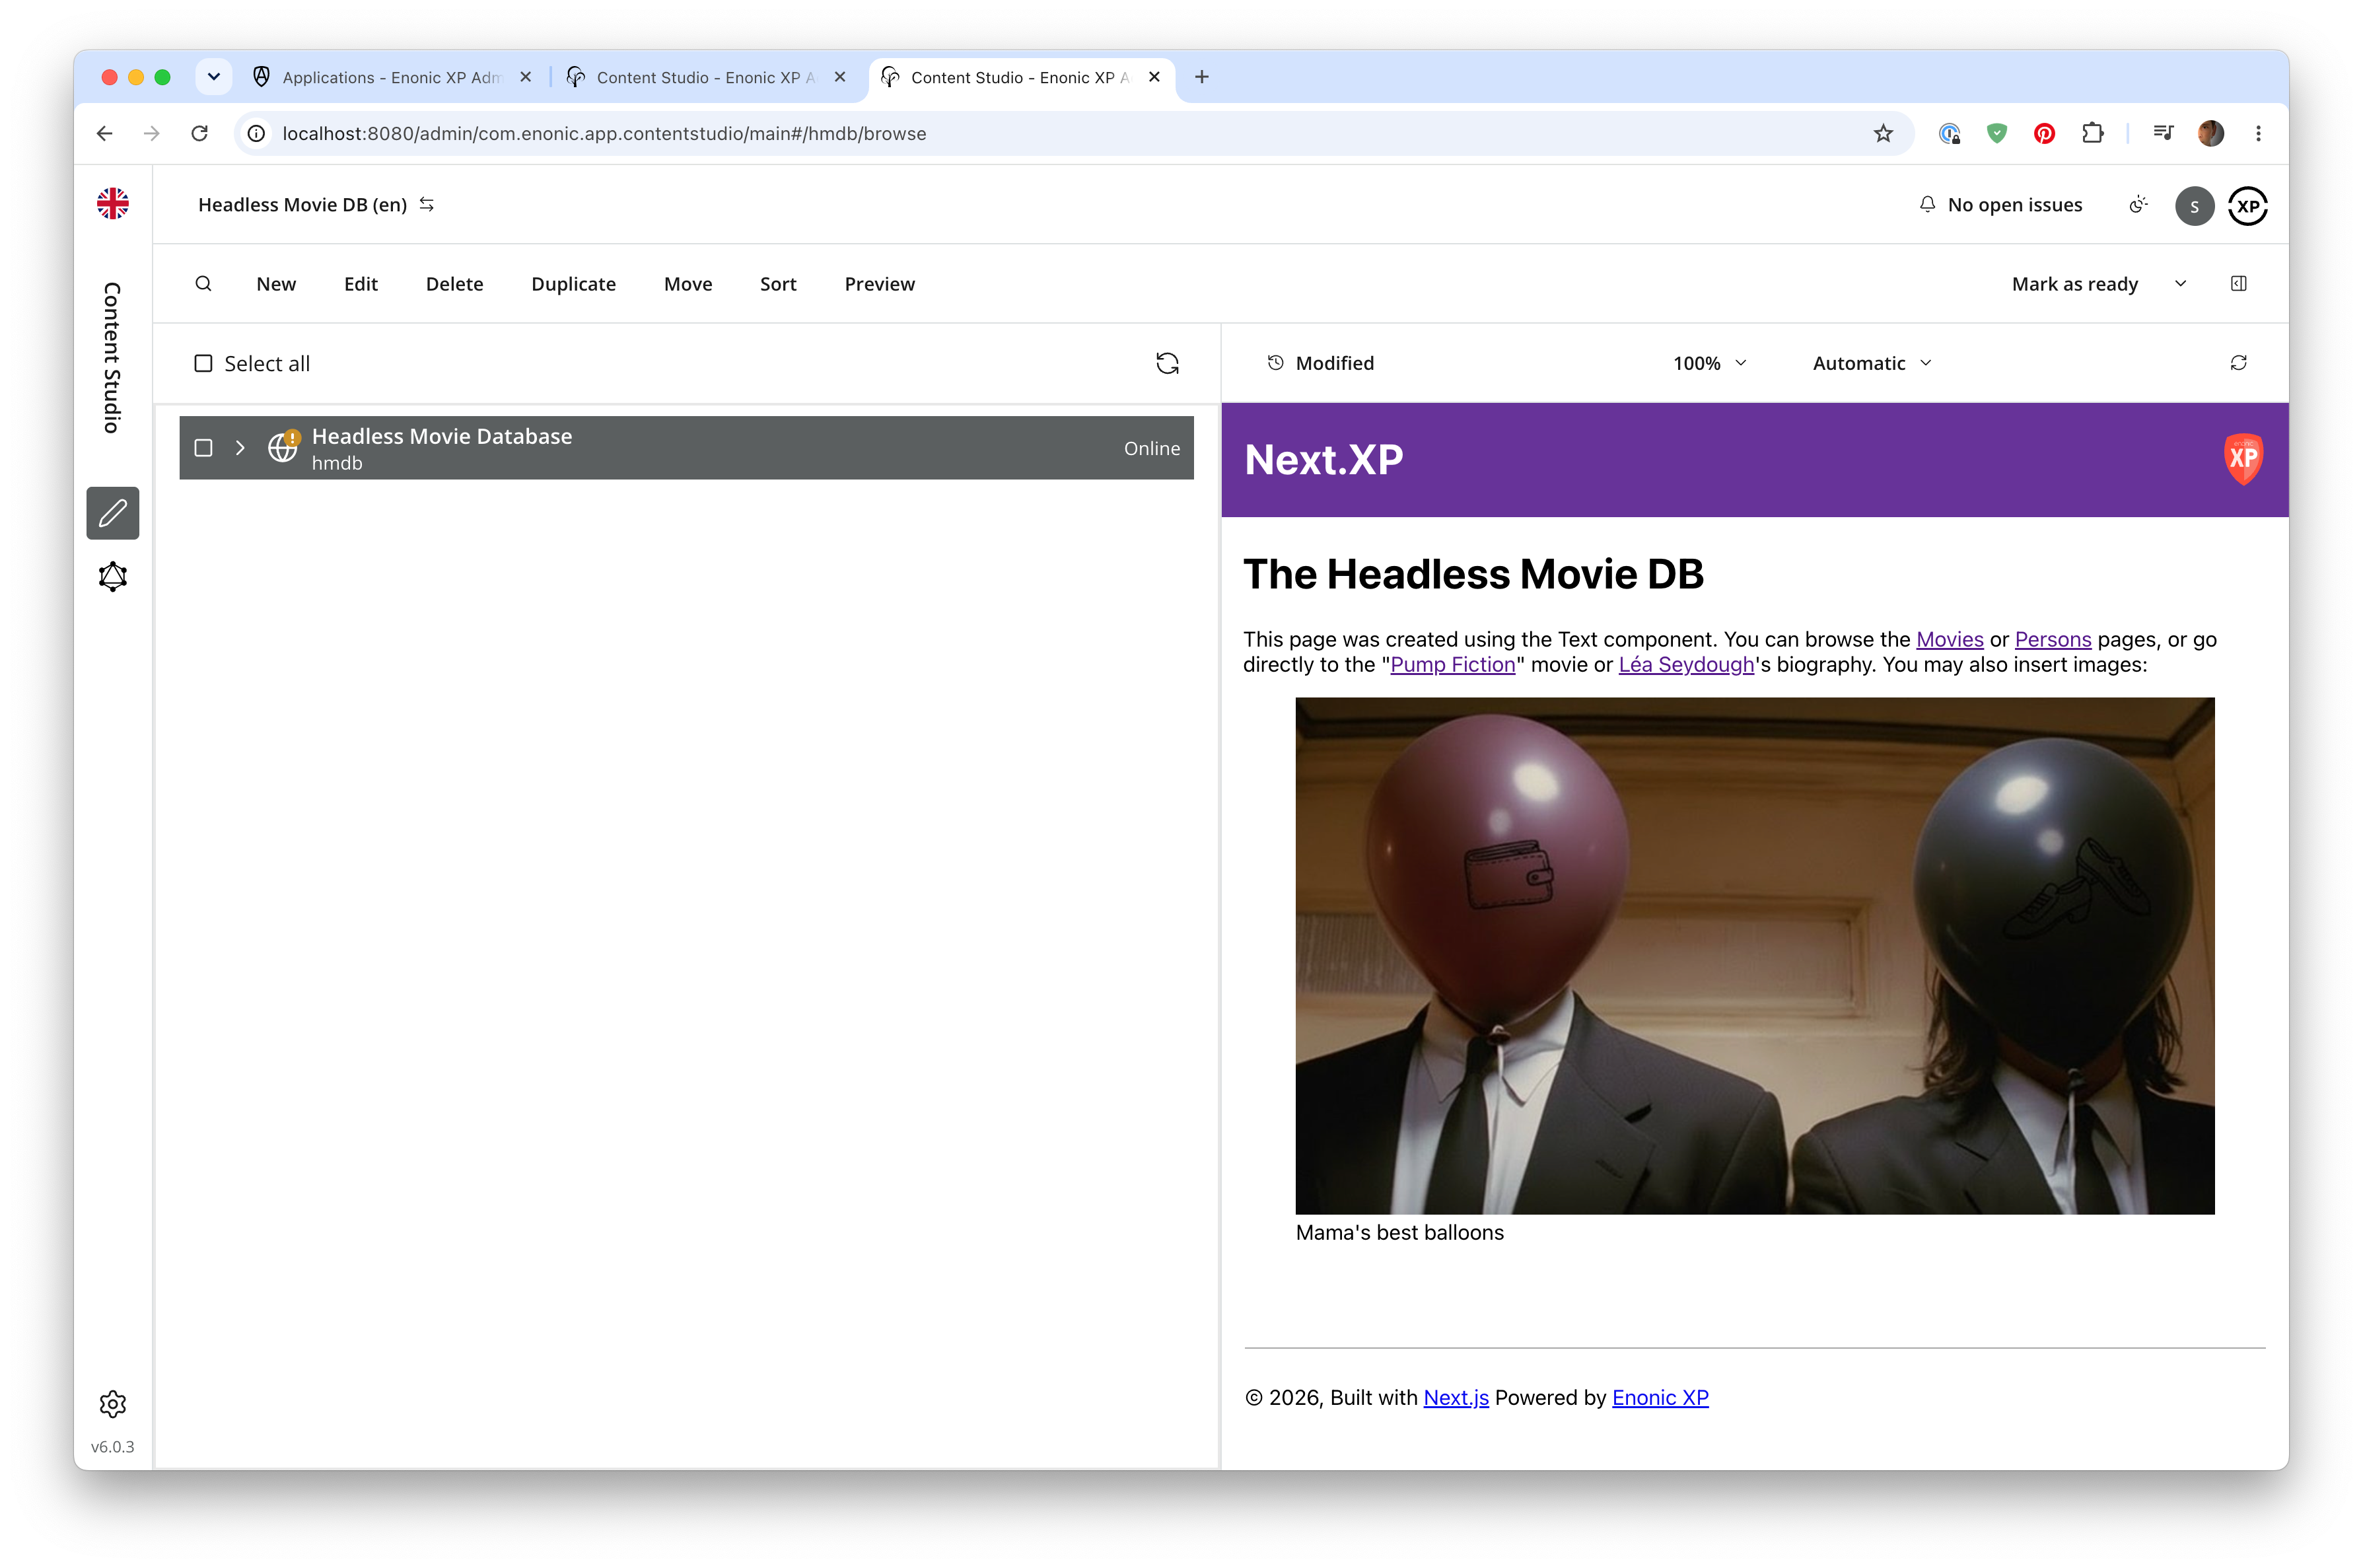
Verify the preview - Save, then launch Enonic XP Admin from the solution dashboard and open Content Studio. The preview should now show your front-end.
How it works
Content Studio asks every widget if it supports preview, and if so, asks the widget to render a preview of the content. When asked, the Next.js Preview widget does the following:
-
Sends an encrypted request to the configured Next.js front-end to fetch the mappings from XP paths to front-end URLs
-
Uses those mappings to generate a front-end URL for the given content
-
Returns the URL to Content Studio, with the encrypted
xpparameter, for direct rendering -
When Content Studio loads the URL, the front-end proxy goes through
/api/previewif the draft/build or XP-session cookies need synchronization, then redirects to the clean content URL
Your edits are only visible in Content Studio, until published.
When you publish changes, the Next.XP app automatically triggers revalidation of all pages in the front-end, and the changes go live.
Each part of the application is explained in the tutorial, starting with setting up Enonic.