Setting up Next.js
Contents
In this chapter you will create a front-end application that renders content from Enonic, using the app and site you created in the previous chapters.
Next.js at a glance
Next.js runs on top of Node.js, and provides a shrink-wrapped approach to building sites using the React framework. Next.js supports both client-side rendering and Server side rendering, as well as pre-generation of static HTML files.
Task: Create the Next.js project
The Next.XP starter gives you a Next.js project that is prepared for Enonic content.
-
Fetch the starter - Open a new terminal window in the folder where you keep your tutorial projects, next to the
tutorial-nextjs-enonicfolder, and run the following command:npx degit github:enonic/starter-nextjs tutorial-nextjs-frontendThis places the project in a new folder called
tutorial-nextjs-frontend.starter-nextjsis based on Next.js' own introduction app, so if you’re familiar with that, you’ll recognize the structure of the files.The starter includes some boilerplate you will customize, and an npm dependency known as the Enonic adapter (
@enonic/nextjs-adapter) that handles the integration with Enonic. -
Check the versions - This tutorial requires the Next.XP 6 starter, with
@enonic/nextjs-adapter6 and@enonic/page-editor2. Checkpackage.jsonbefore continuing: a starter using an older adapter is not compatible with the Guillotine 9 examples in this tutorial.
Code overview
The following file structure should now exist within the tutorial-nextjs-frontend folder:
.env                                (1)
src/
    proxy.ts                        (2)
    components/                     (3)
        _mappings.ts
        queries/
            common.ts
        views/
            Header.tsx
            Footer.tsx
            PageEditorScript.tsx
    phrases/                        (4)
        en.json
    styles/                         (5)
    app/
        layout.tsx                  (6)
        [locale]/
            layout.tsx              (7)
            error.tsx               (8)
            not-found.tsx           (9)
            [[...contentPath]]/
                layout.tsx          (10)
                page.tsx            (11)
        api/                        (12)
            mappings/
                route.ts
            preview/
                route.ts
            revalidate/
route.ts| 1 | Environment variables are placed in this file |
| 2 | Proxy: validates Content Studio preview requests (encrypted xp blob) and enables draft mode through /api/preview, rewrites URLs without a locale prefix to the internal default-locale route and redirects /<default locale>/… to /… |
| 3 | Your implementation of CMS components: the component mappings (_mappings.ts), the common query and ready-made views (header, footer and the page editor script) |
| 4 | Phrase files for multi-language support |
| 5 | Global styles for the site |
| 6 | Root layout required by Next.js |
| 7 | Locale layout: renders <html> and <body>, sets the locale used for static texts and the page metadata |
| 8 | Error page handler |
| 9 | Not found page handler |
| 10 | Content layout: fetches the content and wraps every page with the locale context, the static content wrapper and the draft mode indicator |
| 11 | The main rendering file, catching all requests satisfying the pattern /[locale]/[[…contentPath]] |
| 12 | Folder containing API routes |
Task: Verify the configuration
The default configuration should work for your setup, but verify it to be sure.
-
Open the
.envfile - The following configuration values should match your environment:.env extract:# Provide a unique value which will be used to secure the preview mode ENONIC_API_TOKEN=mySecretKey # Enonic app name, must match the name of your app ENONIC_APP_NAME=com.example.tutorial.nextjs # Enonic XP projects configuration for different locales ENONIC_MAPPINGS=en:intro/hmdb (1) # Absolute URL to the Enonic XP API root ENONIC_API=http://localhost:8080/api (2) # Guillotine API descriptor, appended to ENONIC_API #GUILLOTINE_API=com.enonic.app.guillotine:graphql (3) # Absolute URL to the media API, only needed if media is served from another host (e.g. a CDN) #ENONIC_MEDIA_CDN=http://localhost:8080/api (4) # Absolute URL to Enonic admin, only needed if it differs from the API origin (used for CORS) #ENONIC_ADMIN=http://localhost:8080 (5)1 Mapping an XP project (intro) and site (/hmdb) to the Next.js router. 2 Root of the Enonic API. The Guillotine endpoint is ENONIC_API+/+GUILLOTINE_API.3 Optional. Guillotine API location. Defaults to com.enonic.app.guillotine:graphql.4 Optional. Base URL for images and attachments. Defaults to ENONIC_API.5 Optional. Origin of the Enonic admin UI, used for CORS. Defaults to the origin of ENONIC_API. -
Update any value that differs - In particular,
ENONIC_APP_NAMEmust match the name of the app you created in the first chapter:com.example.tutorial.nextjs.These configuration values can be overridden later when deploying your app to a live server.
Task: Start the server
Time to start the Next.js server and see if things are working as planned.
| Make sure Enonic XP and your app are running on localhost:8080 before you continue. |
-
Start Next.js in dev mode - Run the following commands from the
tutorial-nextjs-frontendfolder:npm install npm run dev -
Verify the result - If Next.js starts without errors, point your browser to http://localhost:3000. The root page lists debugging details:
Application root page, showing debugging detailsPage: { "type": "page", "path": "/" } Common: { "get": { "displayName": "HMDB", "_id": "3584c396-25cb-497e-b1f4-dc2bf0de4b5a", "type": "portal:site", "dataAsJson": { "description": null }, "xAsJson": {} }, "getSite": { "displayName": "HMDB", "_path": "/hmdb" } }The _idvalues differ from installation to installation.Running Next.js in
devmode normally works fine. Should you experience "strange issues", try deleting the.next/folder and restarting the server.For more details on starting Next.js, check out the Next.js CLI docs.
Leave Next.js running in this terminal window. To stop it, press ctrl-c. To resume the tutorial later, start the sandbox with enonic sandbox start tutorial_nextjs, run enonic dev from the tutorial-nextjs-enonic folder, and then npm run dev from the tutorial-nextjs-frontend folder.
Next.js URL patterns
The URL structure of your front-end mirrors the structure of the content in the CMS. http://localhost:3000 is mounted to the site root, which in this case has the internal path /hmdb.
Using the Movie s7ven as an example:
Page:
{
  "type": "page",
  "path": "/"
}
Common:
{
  "get": {
    "displayName": "S7ven",
    "_id": "1cb3dbf4-31d1-4e8a-816a-8cf891de7ad6",
    "type": "com.example.tutorial.nextjs:movie",
    "dataAsJson": {
      "trailer": "https://youtu.be/znmZoVkCjpI",
      "cast": [
        {
          "actor": "6414dc62-a3a1-4772-961f-06cb85b1bbb7",
          "character": "Somerset"
        },
        {
          "actor": "3a7b833f-3c37-4d55-88ae-cea21c556c68",
          "character": "Mills"
        }
      ],
      "website": null,
      "release": "1995-09-22",
      "subtitle": "Chilling thriller with a plot beyond belief",
      "abstract": "Two detectives, a rookie and a veteran, hunt a serial killer who uses the seven deadly sins as his motives.",
      "photos": [
        "6ca58af1-6810-4fae-b51b-f70e01fc4c17",
        "5cb115db-eb1c-4314-8376-2cb711dea5bd"
      ]
    },
    "xAsJson": {
      "com-example-tutorial-nextjs": {
        "SoMe": {
          "twitter": null,
          "imdb": "https://www.imdb.com/title/tt0114369/",
          "instagram": null
        }
      }
    }
  },
  "getSite": {
    "displayName": "HMDB",
    "_path": "/hmdb"
  }
}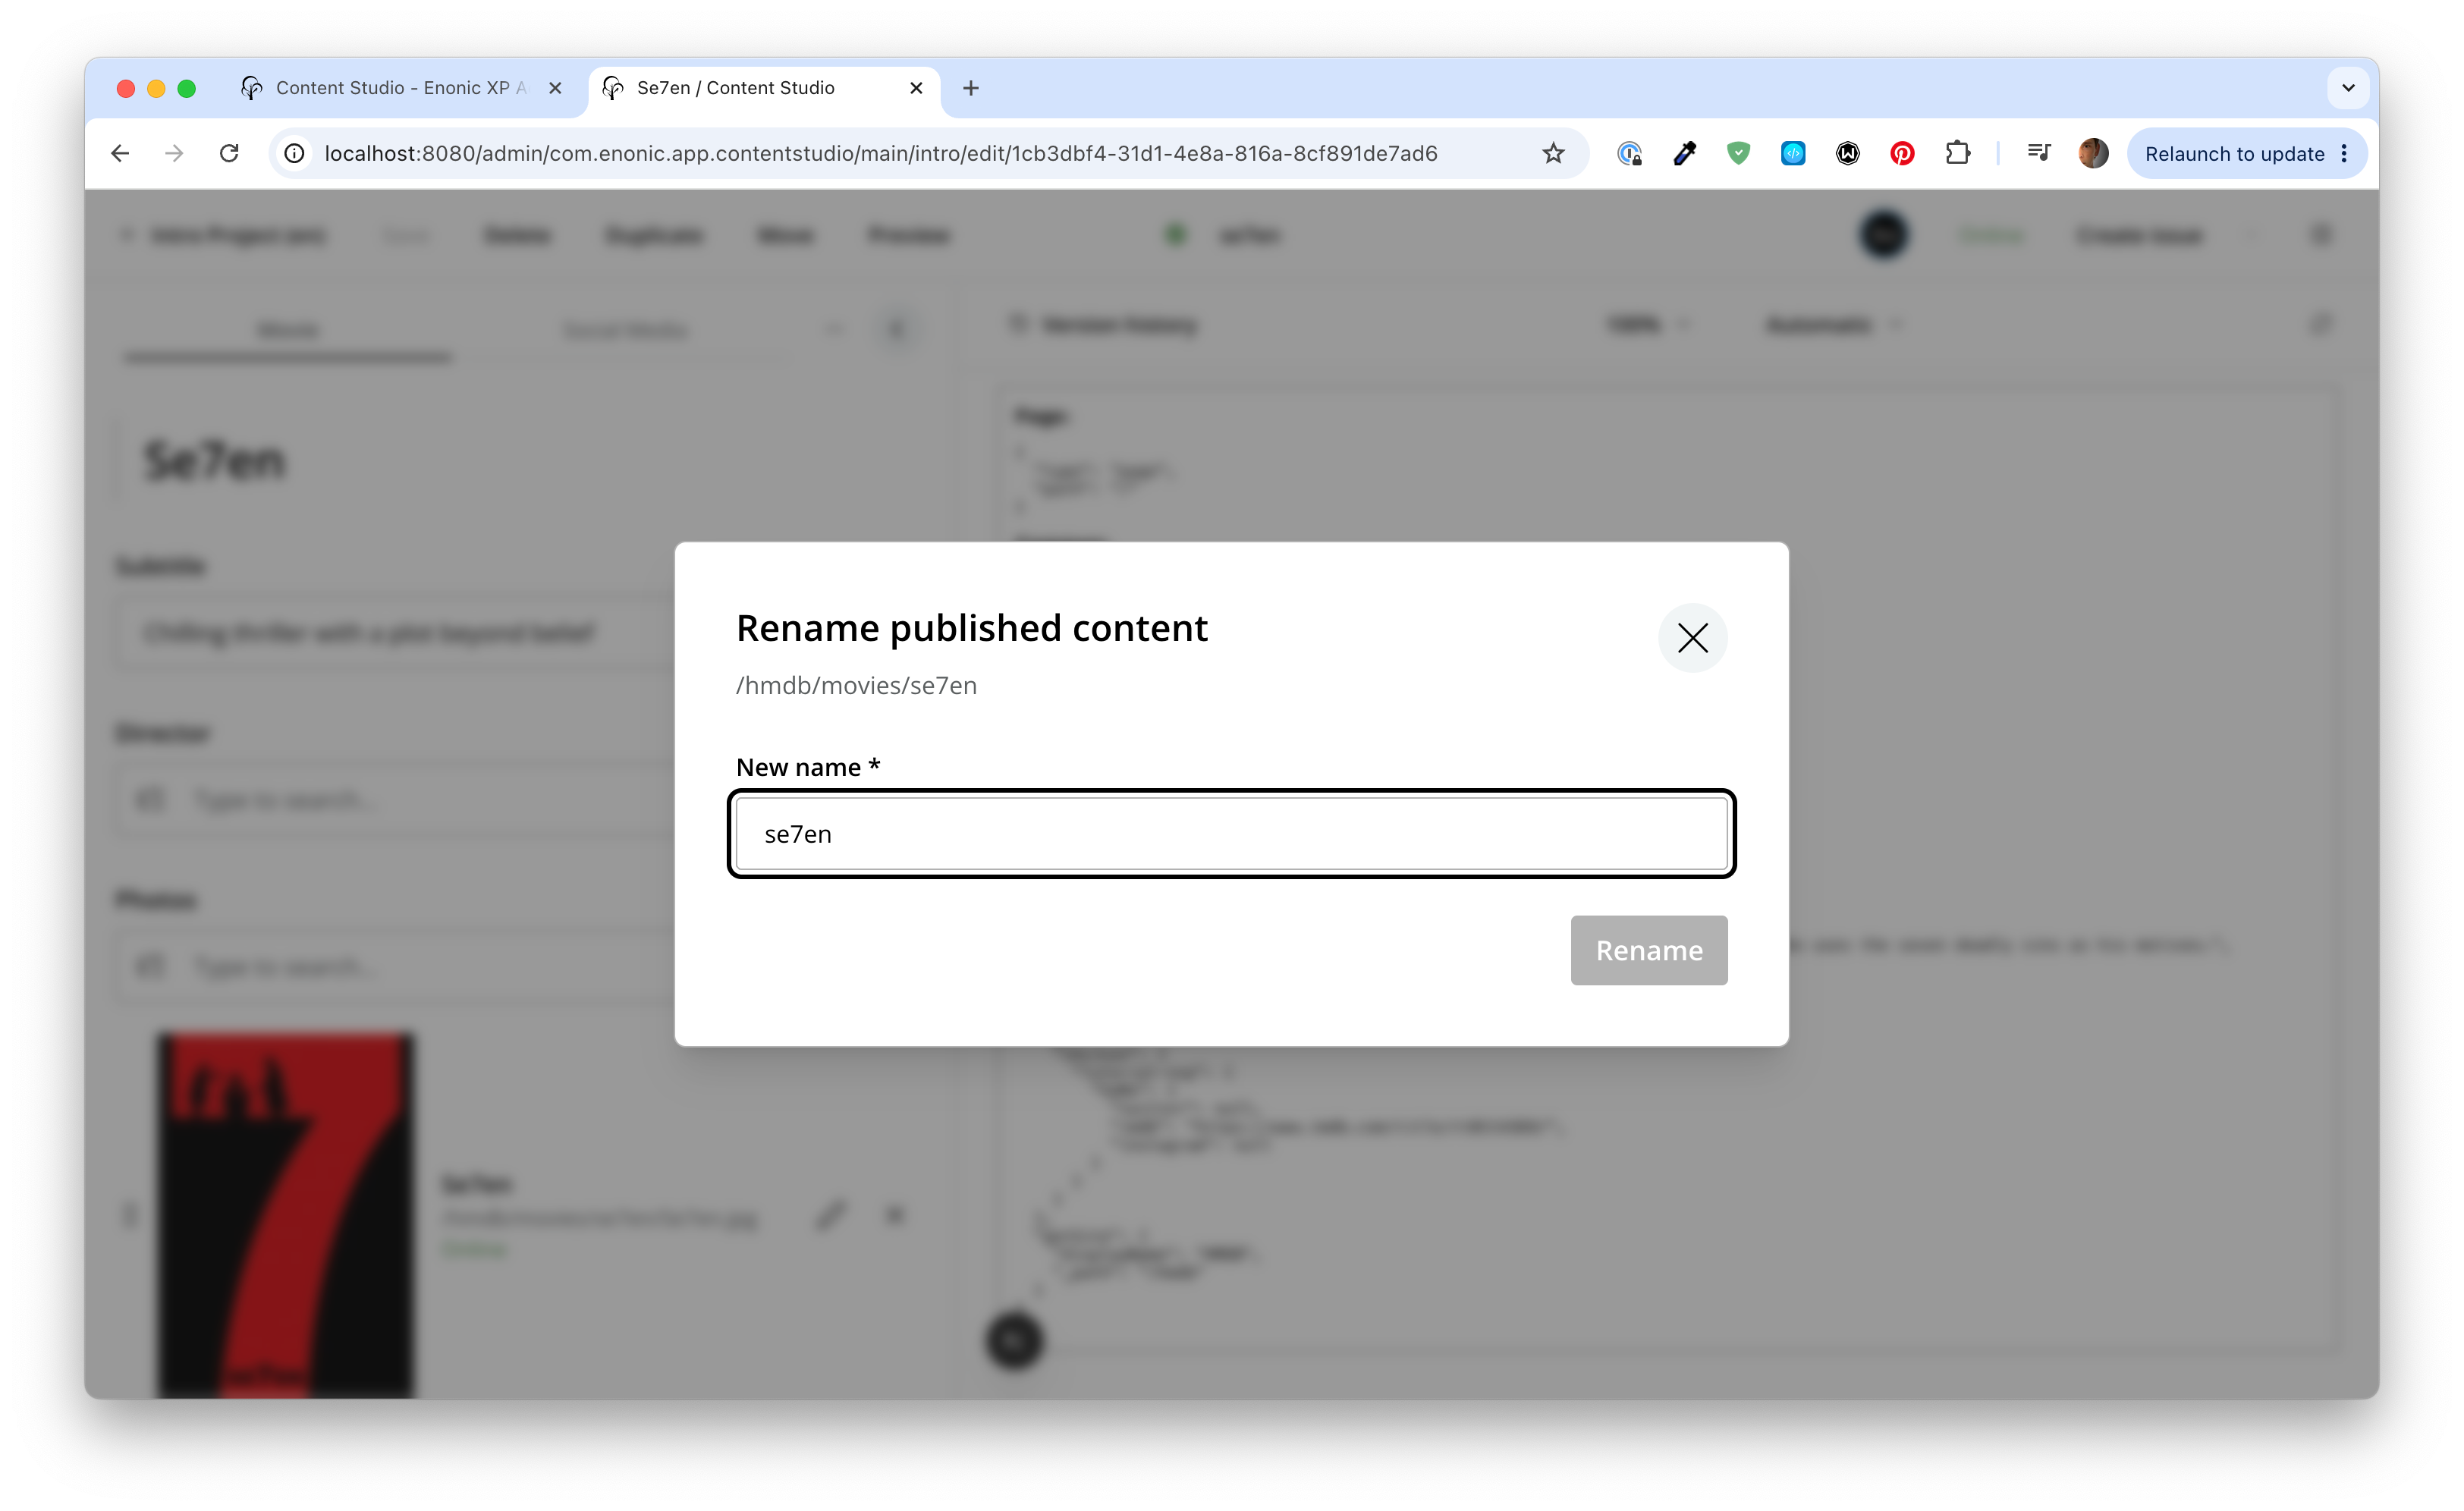
/hmdb/movies/s7ven
Task: Visit some more pages
Give the default rendering a spin.
-
Try some other URLs, for example:
-
Verify the rendering - Each page lists the props of the content item at that path.
Summary
You’ve created a Next.js project from the Next.XP starter, verified its configuration, and started it in dev mode. The front-end now lists the props of every content item in the HMDB site, on URLs that mirror the content structure.
Next, you’ll customize the rendering.