Parts
Contents
In this chapter you will add configurable parts to your pages: a list of child items and, optionally, a heading.
Enonic provides a highly customizable component type called parts. You have already created one, called Paragraph, in the previous chapter. Like page components, parts must be defined in both Enonic and Next.js to fully work.
Task: Add a part to Enonic
Start by adding a component that lists child items in the tree structure.
-
Check the part descriptor - Verify that the Enonic app (not the Next.js front-end) has the
child-listpart descriptor at:src/main/resources/cms/parts/child-list/child-list.yamlkind: "Part" title: "Child list" description: "Lists children of current item" form: - type: "ComboBox" name: "sorting" label: "Sort order" occurrences: min: 0 max: 1 options: - value: "displayName ASC" label: "Ascending" - value: "displayName DESC" label: "Descending" default: "displayName ASC"This component also contains a form, similar to content types. This means editors can configure it, sorting the items in ascending or descending order. -
Redeploy your Enonic app - This is only needed if you had to add the descriptor, and happens automatically if you started
enonic dev. It makes the new part available in Content Studio. -
Add the part to a page - Back in Content Studio, edit the
/hmdb/personsfolder item. Open the Context Panel (Show Context Panelin the top right corner), selectPagein the widget dropdown and chooseMainin the Template dropdown to turn the folder into a page. DragPartfrom theInserttab into the region, then selectChild listin the part dropdown of theInspecttab. -
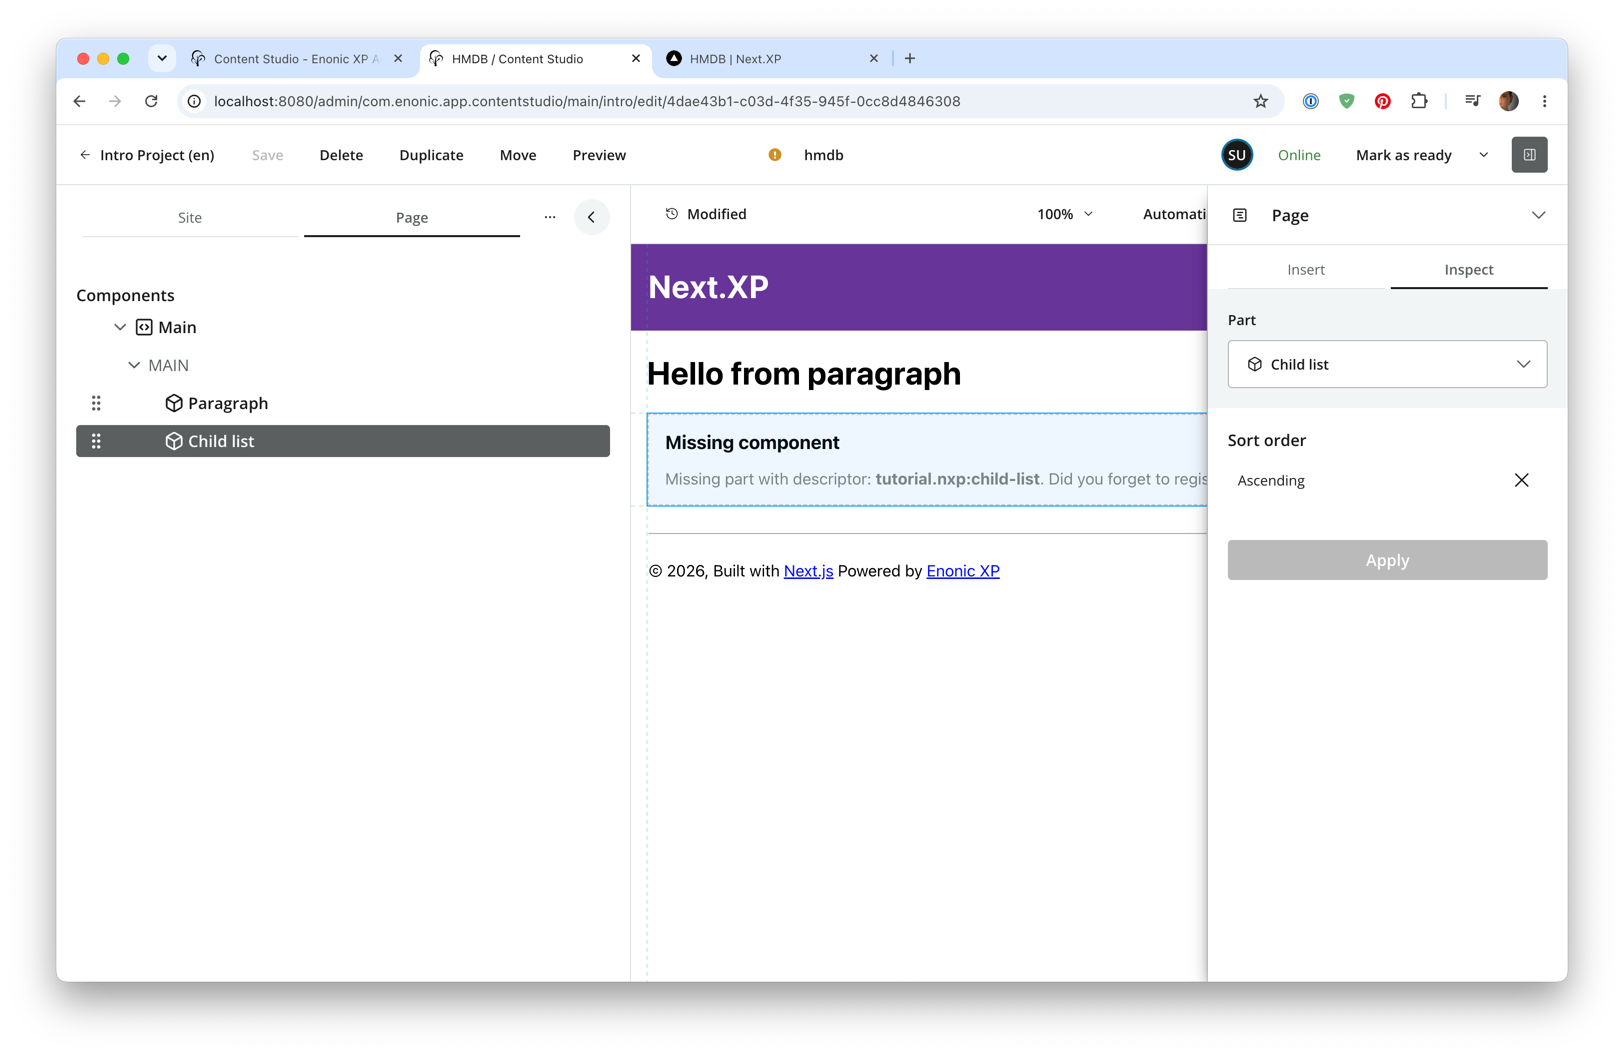
Verify the result - The part appears without any changes to the front-end. This is because the Enonic adapter contains fallback part rendering, as long as Next.js is running in dev mode.
Task: Configure part rendering in Next.js
Over in the front-end, register a new component that supports rendering of this part.
-
Add the part implementation to the Next.js app:
src/components/parts/ChildList.tsximport { Context, PartProps, VariablesGetterResult, GlobalVariables, pageUrl, pageUrlQuery, } from '@enonic/nextjs-adapter'; import Link from 'next/link'; import React from 'react'; const FORBIDDEN_TYPES_REGEXP = "^media:.*|portal:fragment|portal:template-folder|portal:page-template$"; const ChildList = (props: PartProps) => { const {data, meta} = props; const children = data.get.children; if (!children || children.length === 0) { return null; } return ( <main style={{ margin: `0 auto`, maxWidth: 960, padding: `0 1.0875rem`, }}> { children && <ul>{ children.map((child: any, i: number) => ( <li key={i}> <Link href={pageUrl(child.pageUrl, meta)} data-content-path={child._path}>{child.displayName}</Link> </li> )) }</ul> } </main> ); }; export default ChildList; export const getChildList = { query: function (vars: GlobalVariables, context?: Context, config?: any): string { return `query($order: String) { guillotine(scopeKey: $scopeKey, branch: $branch, project: $project) { getSite { displayName } get(key: $path) { displayName children(sort: $order, first: 50) { _path _id displayName type ${pageUrlQuery()} } } } }` }, variables: function (vars: GlobalVariables, context?: Context, config?: any): VariablesGetterResult { return { ...vars, order: config?.sorting } } }; export async function childListProcessor(data: any, context?: Context, config?: any): Promise<any> { // exclude forbidden types data.get.children = data.get.children?.filter((child: any) => !child.type.match(FORBIDDEN_TYPES_REGEXP)); return data; } -
Register the component - Update
_mappings.tswith the following new lines:src/components/_mappings.tsimport ChildList, {childListProcessor, getChildList} from './parts/ChildList'; // Part mappings ComponentRegistry.addPart(`${APP_NAME}:child-list`, { query: getChildList, processor: childListProcessor, view: ChildList });As you may have noticed, this component has a query, a view and a processor. Processors are optional JavaScript functions that can do whatever you need them to, for instance fetch data from another source than the CMS, or post-process the query response before it is passed to the view.
The Enonic adapter executes the query, passes the result via the processor, and then to the view which renders the component.
Like macros, all page components support configQuery. Here though, ifconfigQueryis omitted, theconfigprop falls back to the raw form values viaconfigAsJson. -
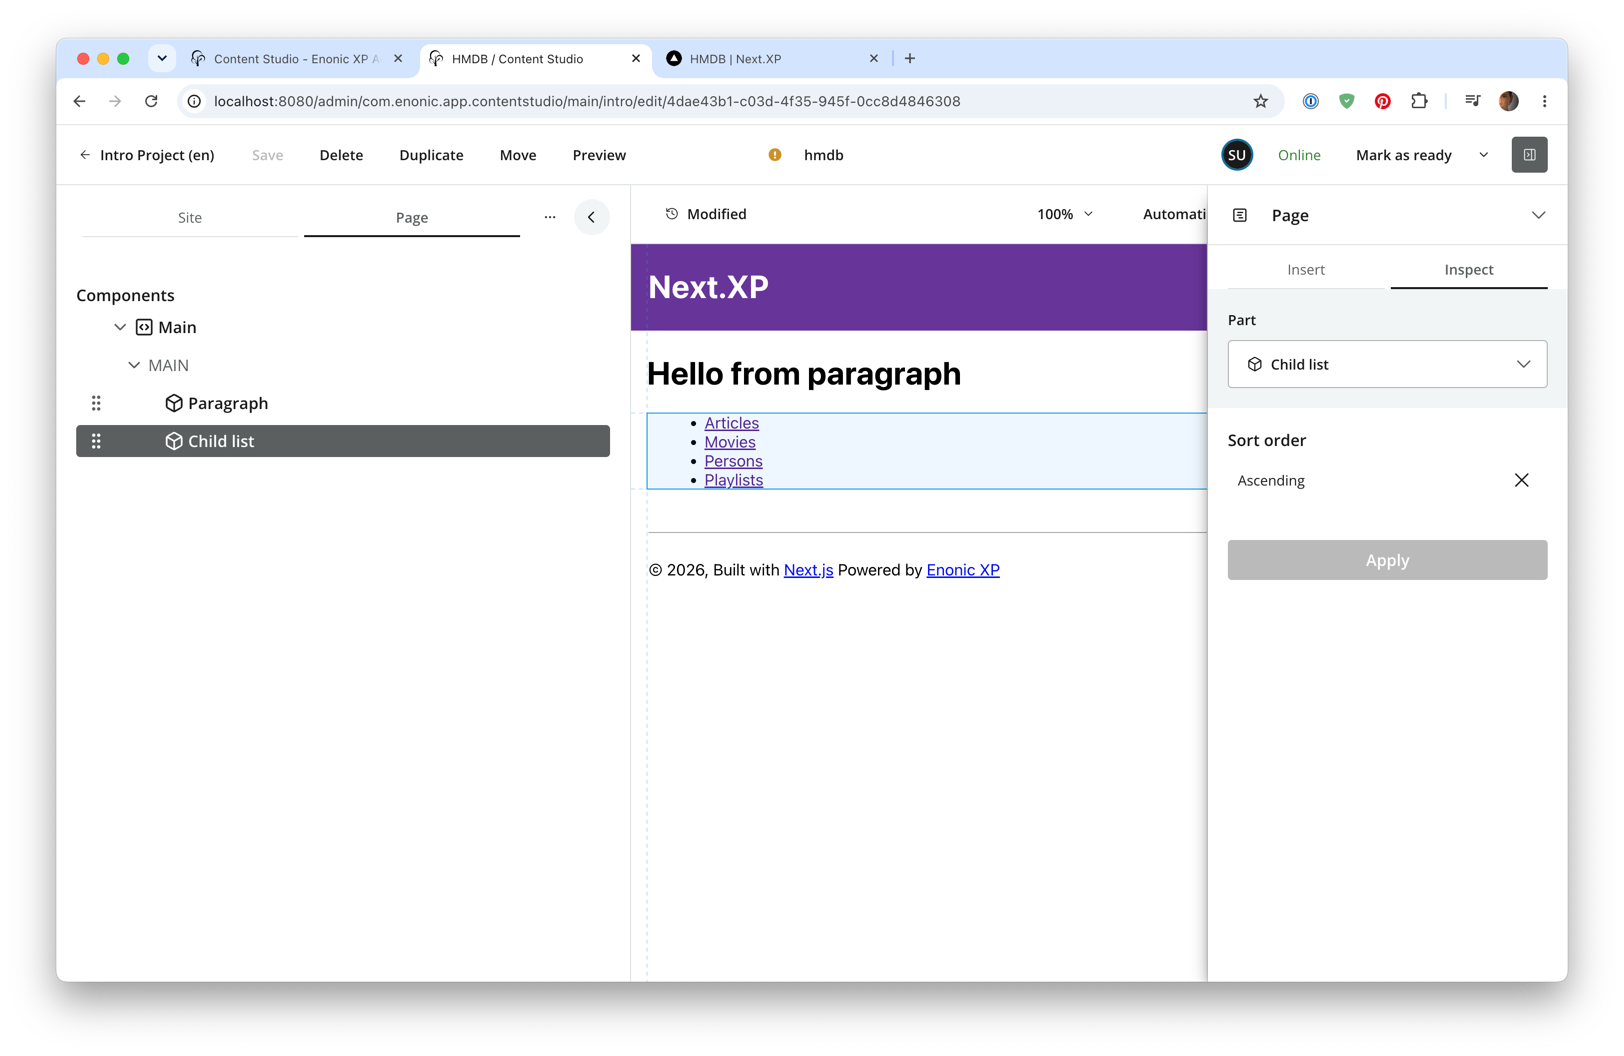
Verify the rendering - Content Studio now shows the part with a list of persons:
Try customizing the part configuration and see what happens.
Task: Add a heading part (optional)
For more components to play with, you may add another part. This task is optional.
-
Check the part descriptor - Verify that the Enonic app (not the Next.js front-end) contains the
headingpart descriptor.This part definition includes a form, with an form item called
heading. This makes it possible for editors to override the heading (the display name) coming from the content item.src/main/resources/cms/parts/heading/heading.yamlkind: "Part" title: "Heading" description: "Demo heading" form: - type: "TextLine" name: "heading" label: "Override heading" -
Redeploy the Enonic app - This is only needed if you had to add the descriptor, and happens automatically if you started
enonic dev. -
Add the heading component in Next.js:
src/components/parts/Heading.tsximport React from 'react' import {APP_NAME, PartData} from '@enonic/nextjs-adapter'; // fully qualified XP part name: export const HEADING_PART_NAME = `${APP_NAME}:heading`; export interface HeadingData { part: PartData; common: any; } const HeadingView = ({part, common}: HeadingData) => ( <h2>{part?.config?.heading || common?.get?.displayName}</h2> ); export default HeadingView; -
Register the part - Add the following lines to
_mappings.ts:src/components/_mappings.tsimport Heading from './parts/Heading'; // Part mappings ComponentRegistry.addPart(`${APP_NAME}:heading`, { view: Heading }); -
Verify the rendering - Add the
Headingpart to your page in Content Studio. You now have three configurable parts to play with.