Sites
Contents
In this chapter, you’ll build a tree structure of your content with a site item at the root, and learn a handy trick for the GraphQL API.
Introduction
Next.XP is built to provide complete control over a website, including landing pages and the URL structure. For this use-case, Content Studio’s tree structure will come in handy.
Task: Create the site
Next.XP needs a root content item. This item will act as the front-page of your site.
| Before you continue, clear all selections in the Content Studio list view (this way the site content will be placed on the project root). |
-
Create a new item - Click
Newin the Content Studio toolbar, then select theSitecontent type. This opens the content editor in a new tab. -
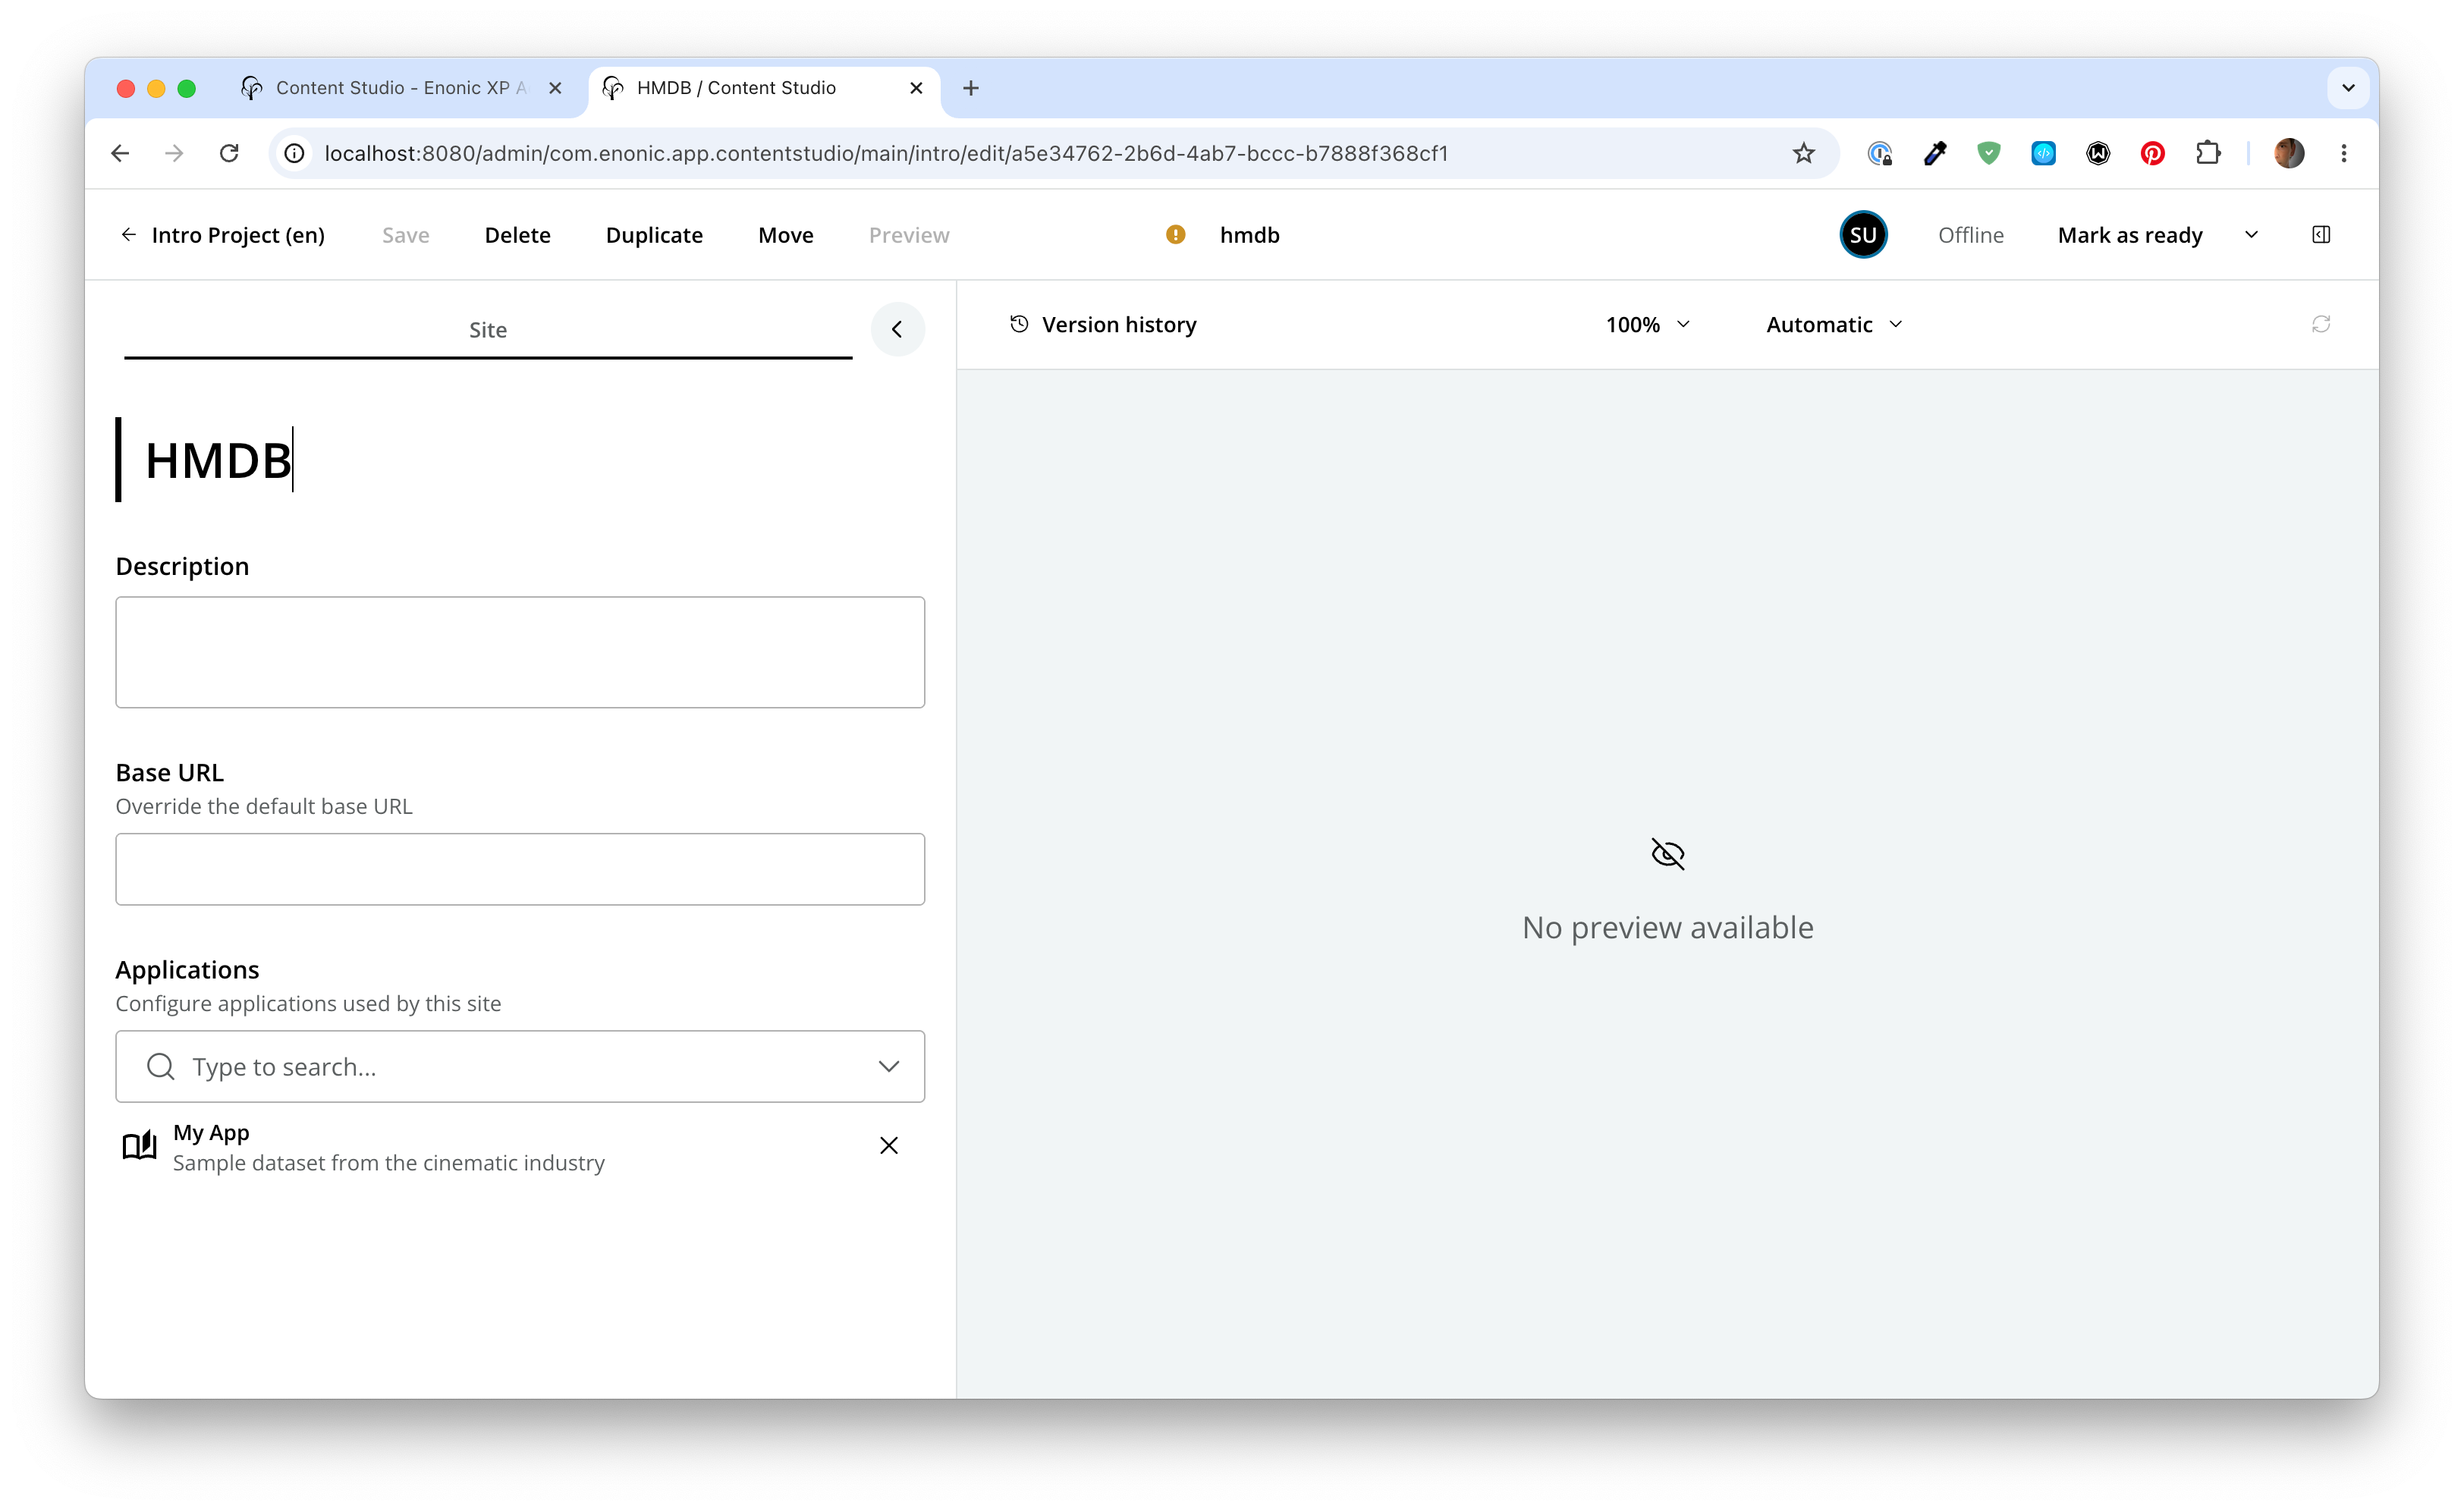
Give the site a name - Fill in a display name for the site. "HMDB" (short for Headless Movie DB) will do fine.
If you choose a different name, make sure the site path name (seen below the Display name) is set to hmdb, as this is used throughout the tutorial. -
Add your app to the site - Select it in the
Applicationsform field and clickApply.Sites act as scopes in the content structure. By adding an app to the site, you effectively allow editors to create content based on the app within this scope. Your form should now look something like this:
-
Save the site - Click
Savein the toolbar.This leaves the item in the In progressstate, which is OK for now.
Task: Move content into the site
To quickly get some content and structure within the site, move the Movie DB content into it. Return to the Content Studio tab, and follow these steps:
-
Select the folders in the list, and click
Movein the toolbar. -
Select the
HMDBsite as the target and clickMoveonce more.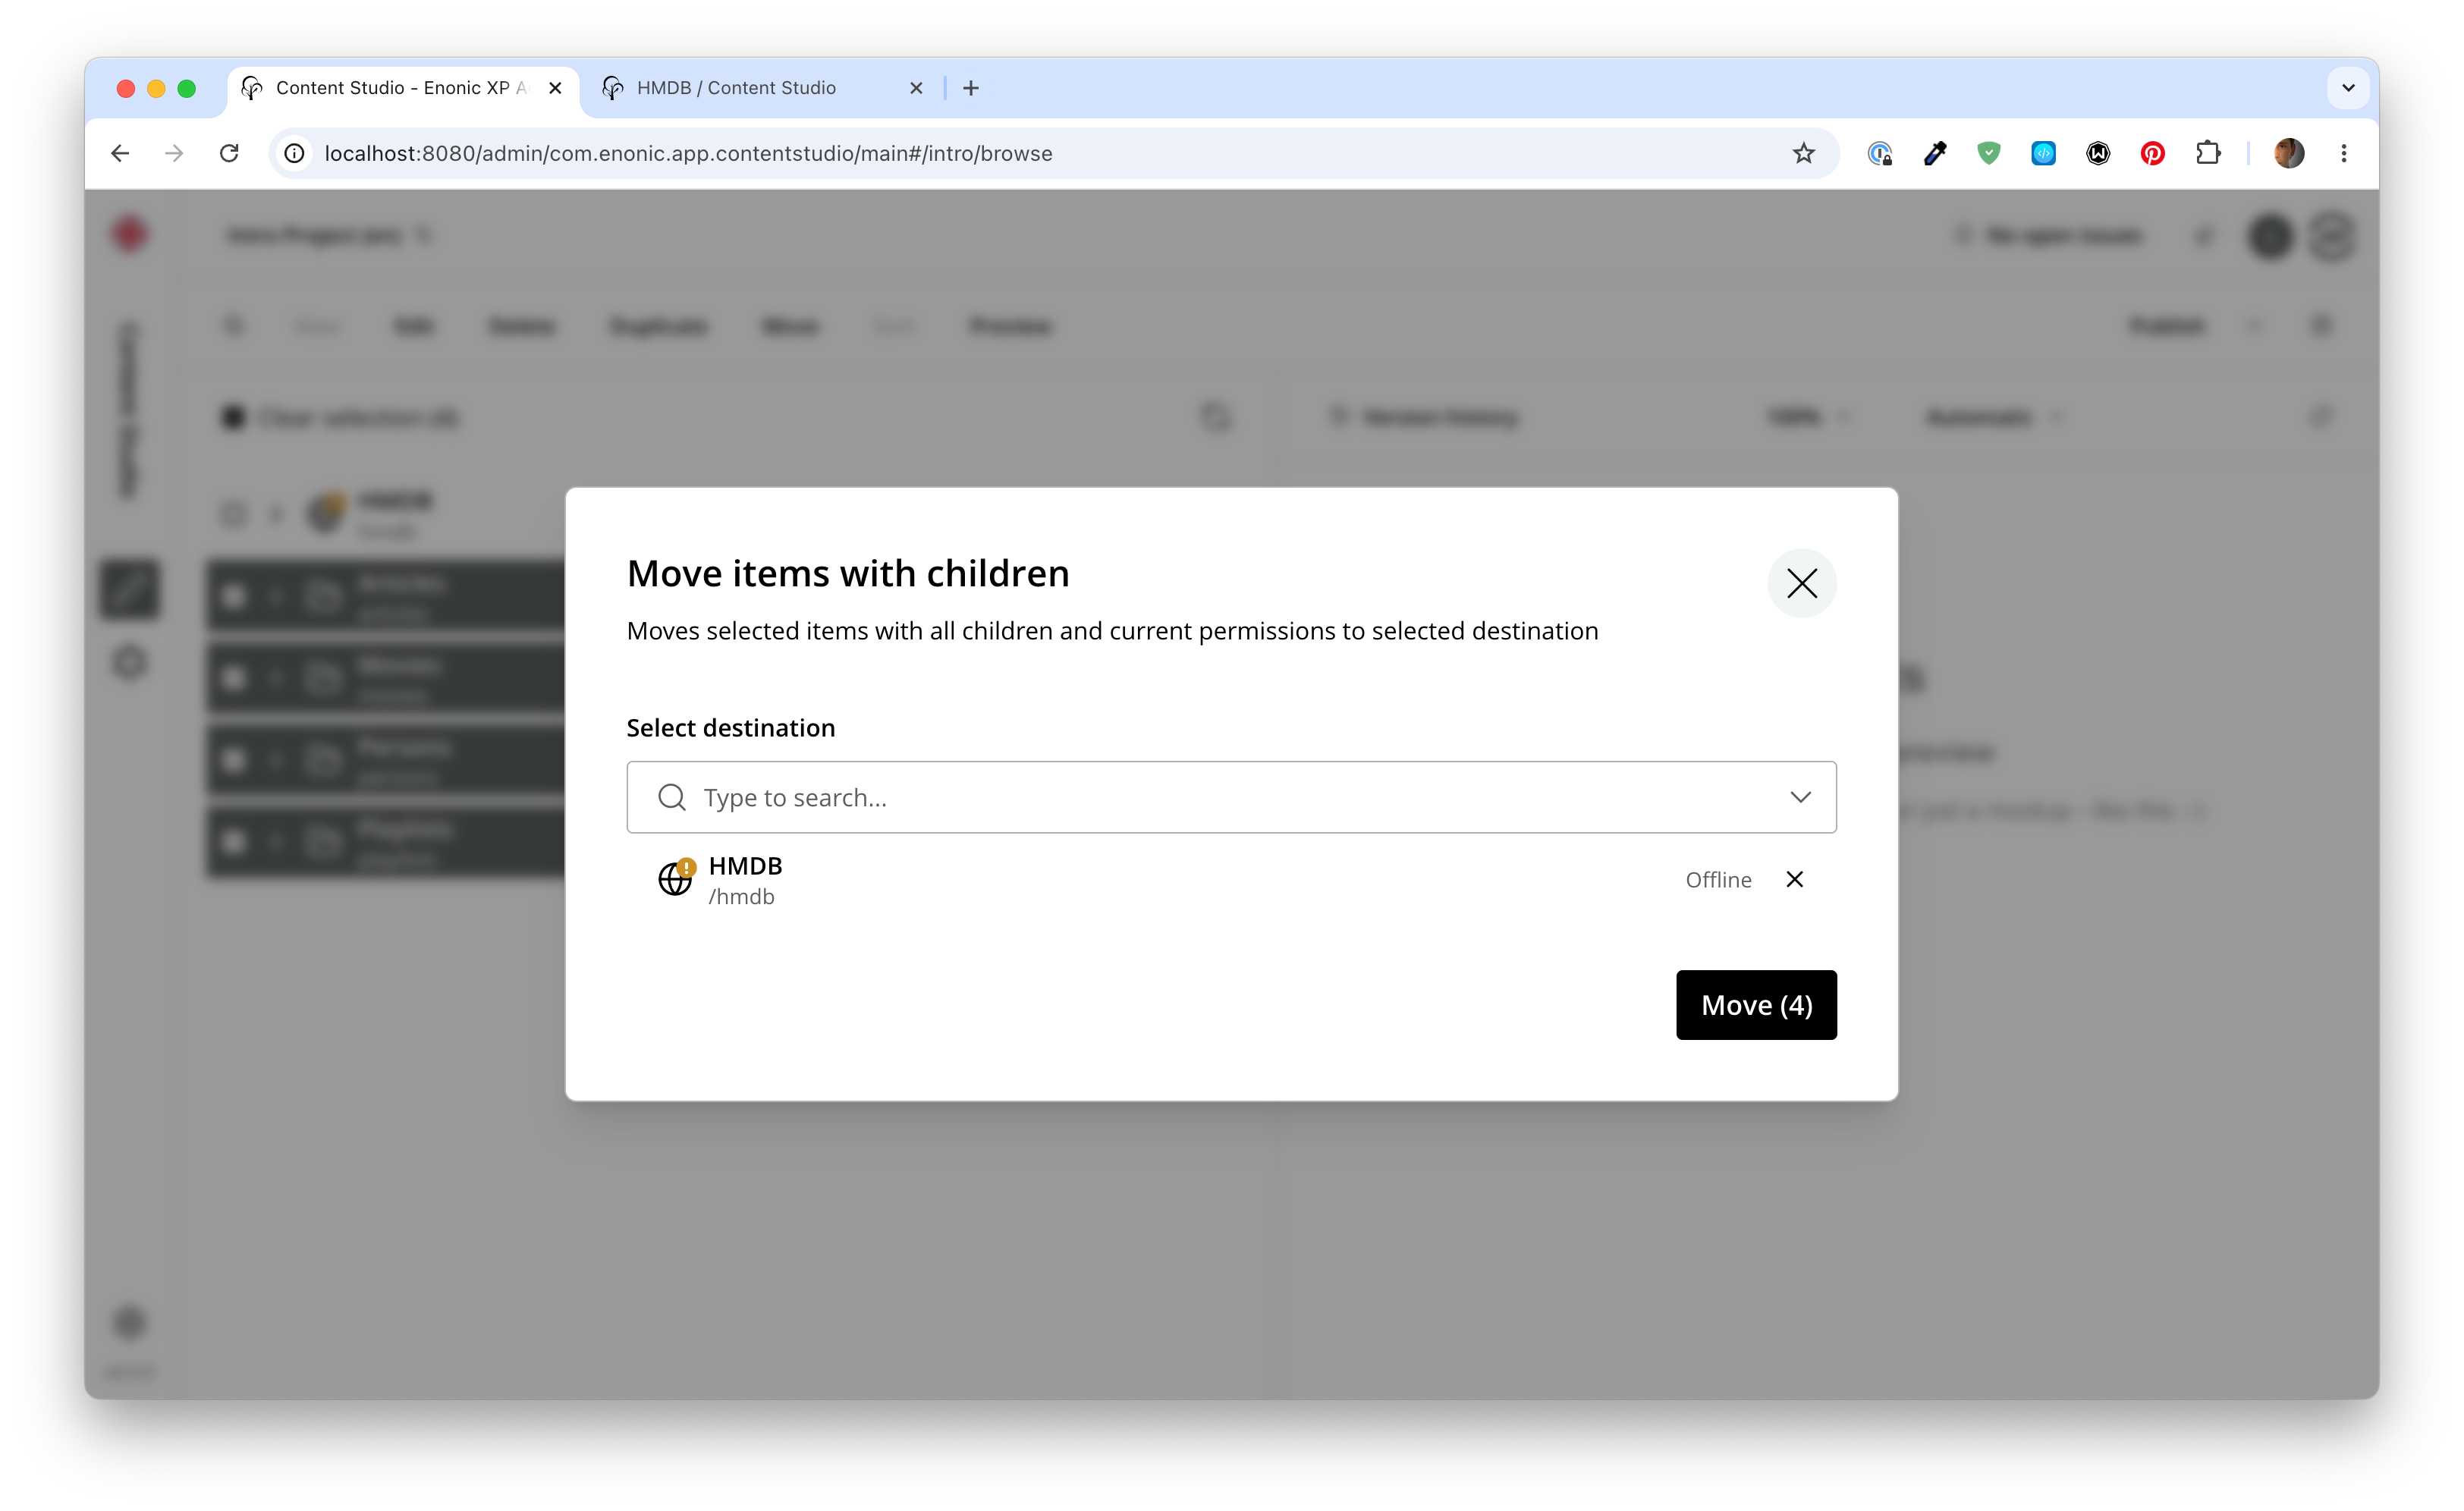
-
Mark the site as ready - Select the site (root item) in the tree structure, and click
Mark as readyin the top right. This marks the item as ready and opens the Publishing Wizard.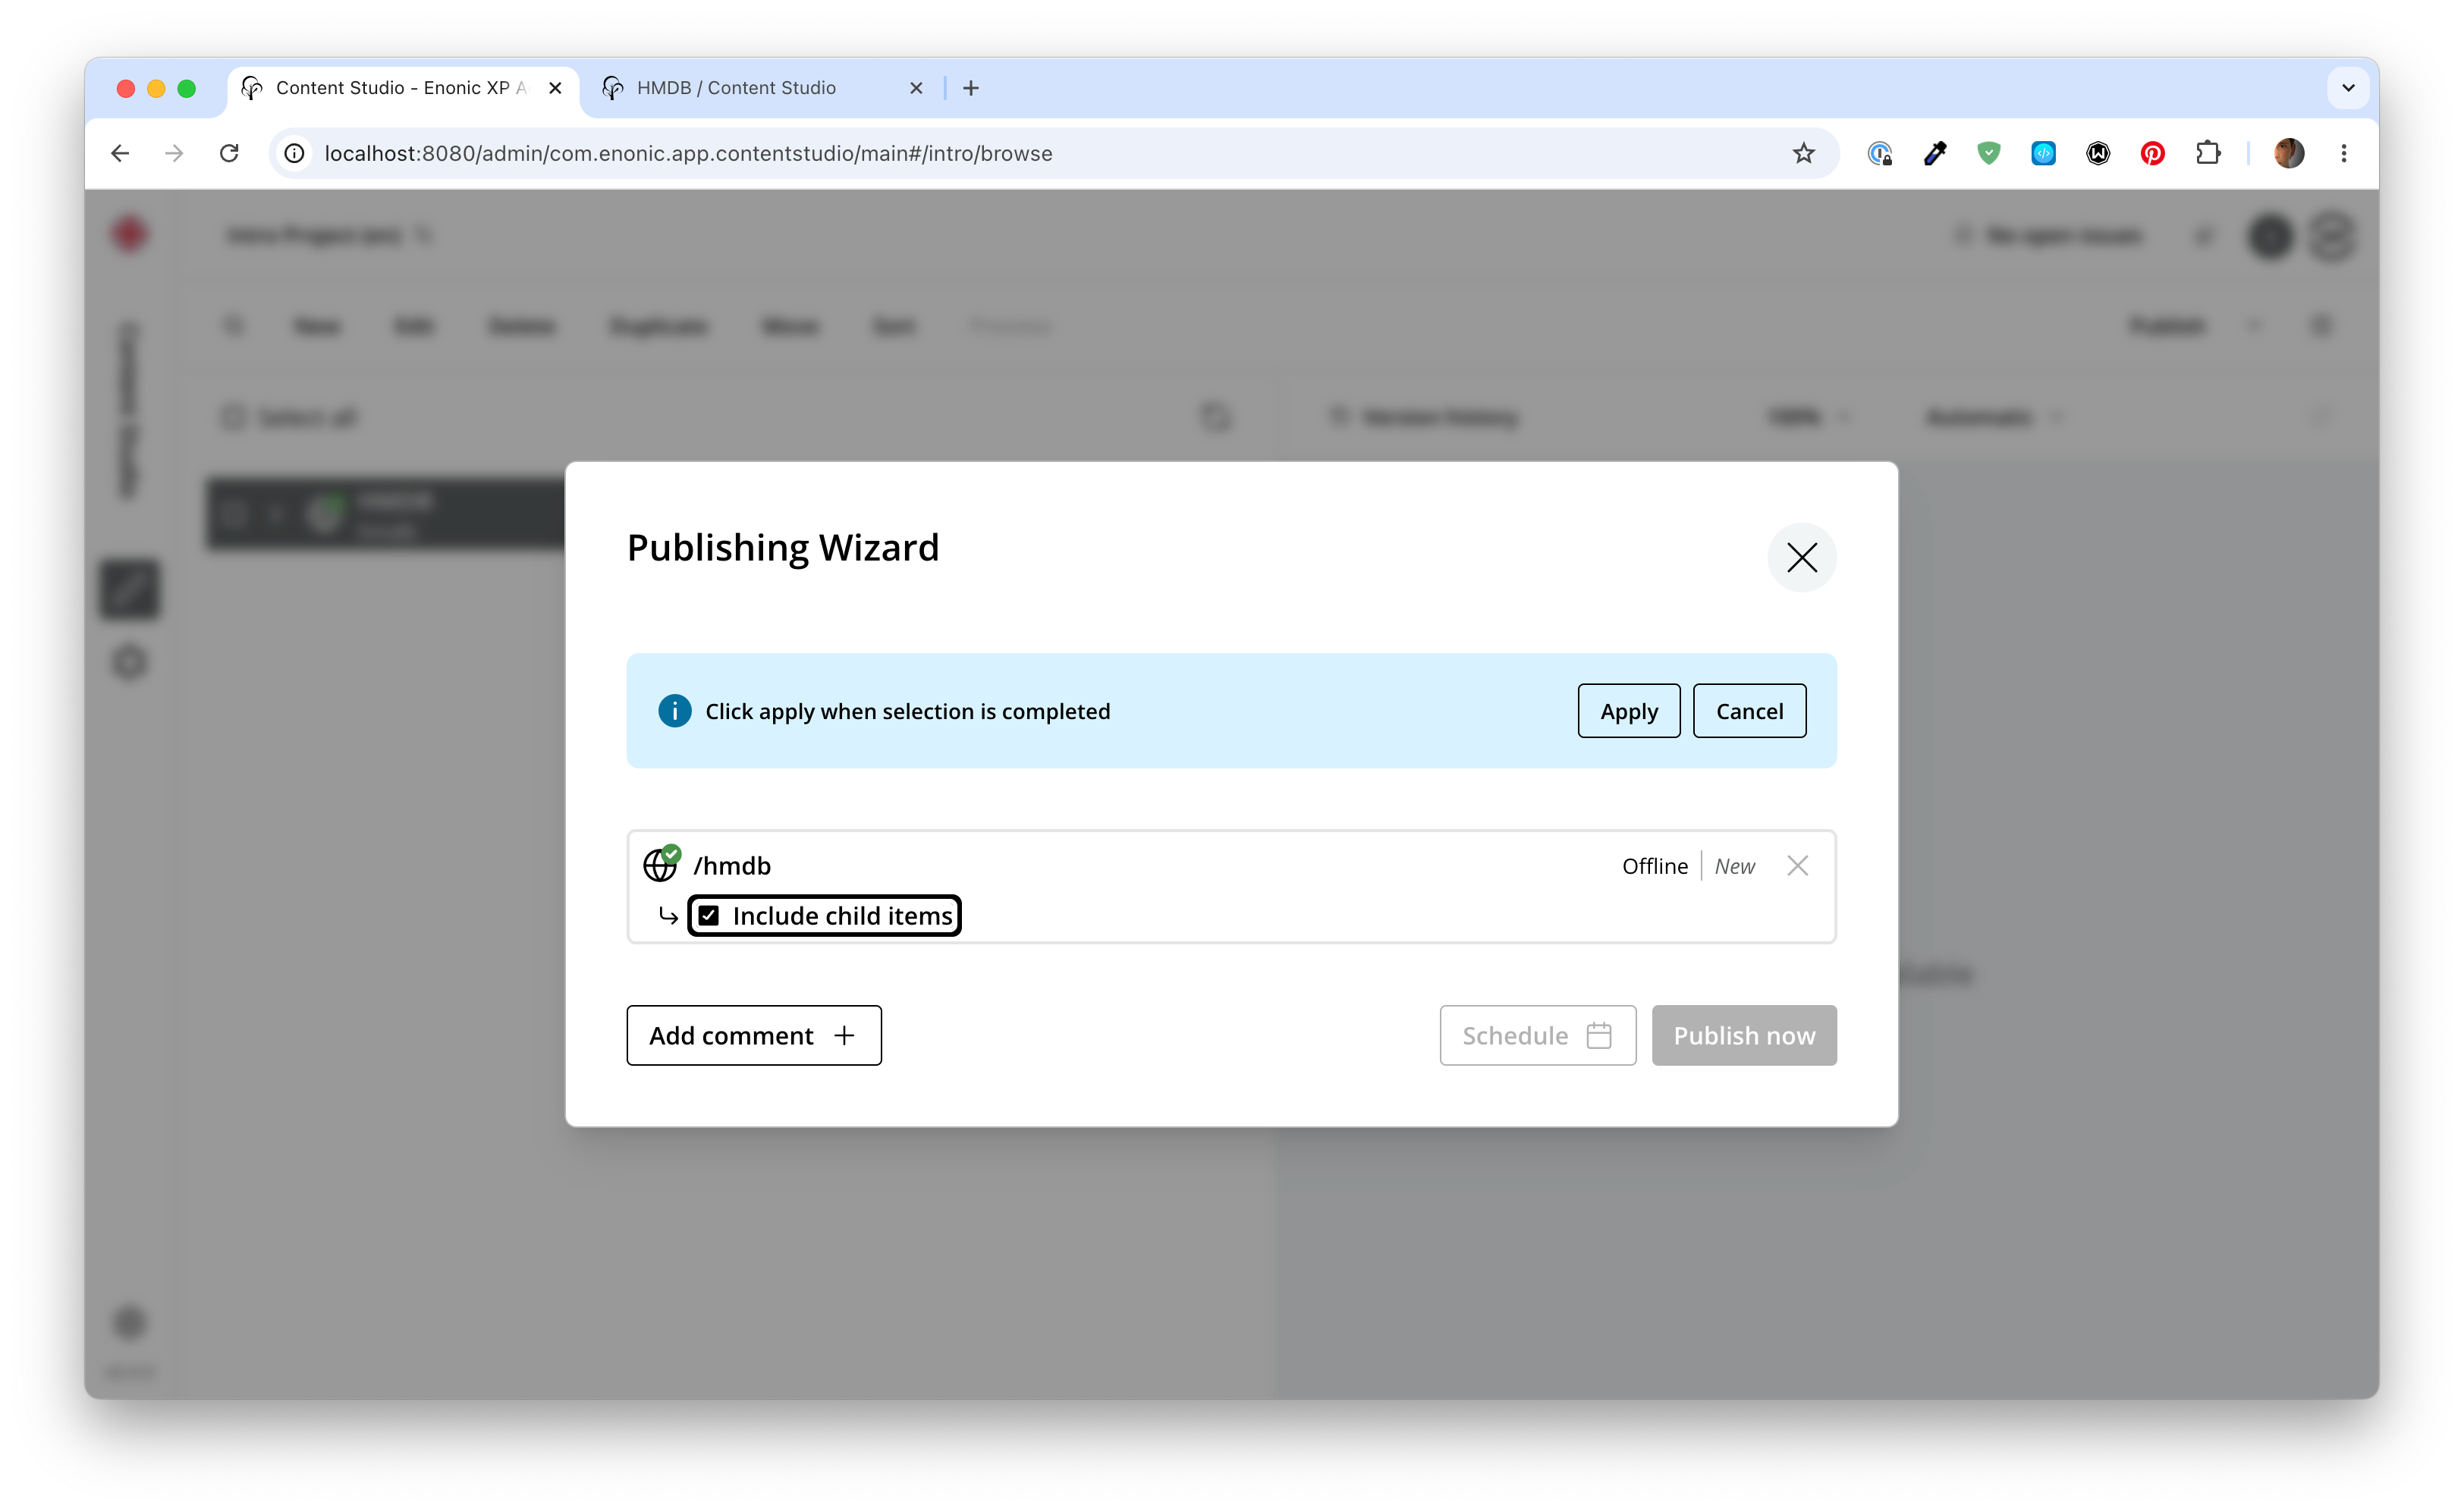
-
Publish the entire tree structure - Toggle
Include child items, clickApplyin the wizard header, then clickPublish now.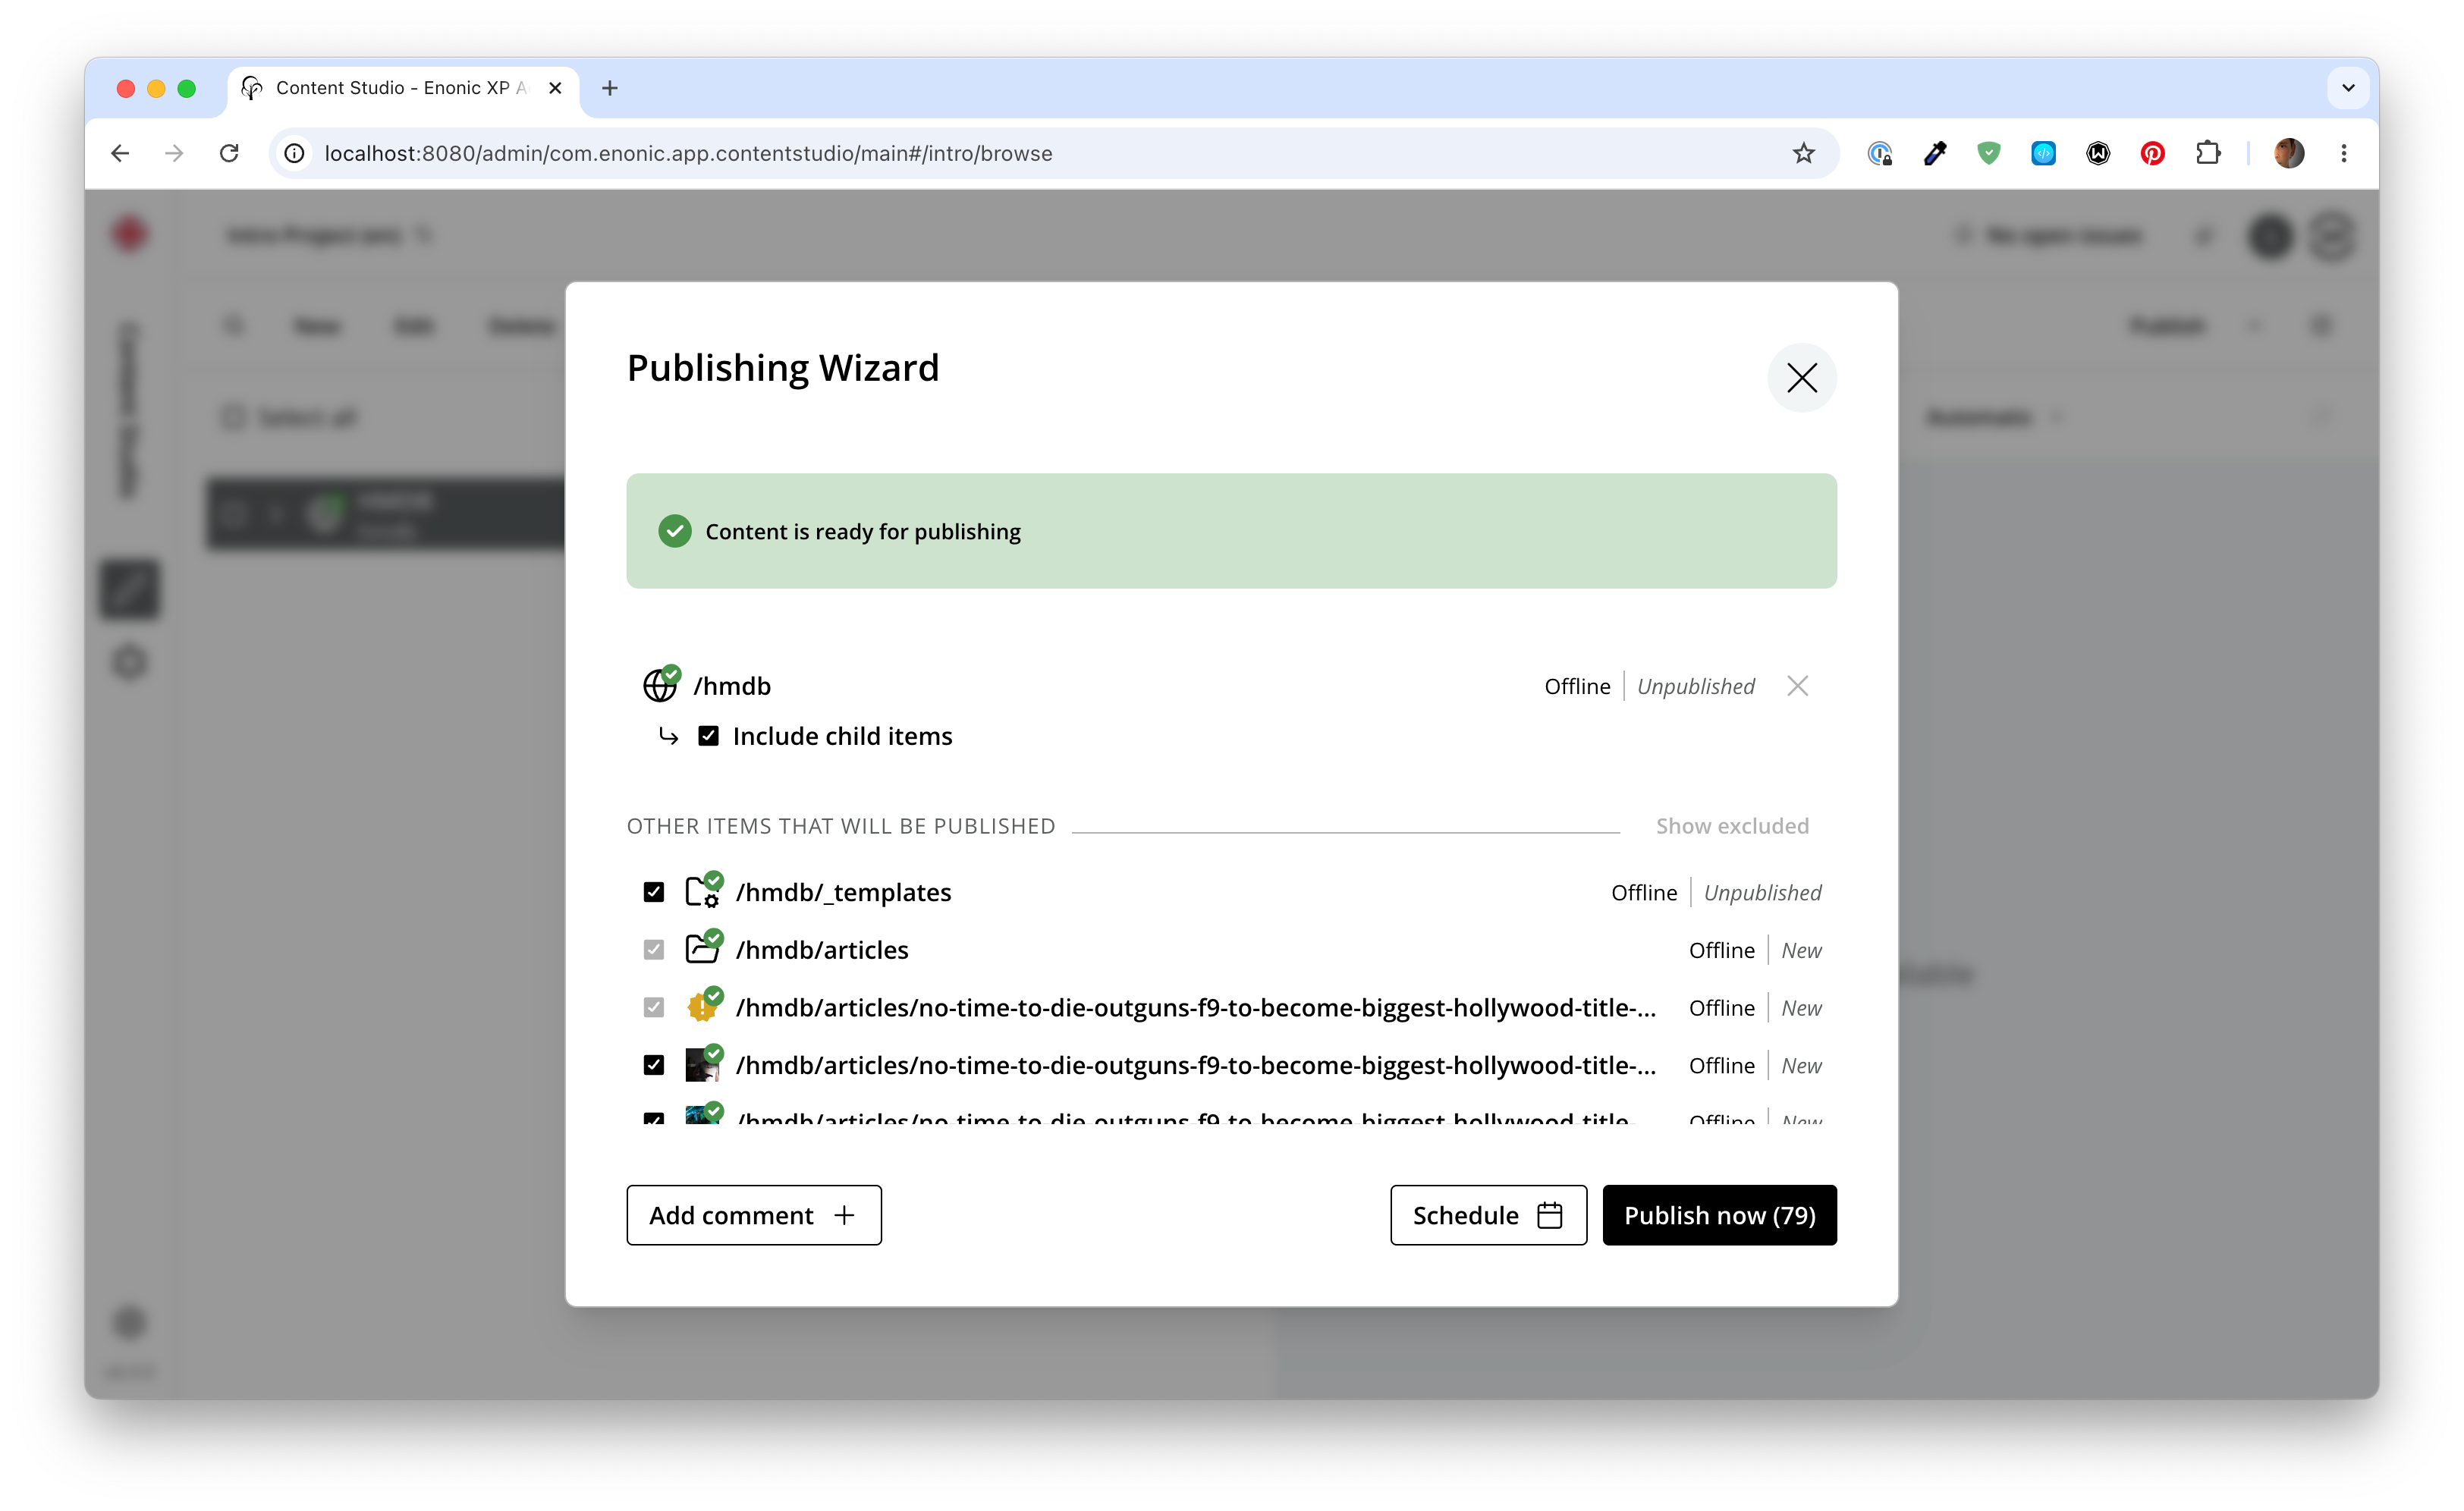
-
Verify the result - The content tree now shows the folders beneath the
HMDBsite, and the items are published.
Task: Run queries in the site context
In GraphQL queries, you may use a so-called "site context". This is achieved by selecting your site with the scopeKey parameter of the guillotine field.
-
Specify the
scopeKeyparameter - Back in Query Playground, add thescopeKeyparameter to your previous query, and set it to the path of your site:query($path:ID!){ guillotine(project: "intro", scopeKey: "/hmdb") { ... } }scopeKeycan be either a path or a content ID. A benefit of using the site’s ID is that you can change its name and path without affecting your queries.Without
scopeKey, URLs are project-relative andgetSitereturnsnull. Scope selects the context for URLs, macros and image styles; it does not restrict searches to a subtree. Add explicit path conditions to DSL queries when needed. Page URLs for content outside the selected scope produce a field error. -
Run a query with the site context - One of the new features you get from the site context is the
${site}placeholder, which can be used in paths. Update your query variables as follows, and run the movie query from the previous chapter once more:{ "path": "${site}/movies/s7ven" } -
Verify the result - The response contains the same movie as before. Here,
${site}resolves to the path of the site, so the full path expands to/hmdb/movies/s7ven.
Summary
You’ve created the HMDB site, moved the sample content into it and published the tree. You’ve also used scopeKey and the ${site} placeholder to run queries in the context of the site.
Next, you’ll set up your Next.js development environment.