React4XP Demo
Contents
Spin up your own React4XP personal demo in the cloud, or on your local machine.
Below: Choose to run the demo in Enonic Cloud, or on your local machine.
| To learn the details behind how this front-end was built, head on to the first chapter of the tutorial instead. |
Alternative 1 - Enonic Cloud
Follow these steps to get the demo up and running on our Free plan:
-
Sign up for Enonic cloud
Verify your e-mail and create the account
-
Create a new solution
Use the template called
Headless Movie DB, and complete the setup. -
Link the front-end to your content
Once the solution is ready, launch
XP Admin→Content Studio.Edit the
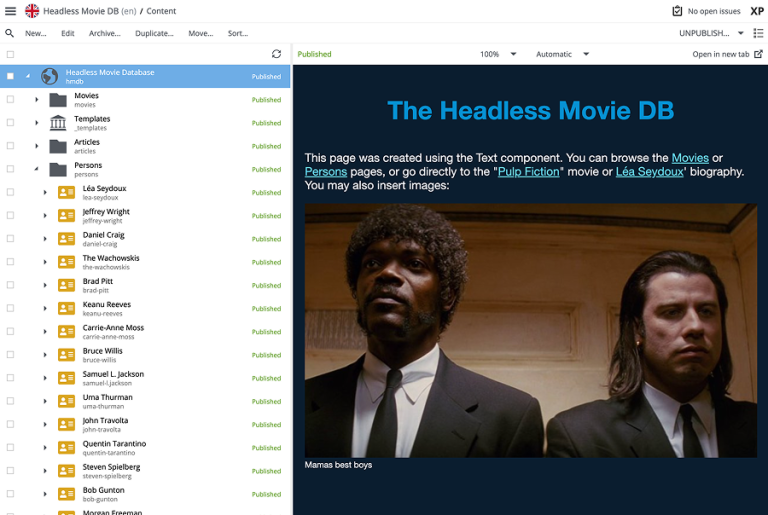
Headless Movie DBsite, add theReact4XP Demoapplication and press SaveYou should how see the new front-end in Content Studio.
-
Publish the changes

Optionally expose the site on a public URL by following the steps below:
-
Select
Ingressesfrom the main menu and click Create -
Give it a suitable name, i.e.
moviedb -
Set the target to
/site/hmdb/master/hmdb -
Accept creating a new domain, and set the path to
/ -
Leave IDprovider empty and click Create on the final step
-
Visit the Ingress link to see the live site.
| If the live site is showing the default preview of Headless Movie DB, you have not published your changes to the site. |
Congratulations, you just deployed a live a React site powered by Enonic! 🚀
Alternative 2 - Local instance
Follow the steps below to build and run the demo an a local Enonic developer environment:
-
Install Enonic CLI if you have not already done this
npm install -g @enonic/cli
-
Create a new sandbox and start it by running this command in your terminal:
enonic sandbox create r4xpdemo -t hmdb -f
-
Link the front-end with your content
Launch
XP admin→Content Studio.Edit the
Headless Movie DBsite, add theReact4XP Demoapplication and press Save
The live version of the site can be found on http://localhost:8080/site/hmdb/master/hmdb
Congratulations, you just built a React site powered by Enonic! 🚀