Content Form
Contents
The Content Form is the left-hand panel of the Content Editor. It contains the editable fields and supporting controls for a content item.
Overview
The form is assembled from the item’s content type and any mixins enabled for the item. The content type supplies the primary fields, while mixins add reusable groups of fields such as search engine optimization (SEO) metadata. Page-capable content also has a Page tab for working with the page structure.

Form tabs
Use the tabs at the top to switch between sets of fields. The first tab is always the content type, optionally followed by the Page tab and any enabled mixins. A tab displays a validation marker when one of its fields contains an error.
Content type
The first tab is named after the content type. It contains the display name followed by the fields defined by that content type.
Content types are supplied by applications available to the project or site. They determine which fields are shown, the kind of value each field accepts, and whether a value is required. Editors fill in these fields but do not change the form structure.
Mixins
A mixin is a reusable set of fields that an application can add to multiple content types. For example, an SEO mixin might add a page title, description, and other metadata without defining a separate content type. The available mixins are determined by the configuration of your project or site. Some mixins are required and cannot be disabled, while others are optional and can be enabled or disabled by the editor.
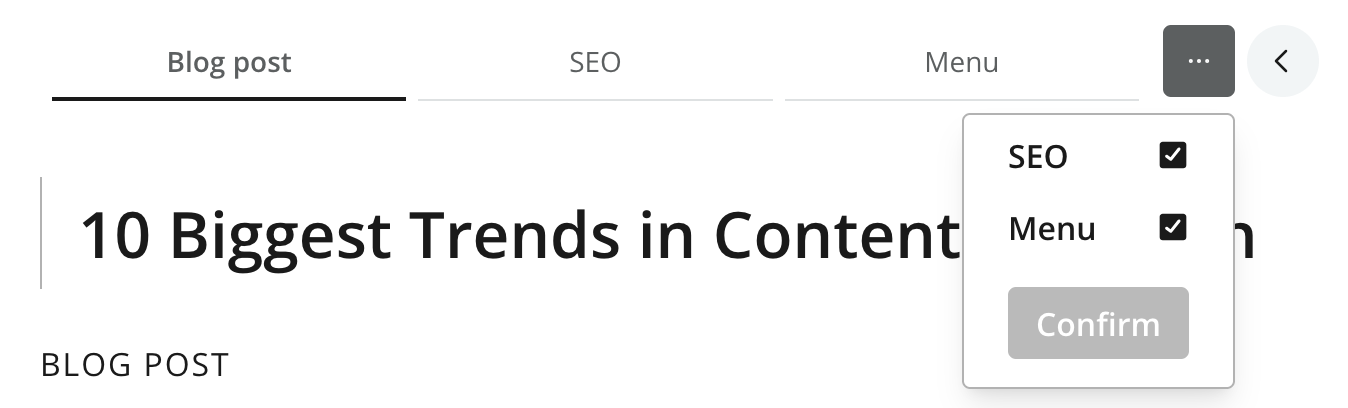
Each enabled mixin has its own tab. Required mixins are enabled automatically and cannot be disabled. To manage optional mixins, open the menu next to the tabs, select or clear the available mixins, and click Confirm.
| Disabling an optional mixin removes the mixin and its values from the draft when the item is saved. |
Developers can learn how mixins are defined and assigned in the Enonic CMS mixin documentation.
Page
The Page tab is available when the item has a page configuration. It contains a hierarchical tree of the page, its regions, and its components.
Selecting a component in the tree also selects it in the Page Editor and opens its configuration in the Components panel. Use a component’s context menu to access its available actions. Components that support moving can also be rearranged by dragging them in the tree.
See Page Components tree for details about managing a page structure.
Content identity
Every content item has a few common properties that identify it.
Display name
The display name is the large field at the top of the content type tab. It identifies the item throughout Content Studio and is a required field. An application’s content type can also define an expression that generates the display name from other field values.
Path name (slug)
For new items, Content Studio automatically generates a URL-friendly path name, also called a slug, from the display name. The path name is shown in the center of the Editor toolbar.
Like a file system, the path name is relative to its parent item. It must use supported characters and be unique among its siblings. The path name is commonly used in the item’s URL and can be changed by renaming the item.
| International characters are transliterated when a path name is generated. An administrator can turn off this behavior in the Content Studio configuration. |
Content ID
Content items are automatically assigned a unique ID when they are created. This ID remains unchanged throughout the item’s lifetime. References between content items use these IDs, so renaming or moving an item does not break the reference. You can see and copy the ID from the Details panel.
Renaming content
Click the path name in the Editor toolbar to rename the item when you have permission to do so. The new path name must be unique among items with the same parent.
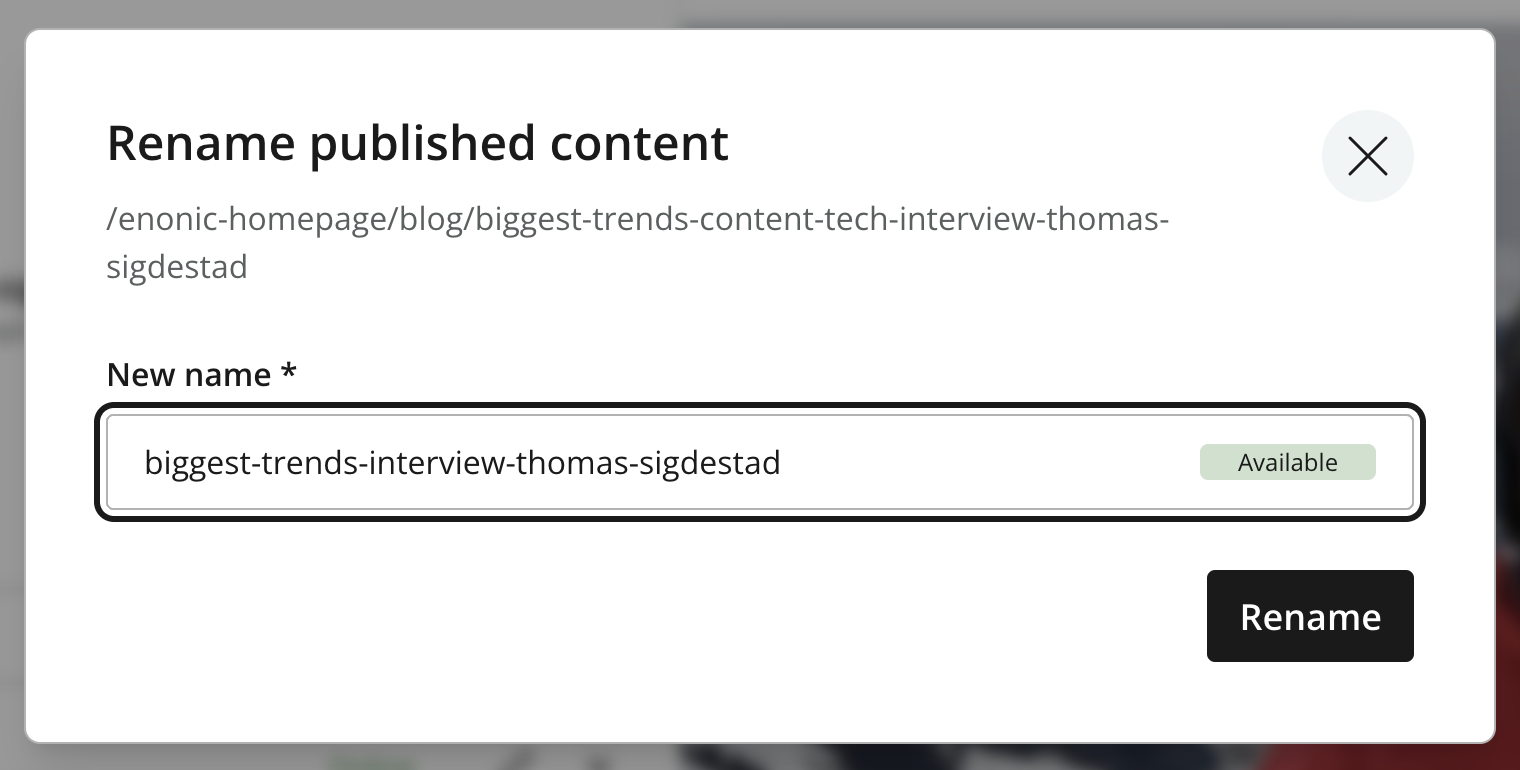
Changing the path of an existing item changes its URL. Check references and external links before renaming published content.
Editing fields
Field labels, help text, validation rules, and available controls come from the content type or mixin definition. The exact form therefore varies between content types, but the following patterns are common.
For the complete catalog of form items, their UI examples, and schema configuration, see the Enonic CMS form-item reference.
Required and optional values
Required fields are marked with an asterisk. If a required value is missing, or a value does not match the field’s rules, the form highlights the field and explains what must be corrected.
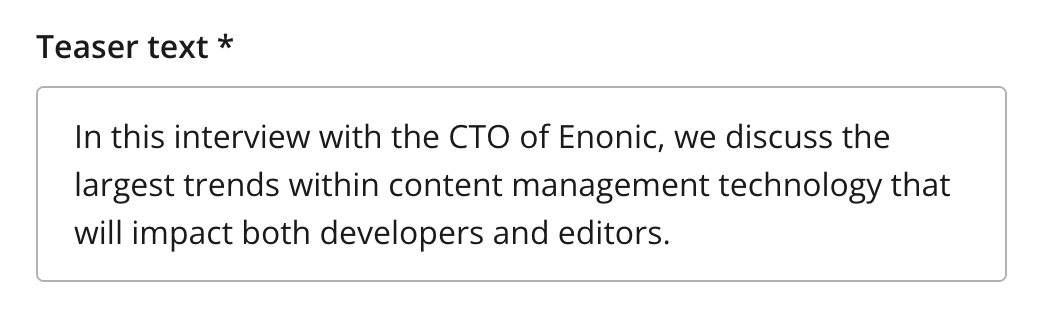
Optional fields can be left empty. Some fields may appear or become required only after another option has been selected.
Multiple and structured values
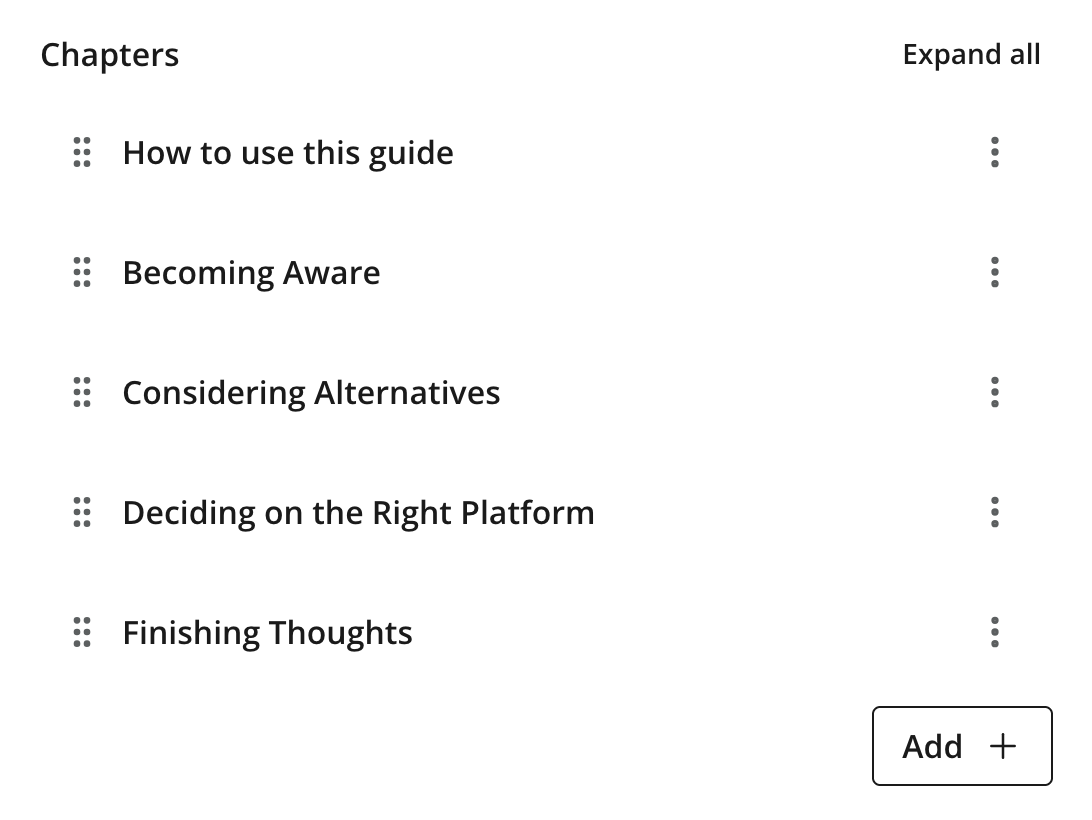
A field that accepts multiple values provides controls for adding and removing occurrences. Minimum and maximum occurrence rules can limit how many values the field accepts.
Related fields may be grouped into field sets or repeated as structured items. Values inside a structured item belong together; add or remove the complete item when managing its occurrences.
Selectors and references
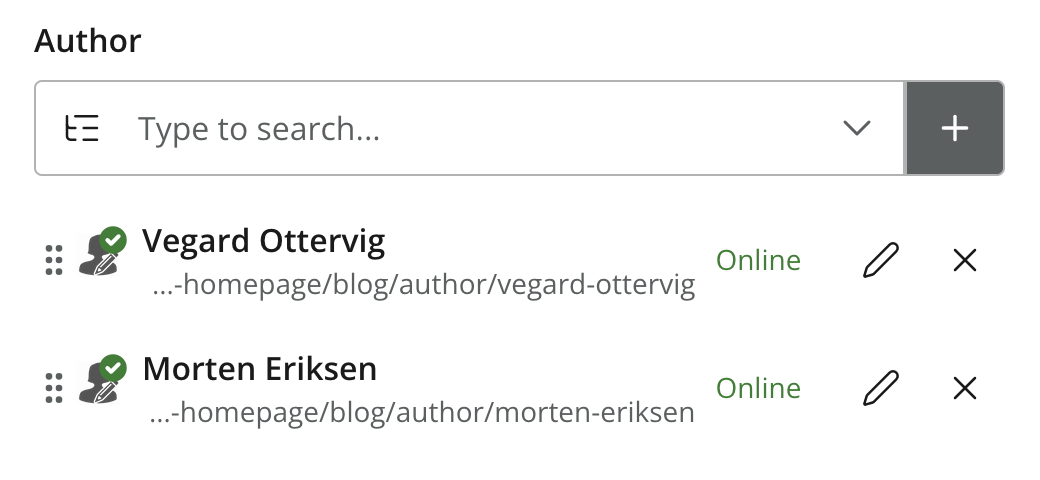
Selectors let you find and reference other content, media, or predefined options. Start typing to search when the field supports search, then choose a result. The selected item remains separate content: the form stores a reference rather than copying its data.
Available actions depend on the selector and your permissions. They can include opening the selected item, replacing it, or clearing the field.
Rich text
Rich text fields provide formatting, links, images, and embedded content. See the Rich Text Editor reference for its controls and supported content.
Validation
Content Studio validates fields while you edit and when you perform workflow actions. Errors are shown next to the affected field. If an error is in another tab, that tab is marked so you can find it without inspecting every field.
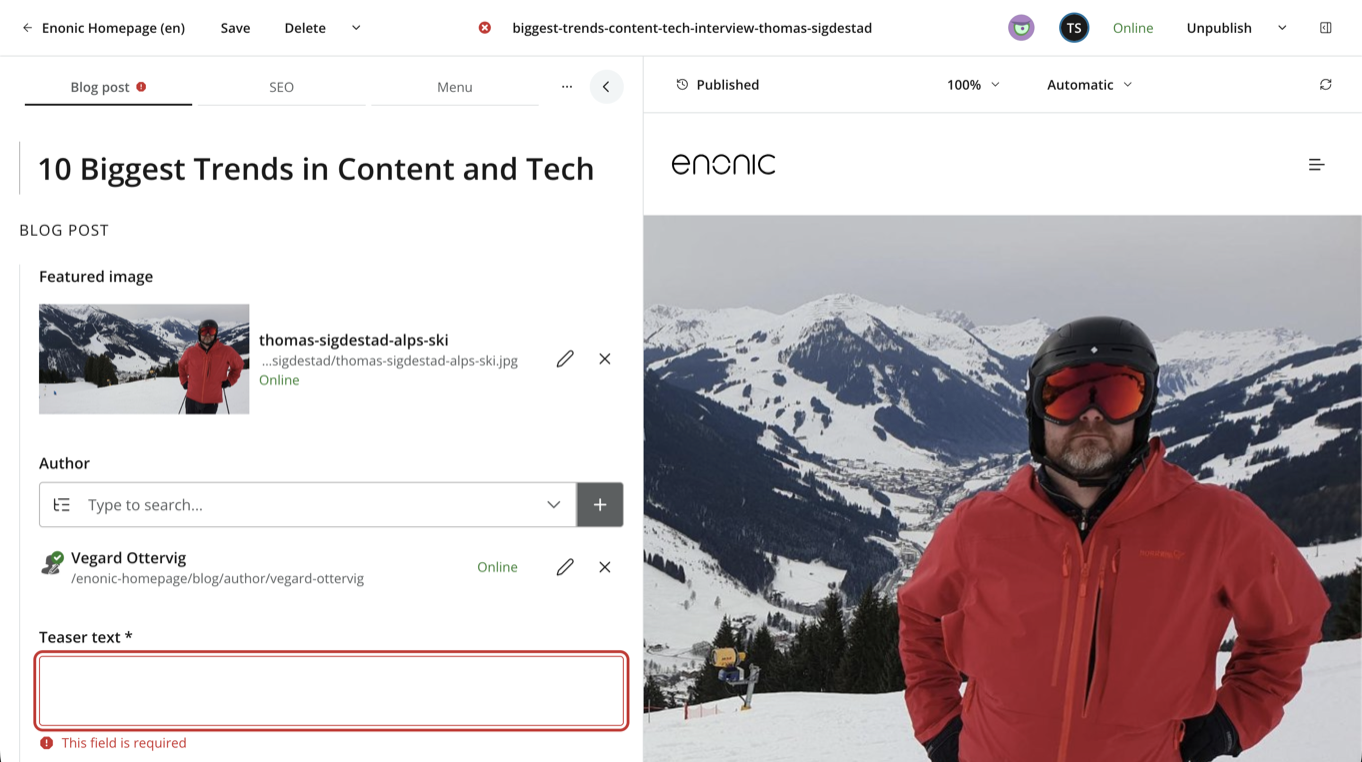
Page configuration errors are also indicated in the Page tab and its component tree. Select the affected component to review its configuration.
An item with validation errors can be saved as a draft, but it cannot be marked as ready or published. See Saving and validation for the Editor-level behavior and Invalid content for its effect on workflow.
Resizing and collapsing
Drag the divider between the form and preview to change their relative widths. Alternatively, click the arrow at the upper-right of the form to collapse it and give the preview more space.
For page-capable content, collapsing the form detaches the Page Components tree into a floating panel above the Page Editor. See Page Components tree for details about the detached view.