Content Projects
Contents
Content Studio allows you to organize your content in multiple independent repositories aka projects.
What is a project?
Each project provides a dedicated repository for content, with its own access control, project roles, features, and language settings. Content in one project is managed independently of other projects.
Each project’s repository also contains its own draft and master branches, meaning content is edited and published independently per project — see Publish for how content moves between the branches.
Each project has a unique identifier, which is set when the project is created and cannot be changed later.
Privileged users can create and manage projects via Content Studio settings.
| Content items cannot be moved or copied between projects. For reusing content across projects, see content layering. |
Access mode
A project’s access mode controls the default READ permission for content items inside the project — in practice, whether the role Everyone is granted READ access:
-
Public — the Everyone role is granted READ access by default, making published items visible to anyone, including users that are not logged in.
-
Private — no READ access for Everyone. Only principals with project roles or administrators can access the content.
-
Custom — like Private, but READ access is additionally granted to specific principals in the system. This is useful if you want to give users from other projects READ access to content inside this project.
| Principals that are given Custom access will be added to a special project role called "Viewer". |
| The access mode only affects published content (the master branch). Regardless of access mode, the draft branch is only accessible to users with a project role — a public project never exposes unpublished work. See Permissions for the full permission model. |
Project roles
Every project has a fixed set of roles that can be used to assign different levels of permissions inside a project to users or groups. A principal must have at least one of these roles to be able to access the project in Content Studio:
-
Contributor — has access to the project in Content Studio, but can only view the content inside.
-
Author — same as Contributor + create, modify and delete content. Author is not allowed to publish content, create sites or change their configuration.
-
Editor — same as Author + publish content and modify content permissions.
-
Owner — same as Editor + create and configure sites, and modify project settings.
| Project roles set the default permissions that every new content item in the project inherits. Per-item overrides are managed through the Edit Permissions dialog opened from the Details panel in the Context panel. See Permissions for the full model. |
Applications
Applications may be assigned to a project. This makes their content types, mixins, Page components, and other CMS features available when managing content outside of sites. This is especially useful for headless content, as opposed to a site-oriented approach.
Application assignment follows these rules:
-
Only applications containing CMS features can be assigned to a project — the application must include a
cms.yamldescriptor. -
Project applications do not apply to sites or content items within a site. To use an application for the contents of a site, assign it directly to the site.
-
A layer always inherits the applications of its parent project. Inherited apps cannot be removed from the layer, but additional apps may be assigned.
Getting started
A fresh Enonic installation contains no projects, meaning you will have to create a project before you can start authoring.
You should see the following dialog when starting Content Studio for the first time:
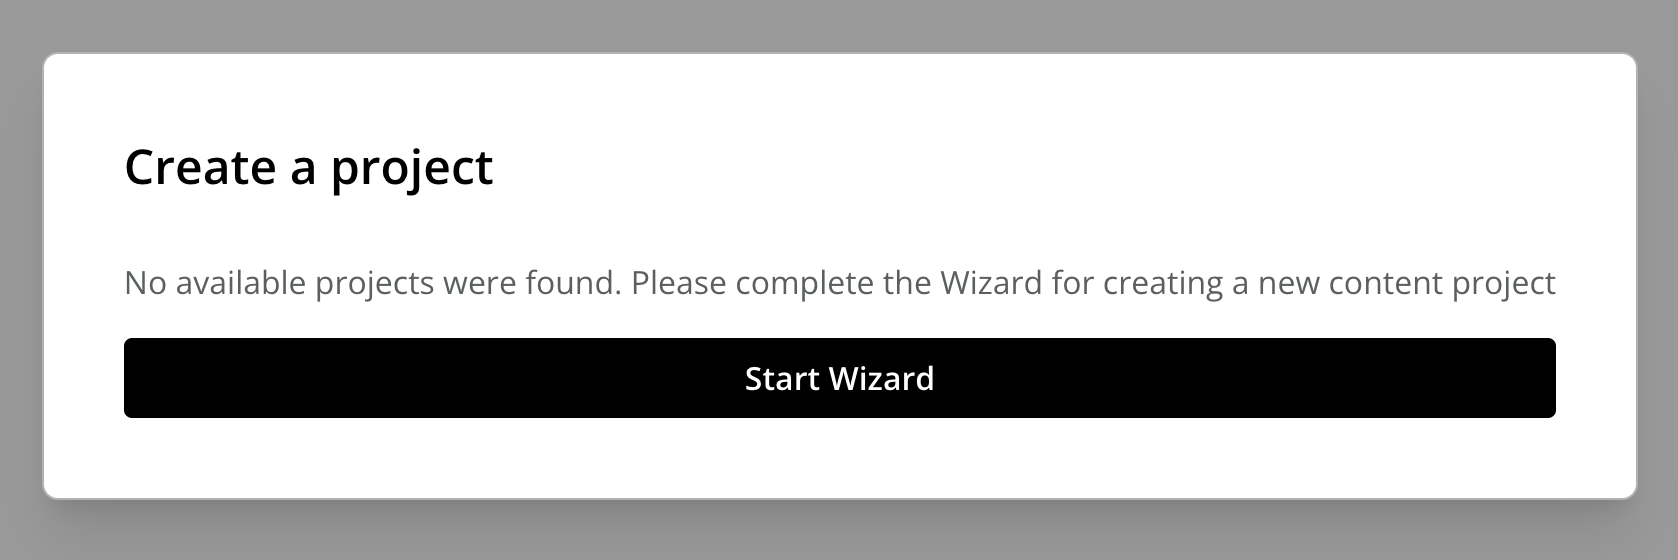
Clicking Start Project wizard will launch the project wizard, which guides you through the steps of creating a new project.
Existing projects can be edited or deleted from the Settings section. See Manage projects for the available operations and important caveats.
Project layering
Content Studio also offers an advanced feature for reusing and augmenting content across multiple projects. This is called content layering.