System ID provider
Contents
Introduction
XP ships with a special ID provider that cannot be removed or renamed. It is called the System ID provider.
Built-in
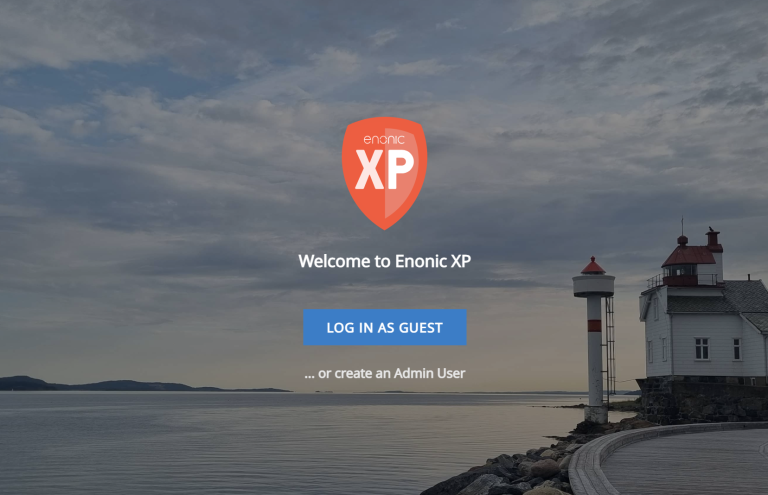
When accessing the XP admin console for the first time in a fresh installation, you will see the login screen of System ID provider.
System users
The System ID provider also contains some special users:
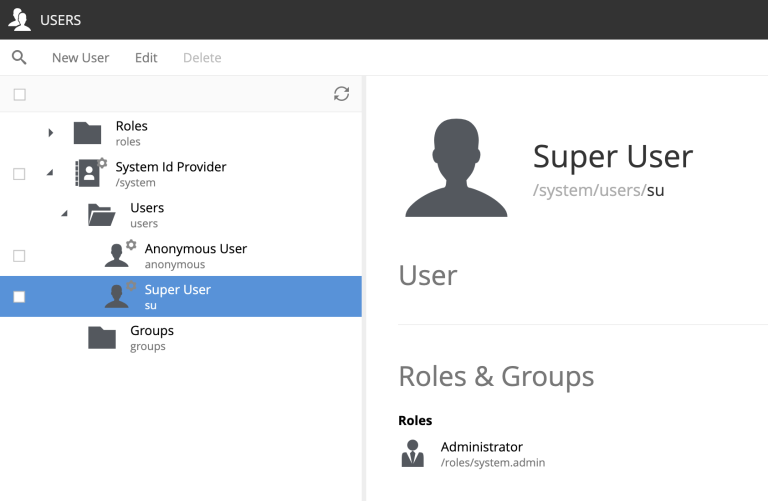
system:su The Super User exists in order to perform priveliged actions, and to allow you to start using XP before you have created any users. The Super User has the system.admin role, and thus unrestricted access.
system:anonymous - XP expects a user in every request. As such, the Anonymous user steps in to cover for users that have not authenticated.
Service Accounts
Unlike other ID providers, the users in the System IDP are referred to as service accounts.
Service accounts are designed for machine-to-machine authentication from remote clients to XP.
| Avoid adding human users to the System ID provider, rather create a new ID provider for this purpose. |
Since service accounts also are regular XP users, you may grant them roles and permissions as needed.
Service accounts users can be recognized from the small cog symbol above their avatar in the top right.
Service Account Key
A Service Account may be associated with one, or several Service Account keys. Using a Service Account Key is beneficial for security reasons:
-
It allows to authenticate without transferring the password over the network.
-
Support for multiple keys allow rotation of Public-Private key-pairs without service interruption.
-
Stored Public key is not a hash of a password, so it is not possible to reverse-engineer the password from the public key.
Once a key is created, it may be used to make an authorized call to:
-
Any XP engine that mounts the System ID provider. See Virtual Hosts for more details.
| Service account keys are a security risk if not managed correctly. Make sure to rotate keys regularly and keep them safe. If you suspect that your keys have been compromised, you can revoke them in the Users app. Also consider using ID providers that support 3-leg authentication, such as the OIDC ID provider, if possible. |
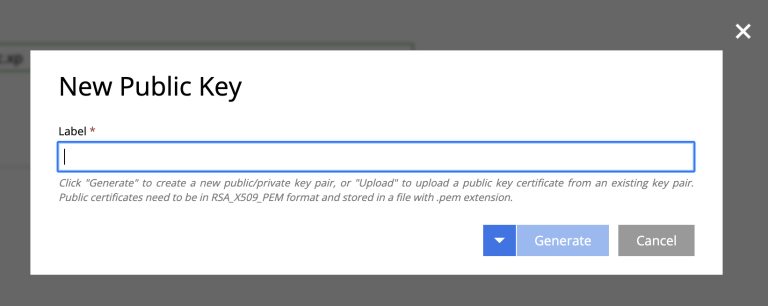
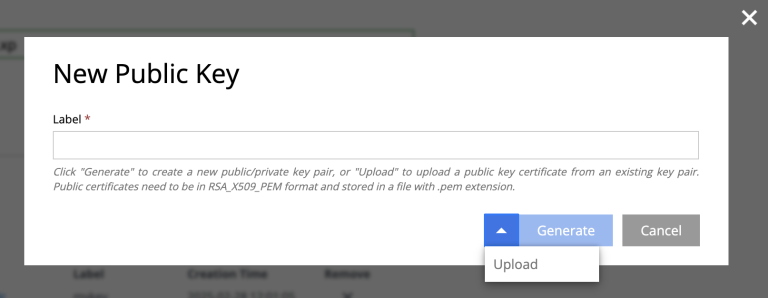
Generate key
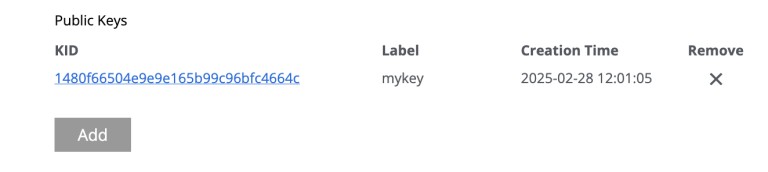
You may easily generate new keys by clicking add. Simply give your key a name, and click btn:generate.
| The public key will be saved, and the private key will automatically be downloaded to your device (in JSON format). |
Upload key
You may also upload the public key portion of a user-managed key pair, and the use the private key for authenication later.
The key you upload must be an RSA public key and encoded in base64. You can use tools such as OpenSSL to generate a key and certificate in this format.
Try it out The following command generates a 2048-bit RSA key pair
openssl genpkey -algorithm RSA -out xp_private_key.pem -pkeyopt rsa_keygen_bits:2048 && \
openssl rsa -pubout -in xp_private_key.pem -out xp_public_key.pem
After generating the key, you may upload the public_key.pem file to your service account.
JWT authentication
|
XP enforces short-lived tokens. You may change the default timeout of 30 seconds in the ID provider configuration. |
The System ID providers supports JWT (JSON Web Token) based authentication via the HTTP Authorization header.
The header should look like the following:
Authorization: Bearer <mytoken>
The JWT token must be a valid RFC-7519 JWT token, following these requirements:
-
algheader parameter must be set toRS256. -
kidheader parameter must be set to ID of the public key that corresponds to the private key used to sign the token. -
subclaim must be set to ID of the service account, for instance,user:system:myuser. -
expclaim must be set to expiration time of the token. The token will be rejected if it is expired. -
iatclaim must be set to issue time of the token. The token will be rejected if it was issued in the future.
{
  "kid": "51a29c2ab5ebf945f6a5ddac8935bf8b",
  "typ": "JWT",
  "alg": "RS256"
}{
"sub": "user:system:myuser",
"exp": 1692787396,
"iat": 1692787366
}We recommend using libraries that match your client platform to generate the token - especially related to the requirement for short lived tokens.
|