New
Contents
The New action opens the New Content dialog. Create an item by choosing a content type, or upload files to create media items.
Opening the dialog
Open the dialog from the Navigator using New in the toolbar, New in an item’s right-click menu, or the Alt + N keyboard shortcut.
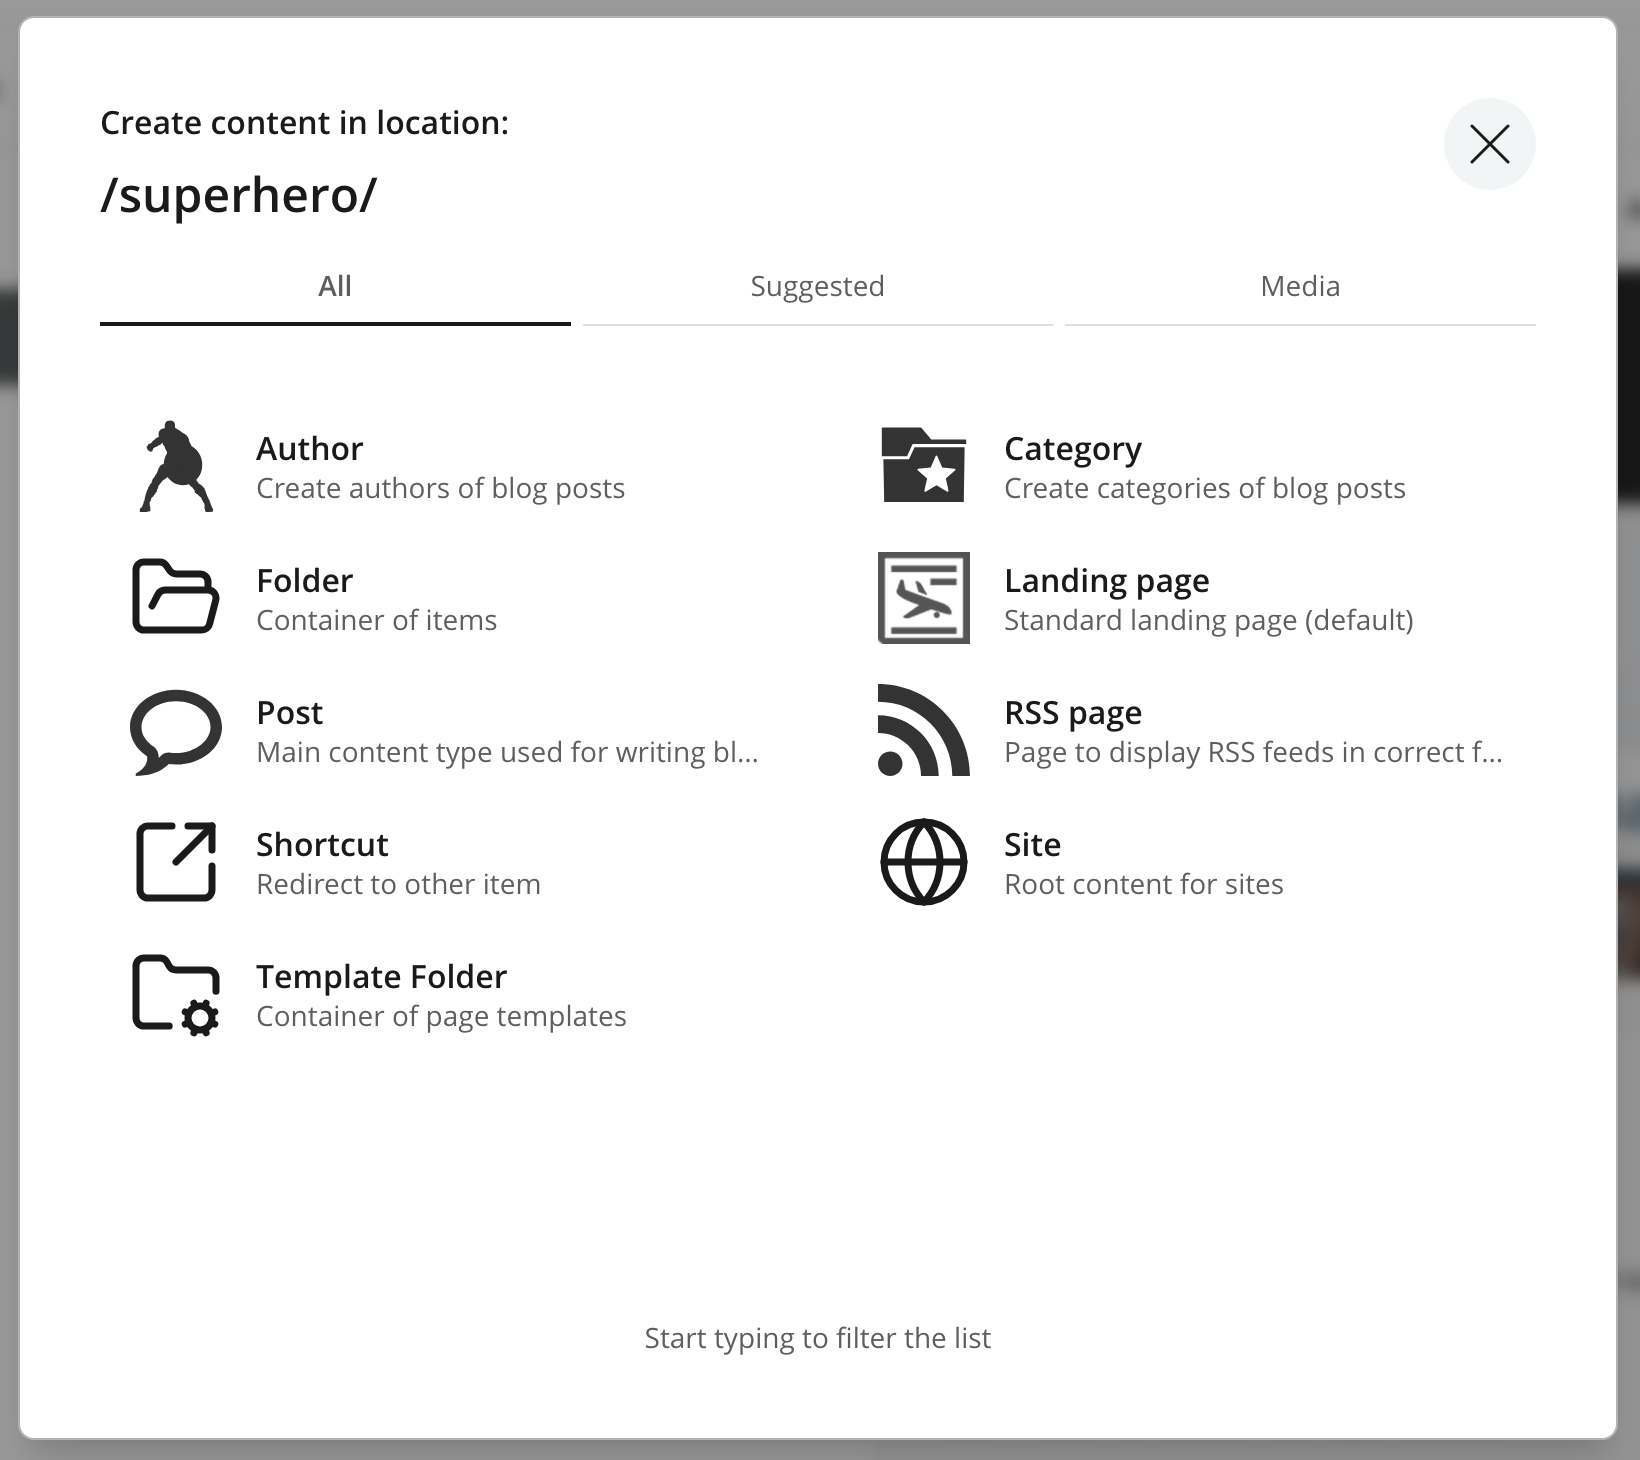
The selected item is the parent for the new content. With nothing selected, content is created at the root of the current project. The heading Create content in location shows the destination path; in the example below, new items will be children of /superhero.
You need the Create permission at the destination. The parent must also allow the content type you want to create.
Choosing a content type
The dialog has three tabs:
- All
-
Lists the content types available at the destination, with an icon, name, and description for each type.
- Suggested
-
Provides a selection of suggested content types.
- Media
-
Provides the upload area for creating content from files.
The list can include built-in types such as Folder, Shortcut, and Site, alongside application-specific types such as Post or Author. Available types depend on the applications assigned to the project or enclosing site and any restrictions on the parent item. See Content types for the role of each built-in type.
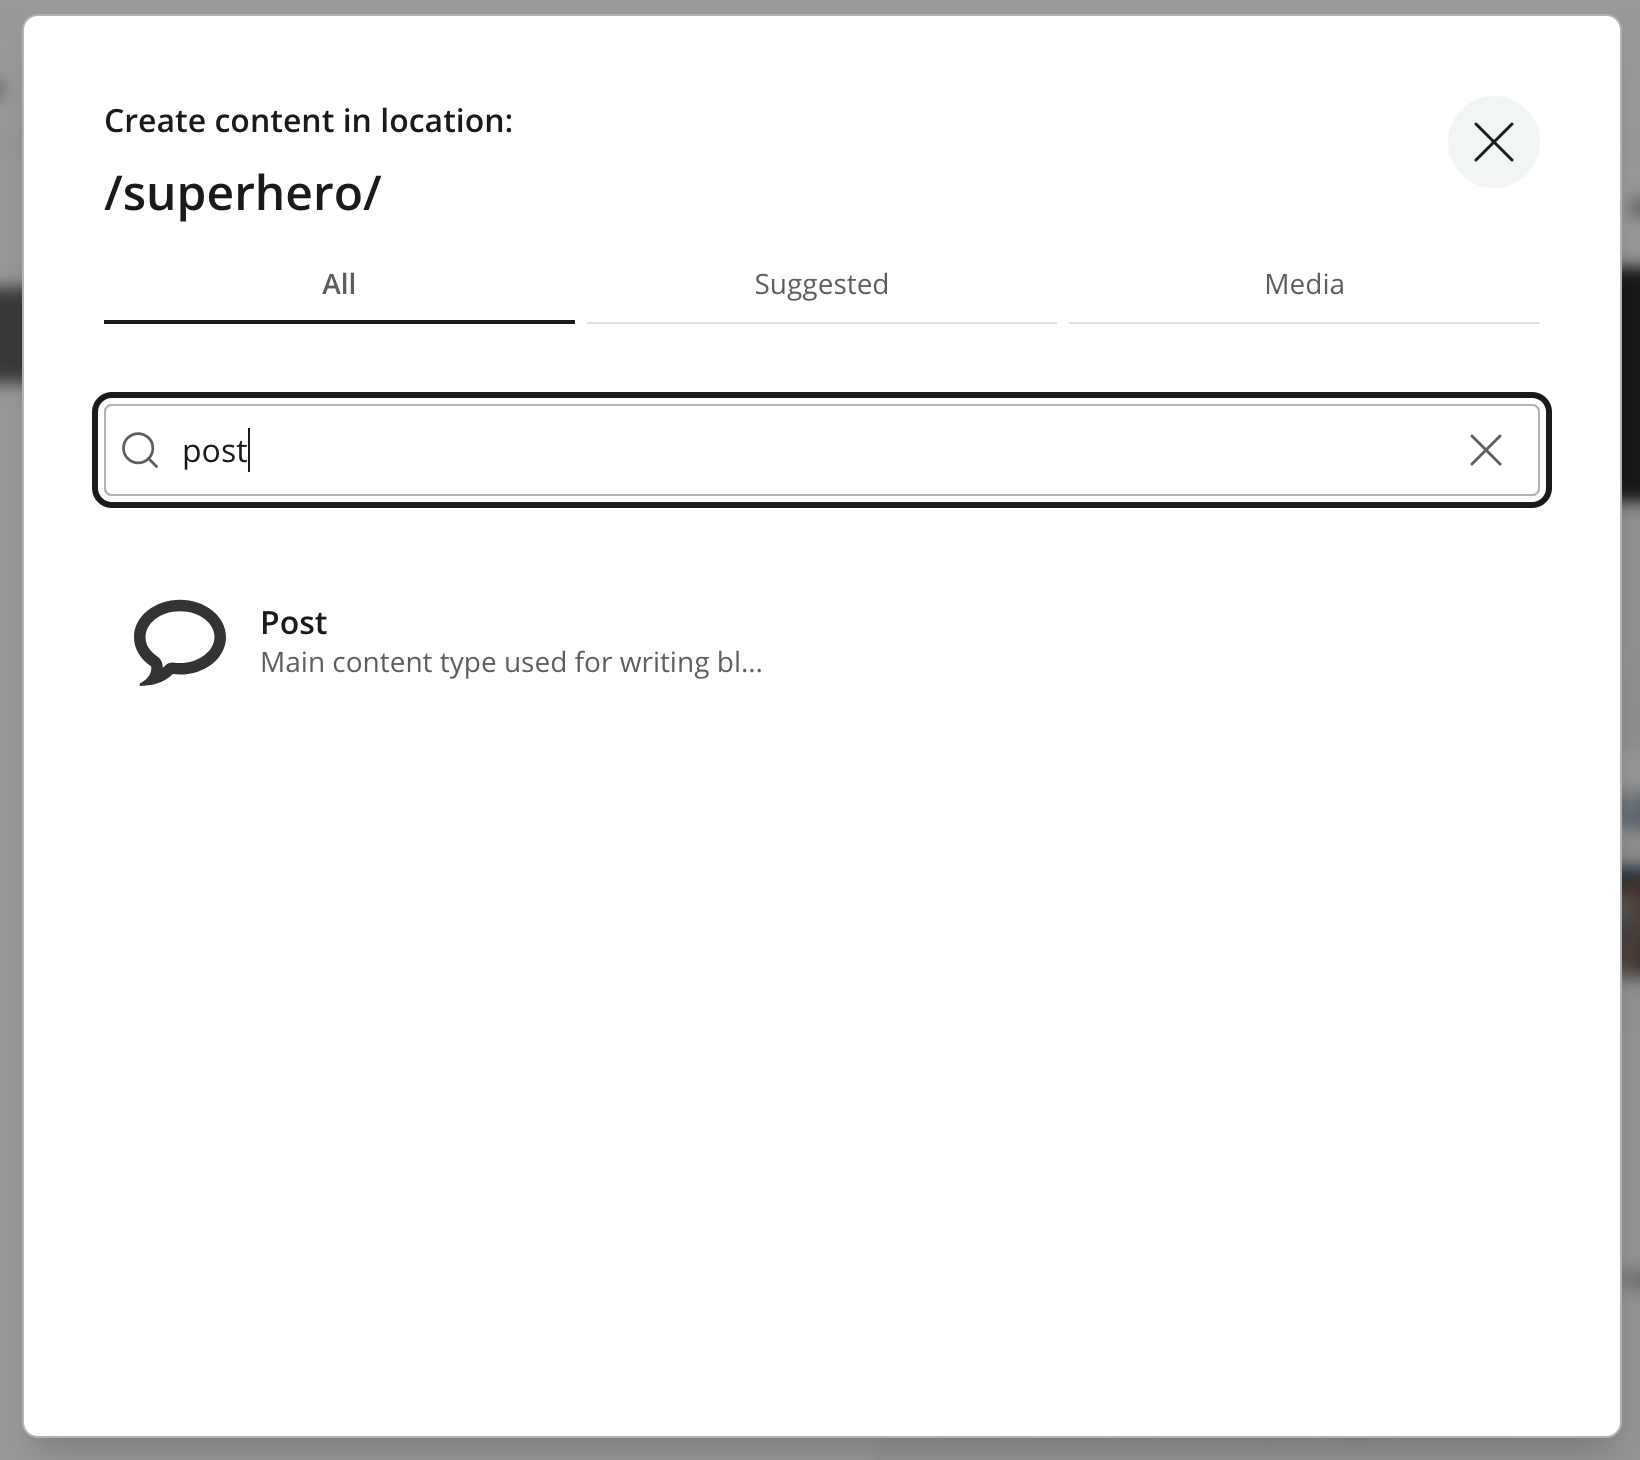
Start typing to filter the content type list by name. A search field appears above the matching types. Click the X inside the search field to clear the filter.
Selecting a type opens a new item in the Content Editor in a separate browser tab. The selected type determines which fields appear in the content form.
| Media items are created by uploading files. Fragments are created with Save as Fragment from a page component, rather than from this dialog. |
Uploading media
The Media tab has an upload area labeled Click here or drop files to upload. Click the area to select files from your computer, or drag files onto it. Multiple files can be uploaded together.
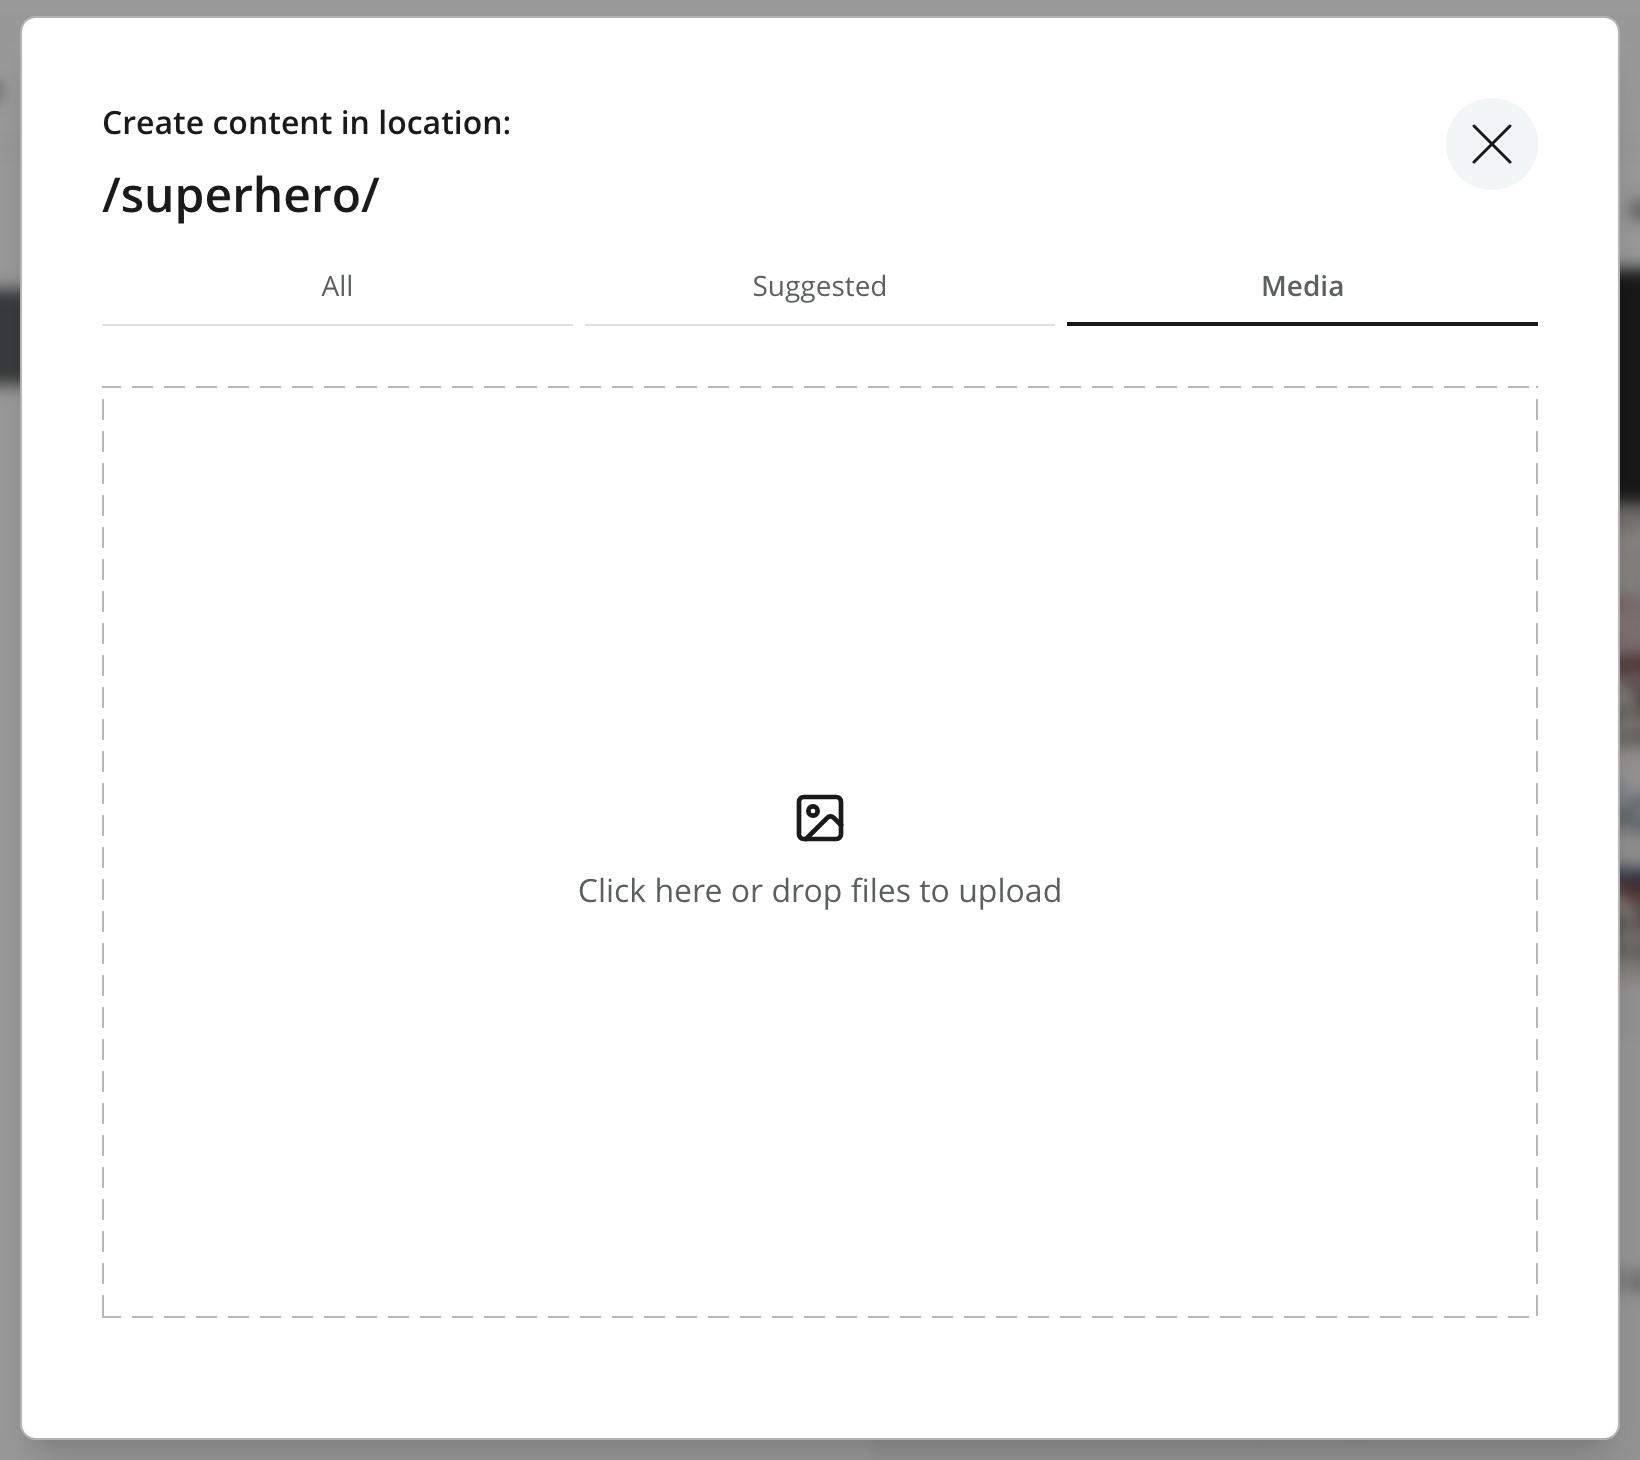
Each uploaded file becomes a separate media item at the destination shown in the dialog. Content Studio detects the file’s type and chooses the appropriate media content type, such as Image, Video, or Document. You do not need to choose a media type before uploading.
After uploading, open an item in the Content Editor to review its fields and metadata. See Media for file handling and Image for image-specific fields and editing controls.
The maximum file size is controlled by the Content Studio configuration.
New content and publishing
New content is created in the current project’s draft and is initially offline. Creating an item or uploading a file does not publish it.
For form-based content, enter a display name and complete the fields in the Content Editor. Content Studio normally generates the path name from the display name. Use Save to store changes; required fields and validation errors are shown in the Content Form.
New items receive a copy of their parent’s permissions, or the project’s default permissions when created at the project root. See Permissions for how access is managed after creation.