Issues
Contents
Issues coordinate editorial work within a project. Content Studio supports two types:
-
General issues track tasks such as checking an article or updating a set of authors. They can have assignees, comments, and optionally a selection of content items.
-
Publish requests ask another user to review and publish one or more content items. Content is mandatory. They include the controls needed to review the publishing batch and publish or schedule it.
Both types have an Open or Closed status. This status belongs to the issue: creating, assigning, or manually closing an issue does not change the attached content’s workflow or publish state.
Issues list
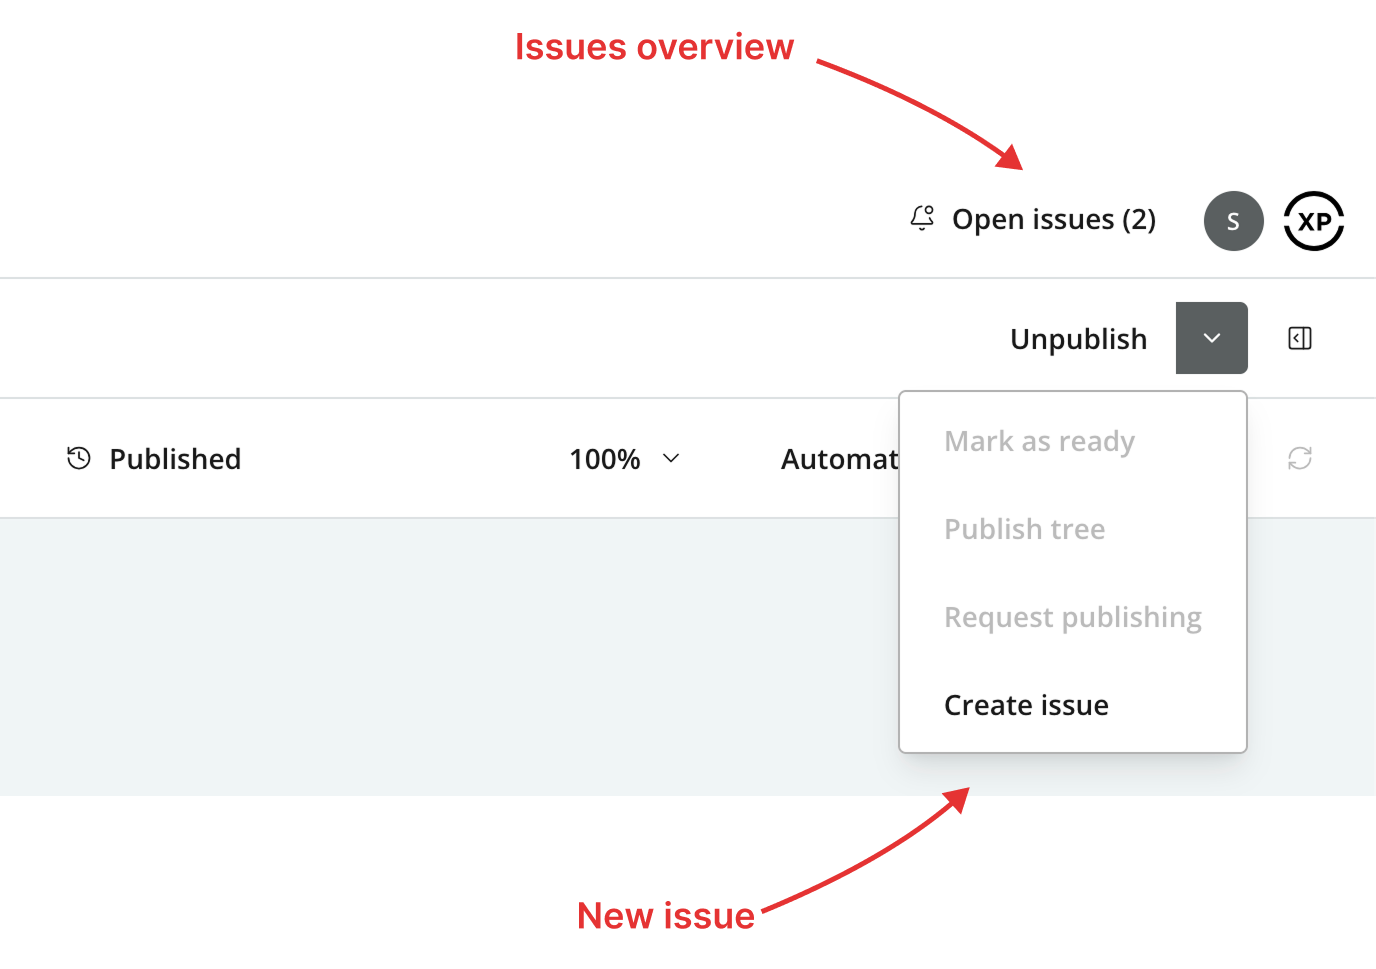
Click Open issues in the Content Studio header to open the Issues dialog for the current project. The header shows the number of open issues; when there are none, it displays No open issues.
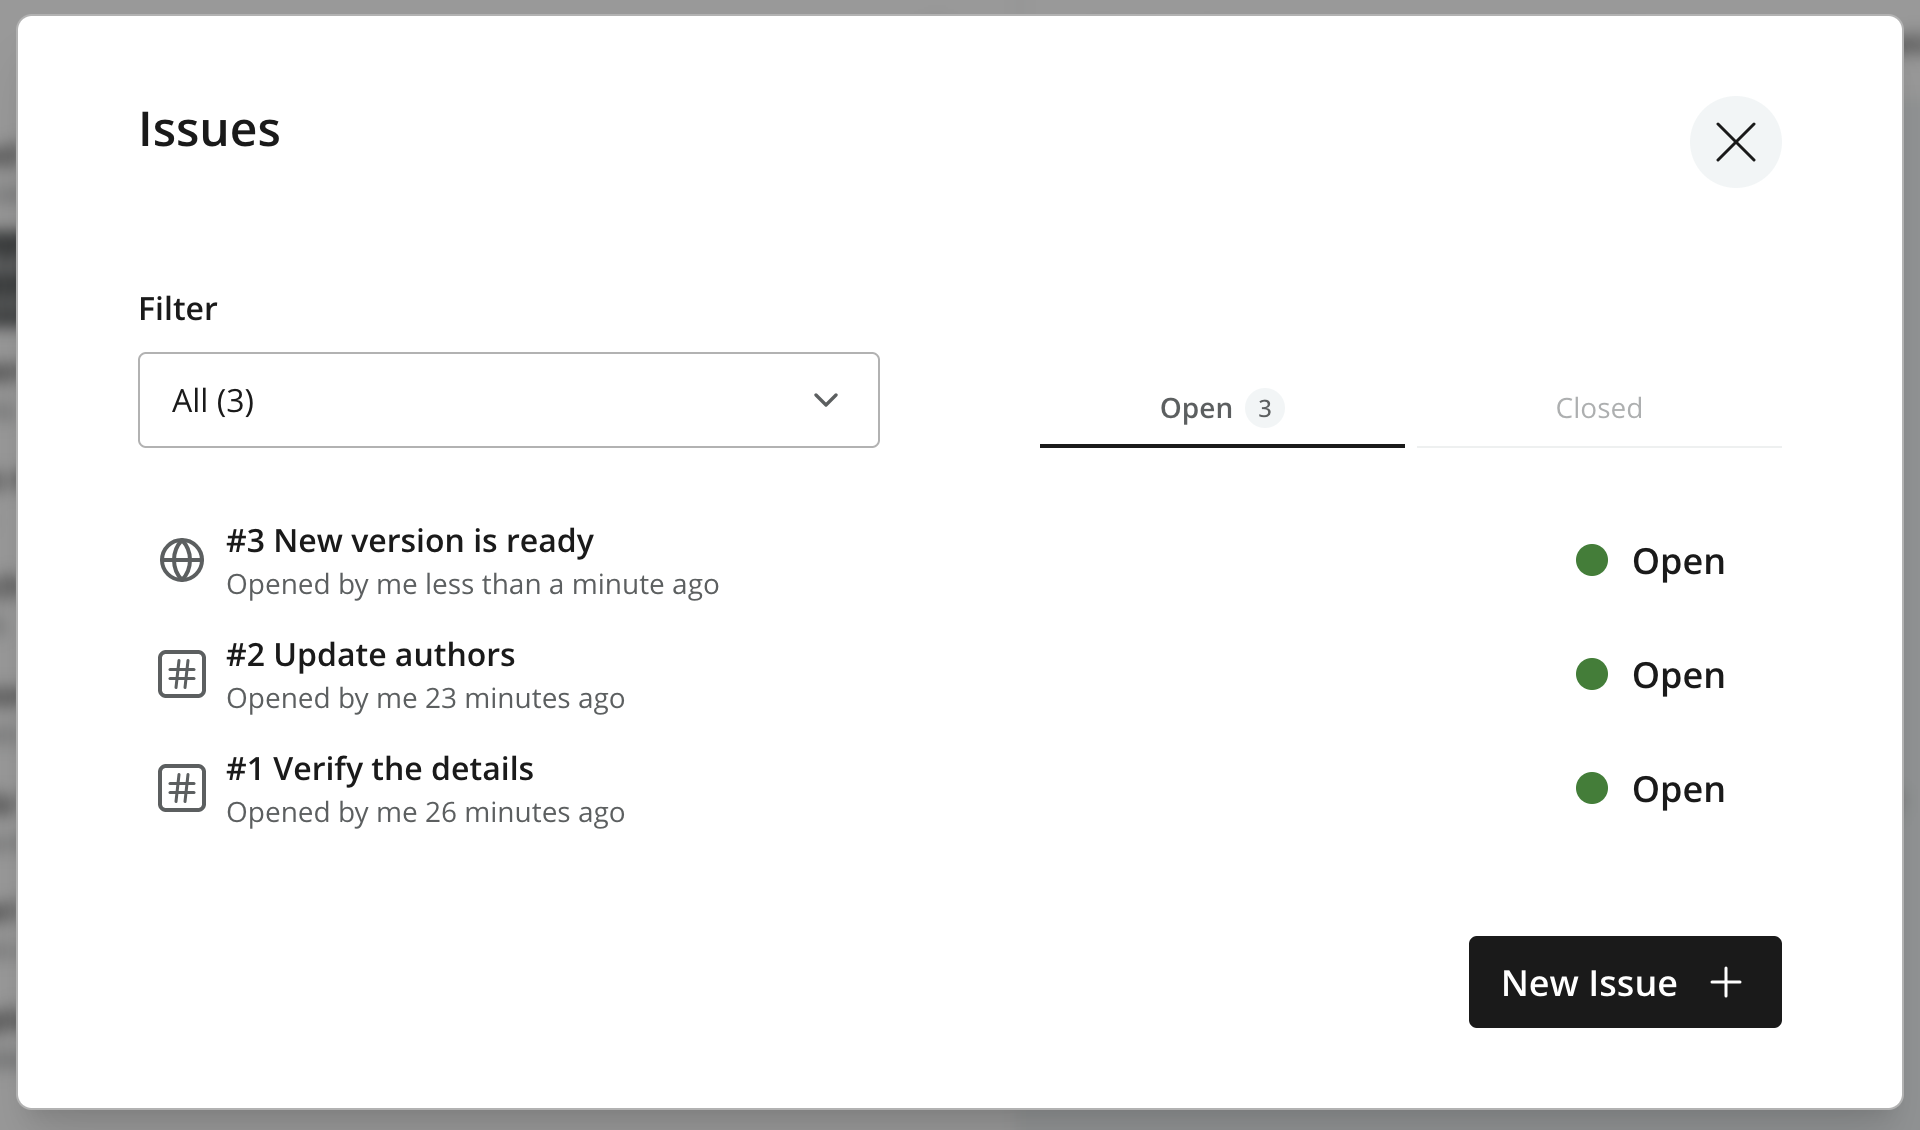
The dialog lists general issues and publish requests together. Each row shows its number, title, creator, creation time, and status. A hash icon identifies a general issue; a globe identifies a publish request. Click a row to open its details, or New Issue to create a general issue.
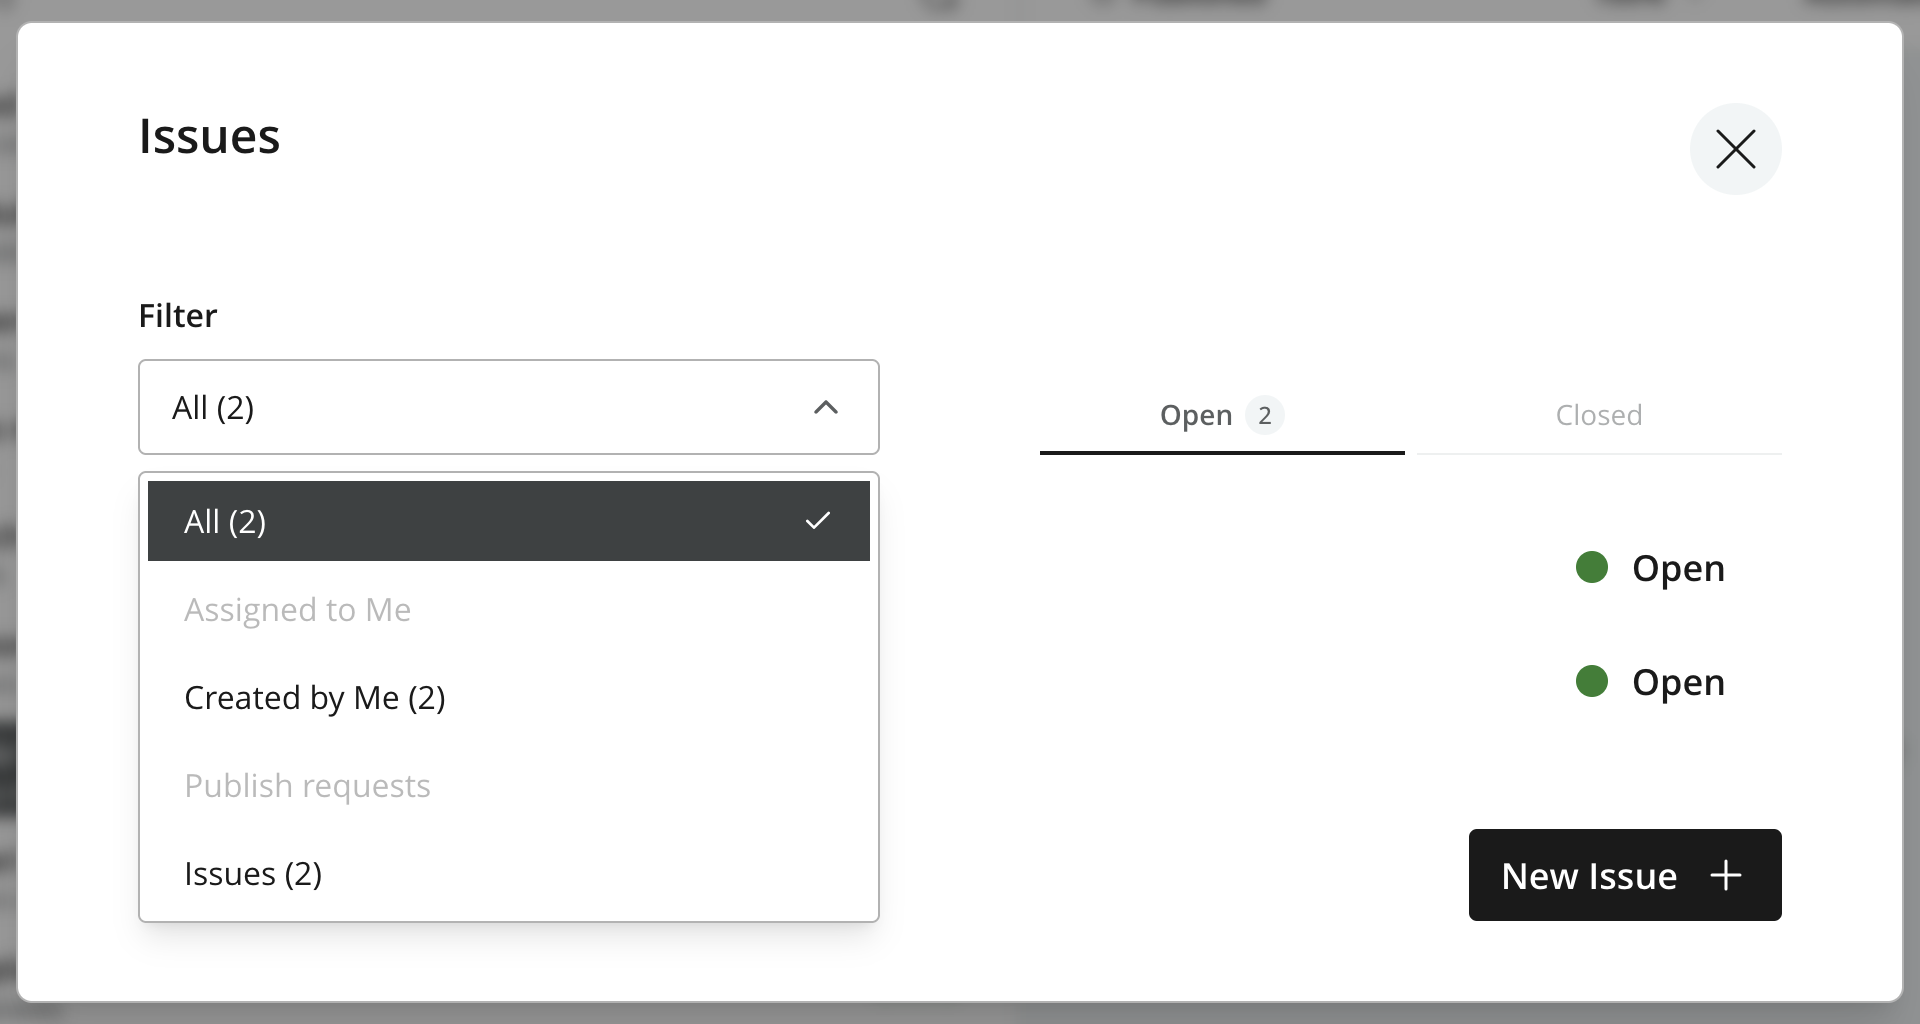
Use the Open and Closed tabs to choose the status, and the Filter selector to narrow the list:
-
All — both issue types.
-
Assigned to Me — issues assigned to the current user.
-
Created by Me — issues created by the current user.
-
Publish requests — requests for review and publishing.
-
Issues — general editorial issues.
Counts show how many entries match each choice. Choices with no matching entries are disabled.
General issues
A general issue describes work to be done. It can exist without attached content, and attaching an item does not mark it ready or publish it.
Create an issue
Use New Issue in the Issues list or Create issue in the toolbar menu. When started from selected content, the selection is added to the new issue.
The New Issue dialog contains a required Title, an optional Description, and an Assignees selector. Choose one or more users to involve in the work, or leave the issue unassigned. Content can be linked to the issue through the Items selector.
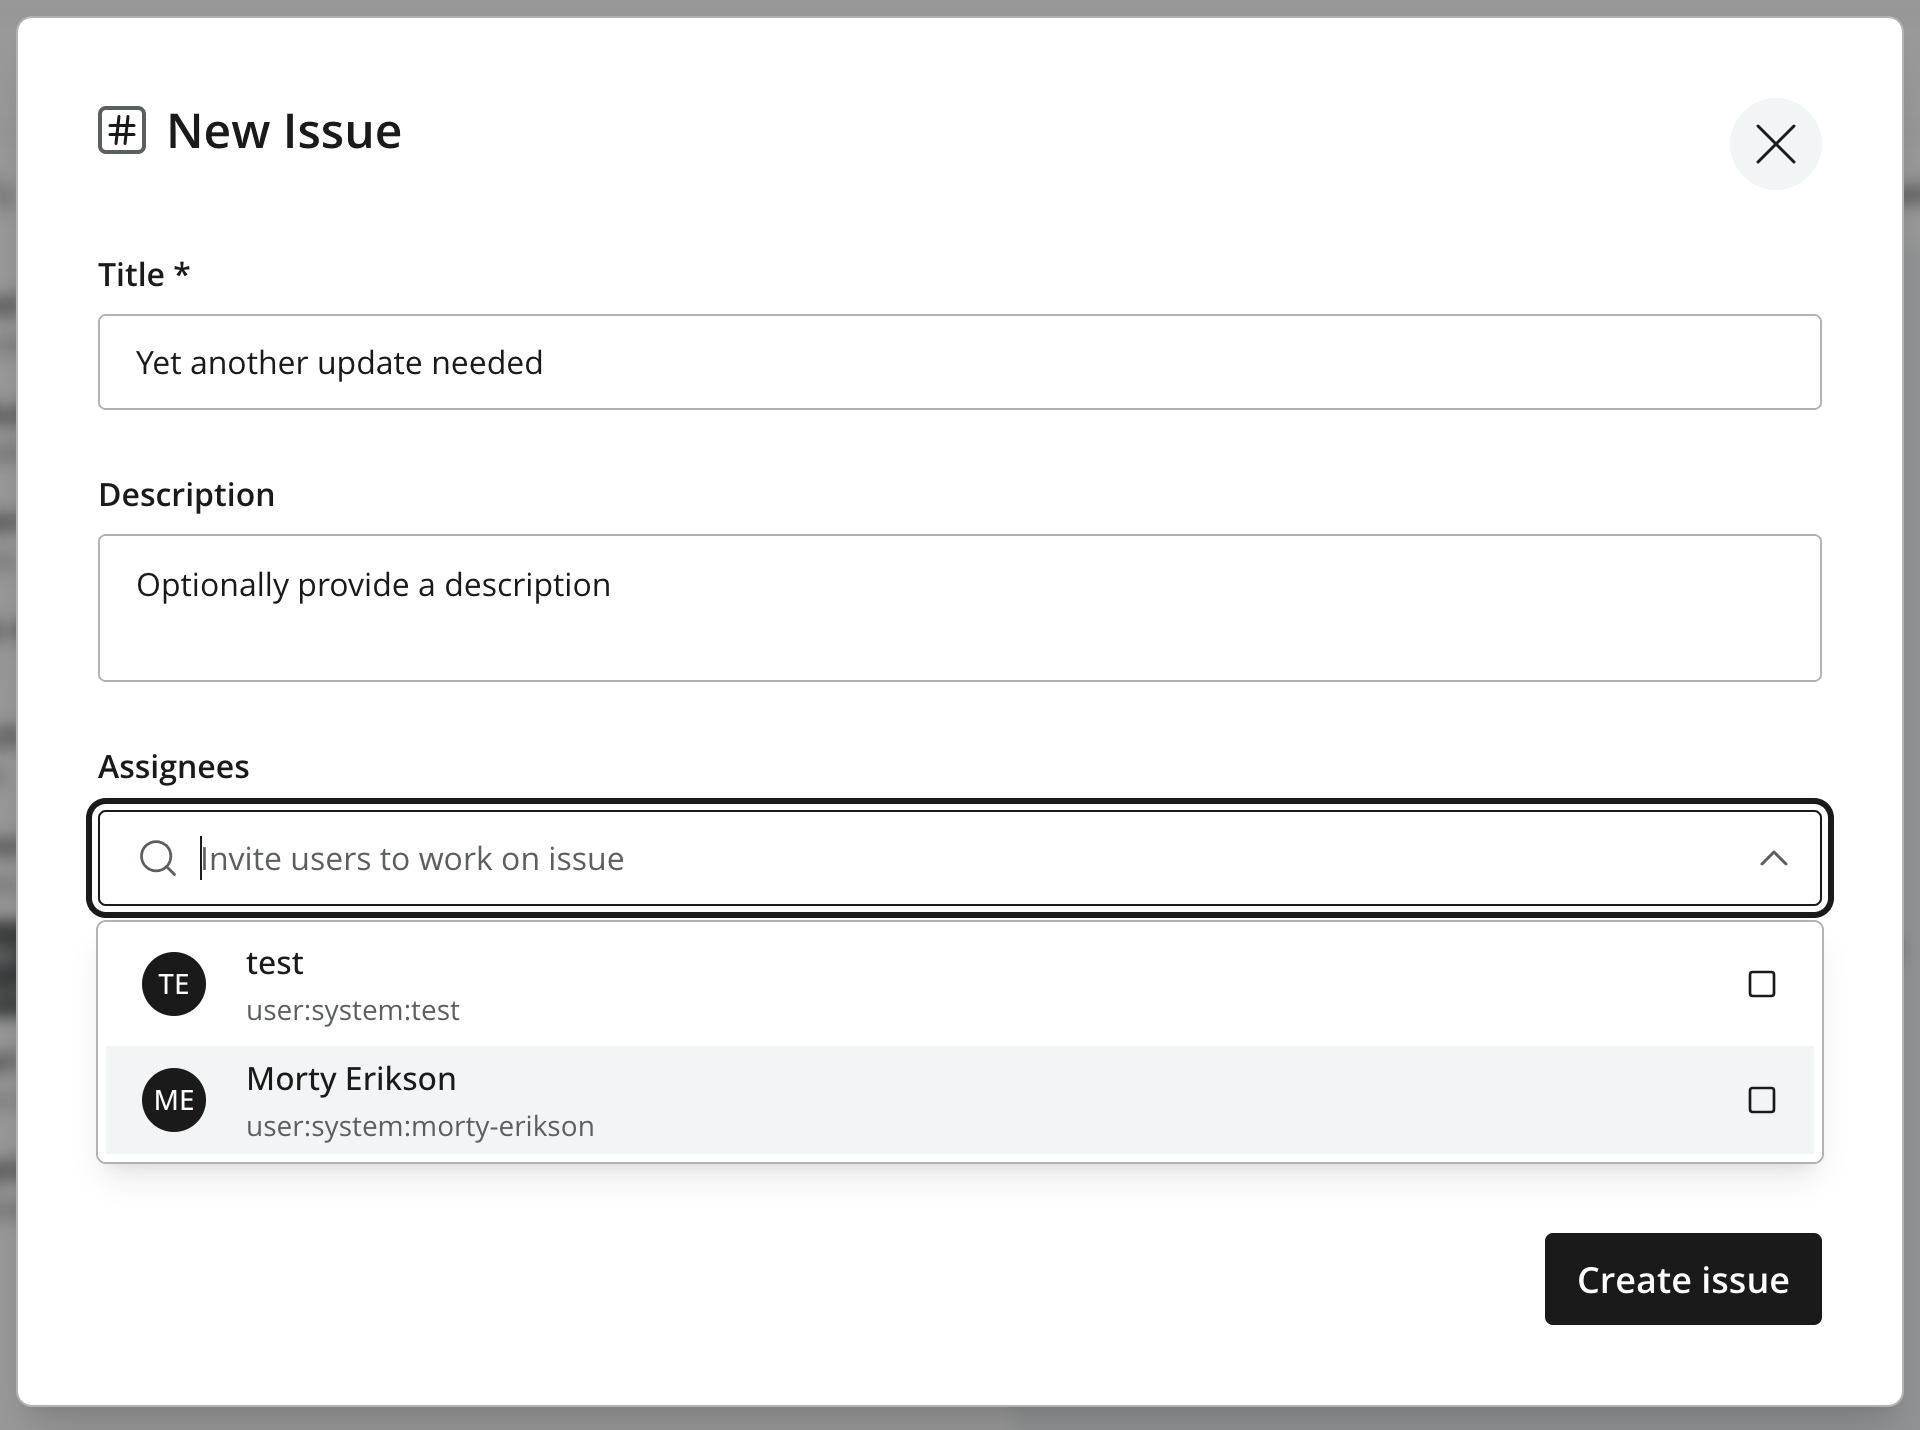
Click Create issue to save the issue and open its details. You can update its content and assignments afterwards.
Issue details
The details dialog shows the title and issue number, a status selector, and tabs for comments, content, and assignees. Tab counts show the number of entries. Use Back to issues to return to the list.
Click the title to edit it. Use the status selector to change an issue from Open to Closed when the work is complete, or reopen it if further work is needed. Closing preserves the issue and its discussion in the Closed list. Reopen a closed issue before changing its title, comments, content, or assignees.
Comments
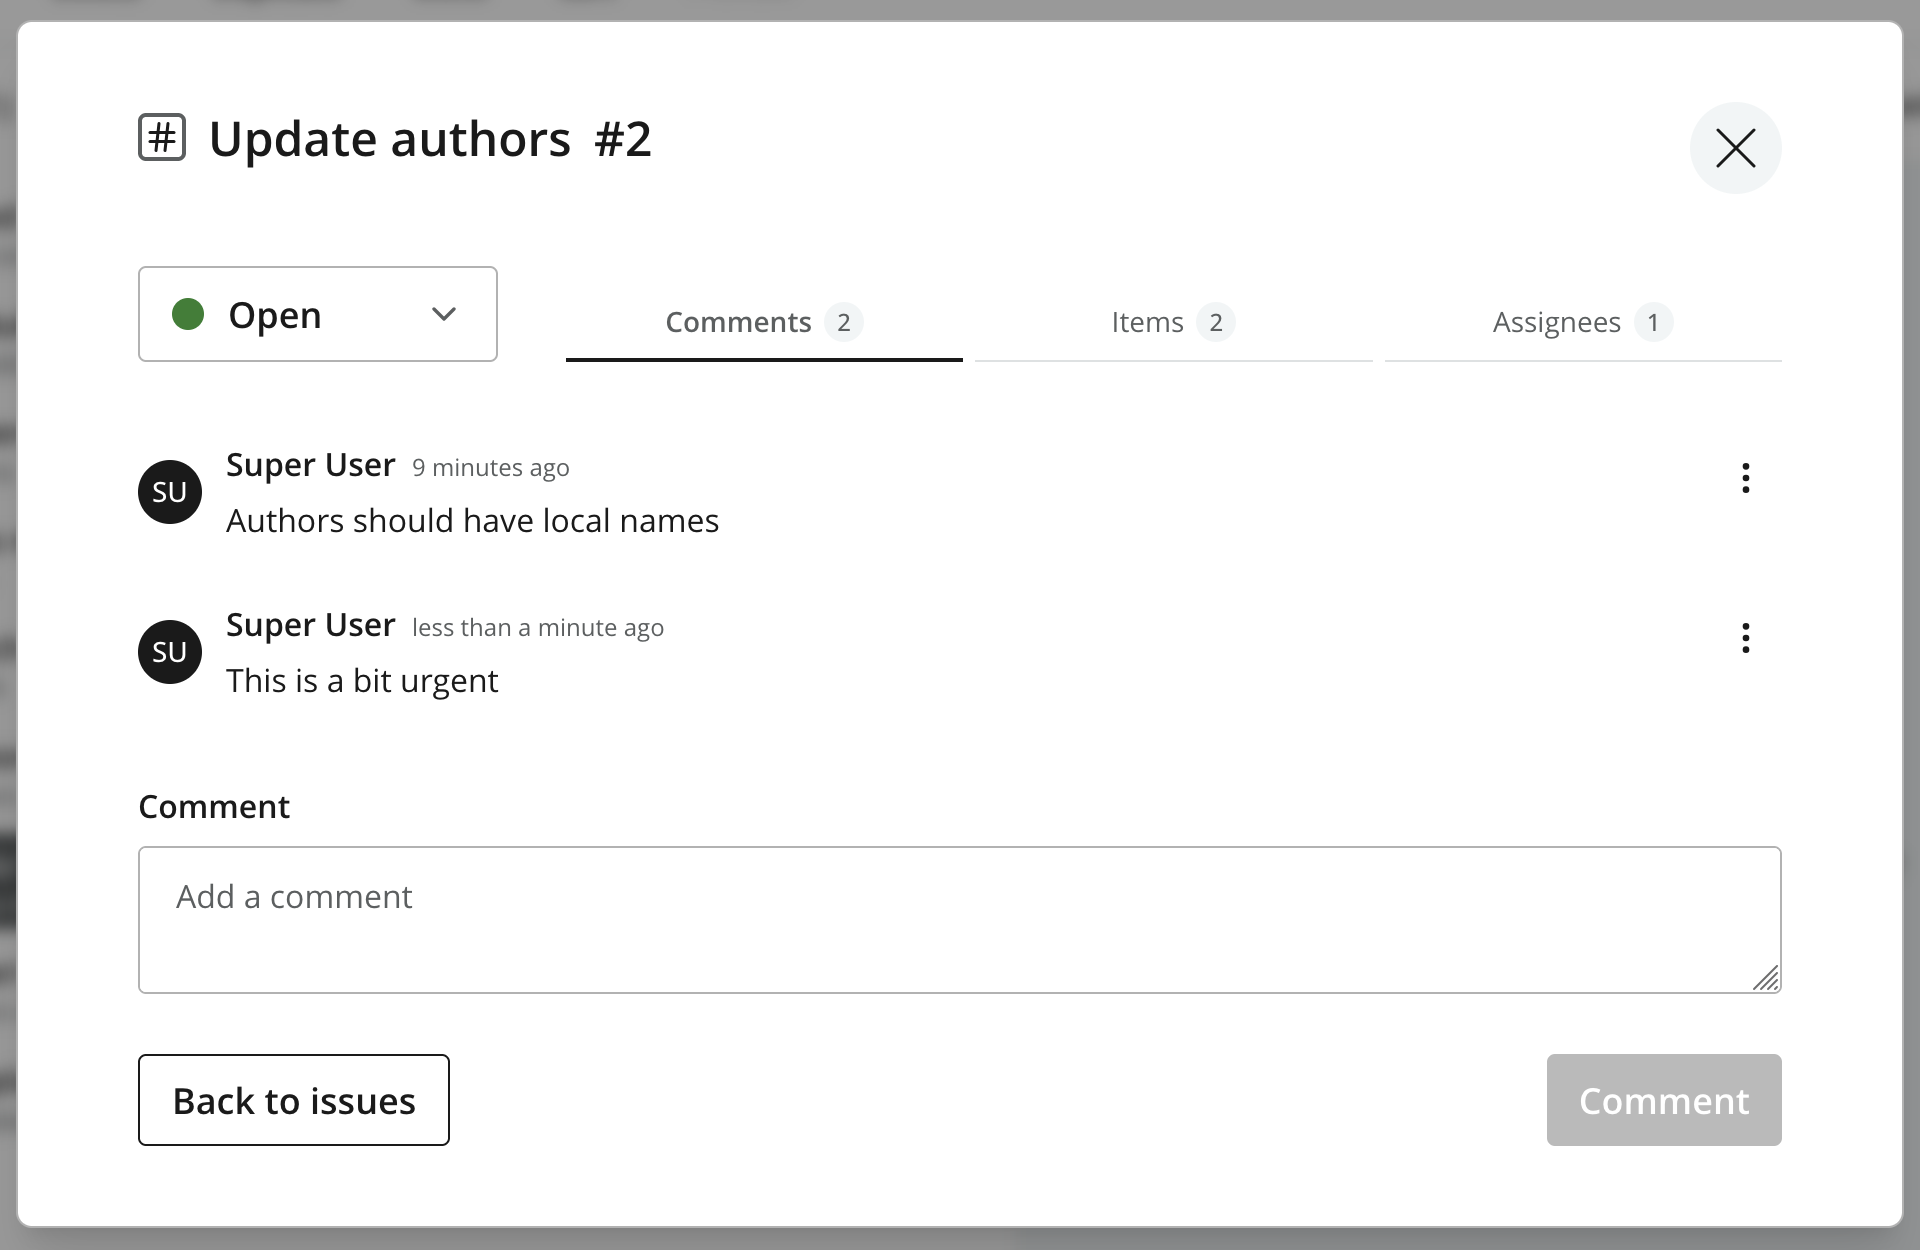
The Comments tab holds the discussion, including the description or comment supplied when the issue was created. Enter text in the Comment field and click Comment to post it. The menu beside a comment provides Edit and Delete when those actions are available to you.
Items
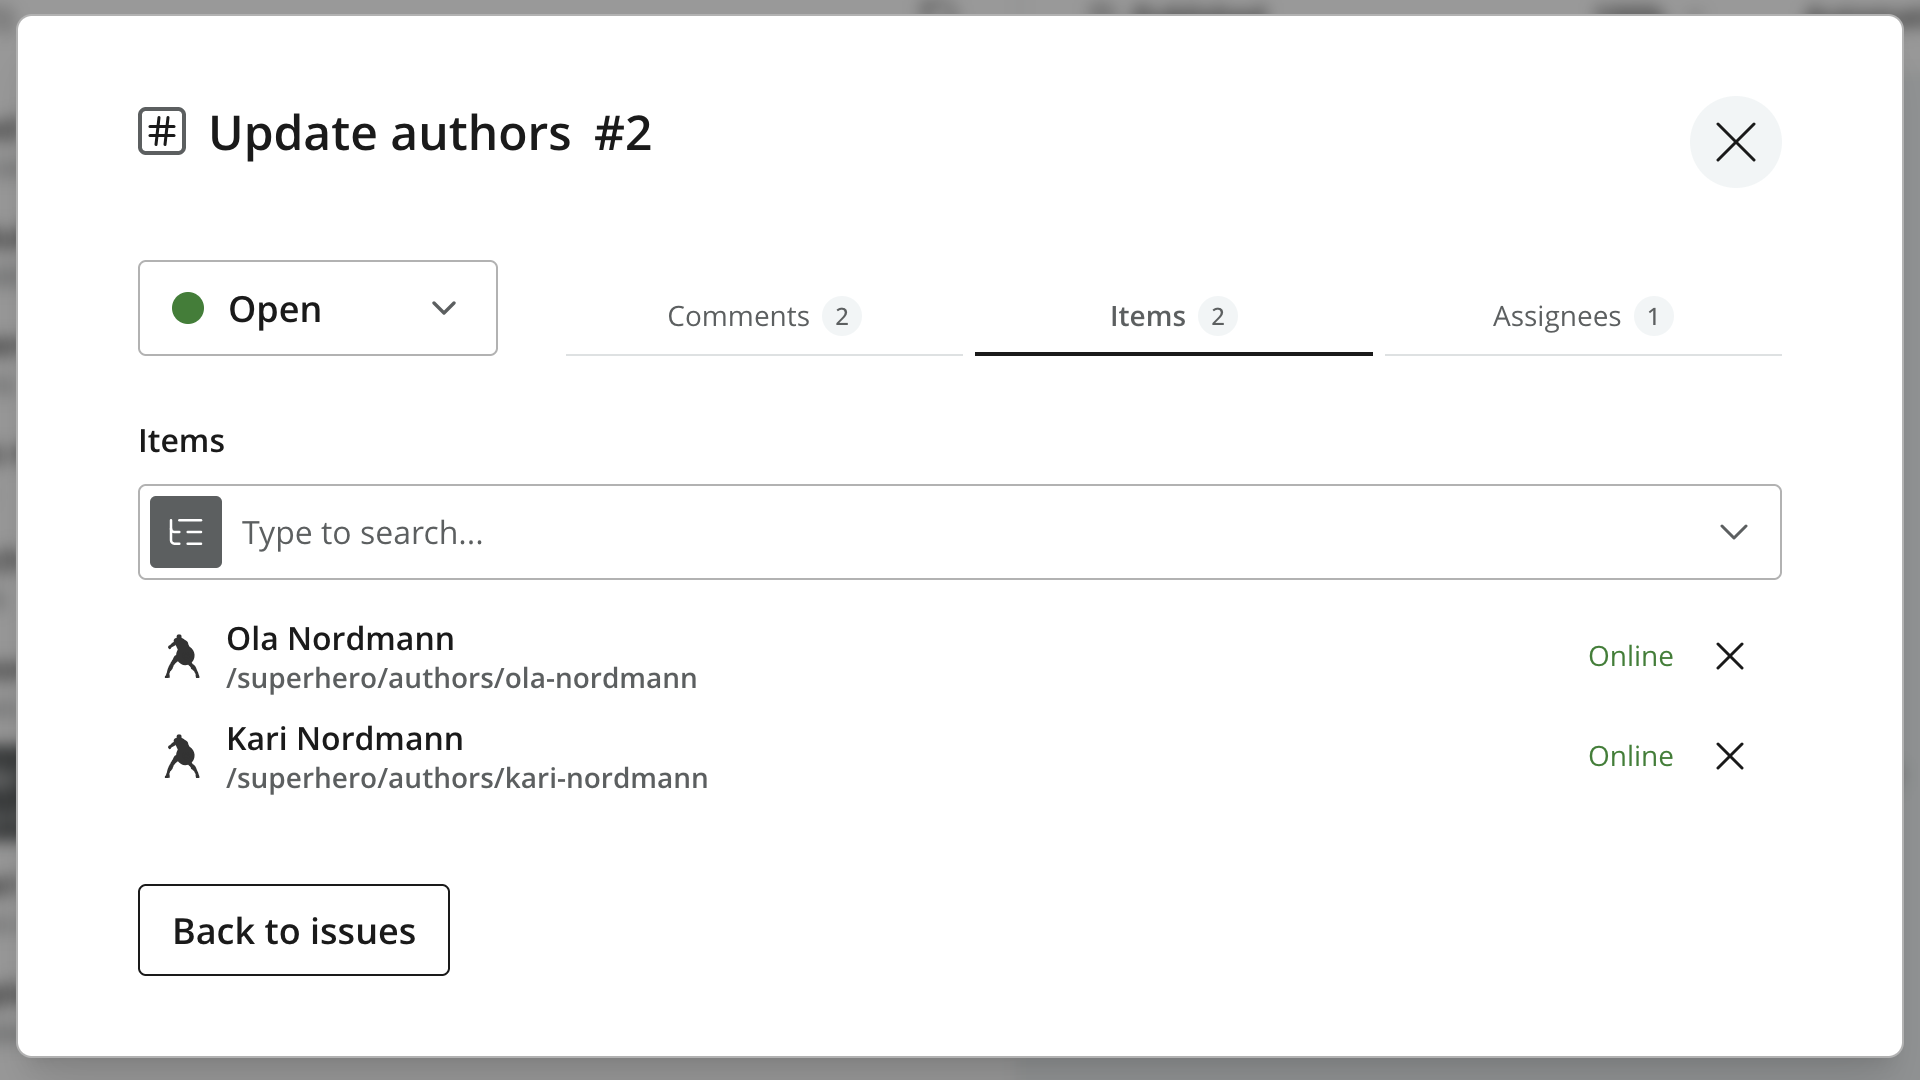
For a general issue, the Items tab lists its attached content. Search or browse with the selector to add items. Click an item’s name to open it in the Content Editor; use the remove control beside it to detach it from the issue. Removing an attachment does not delete the content.
Publish requests use a Publish request tab instead, with publishing states, dependencies, and publishing controls. See The publish request dialog.
Assignees
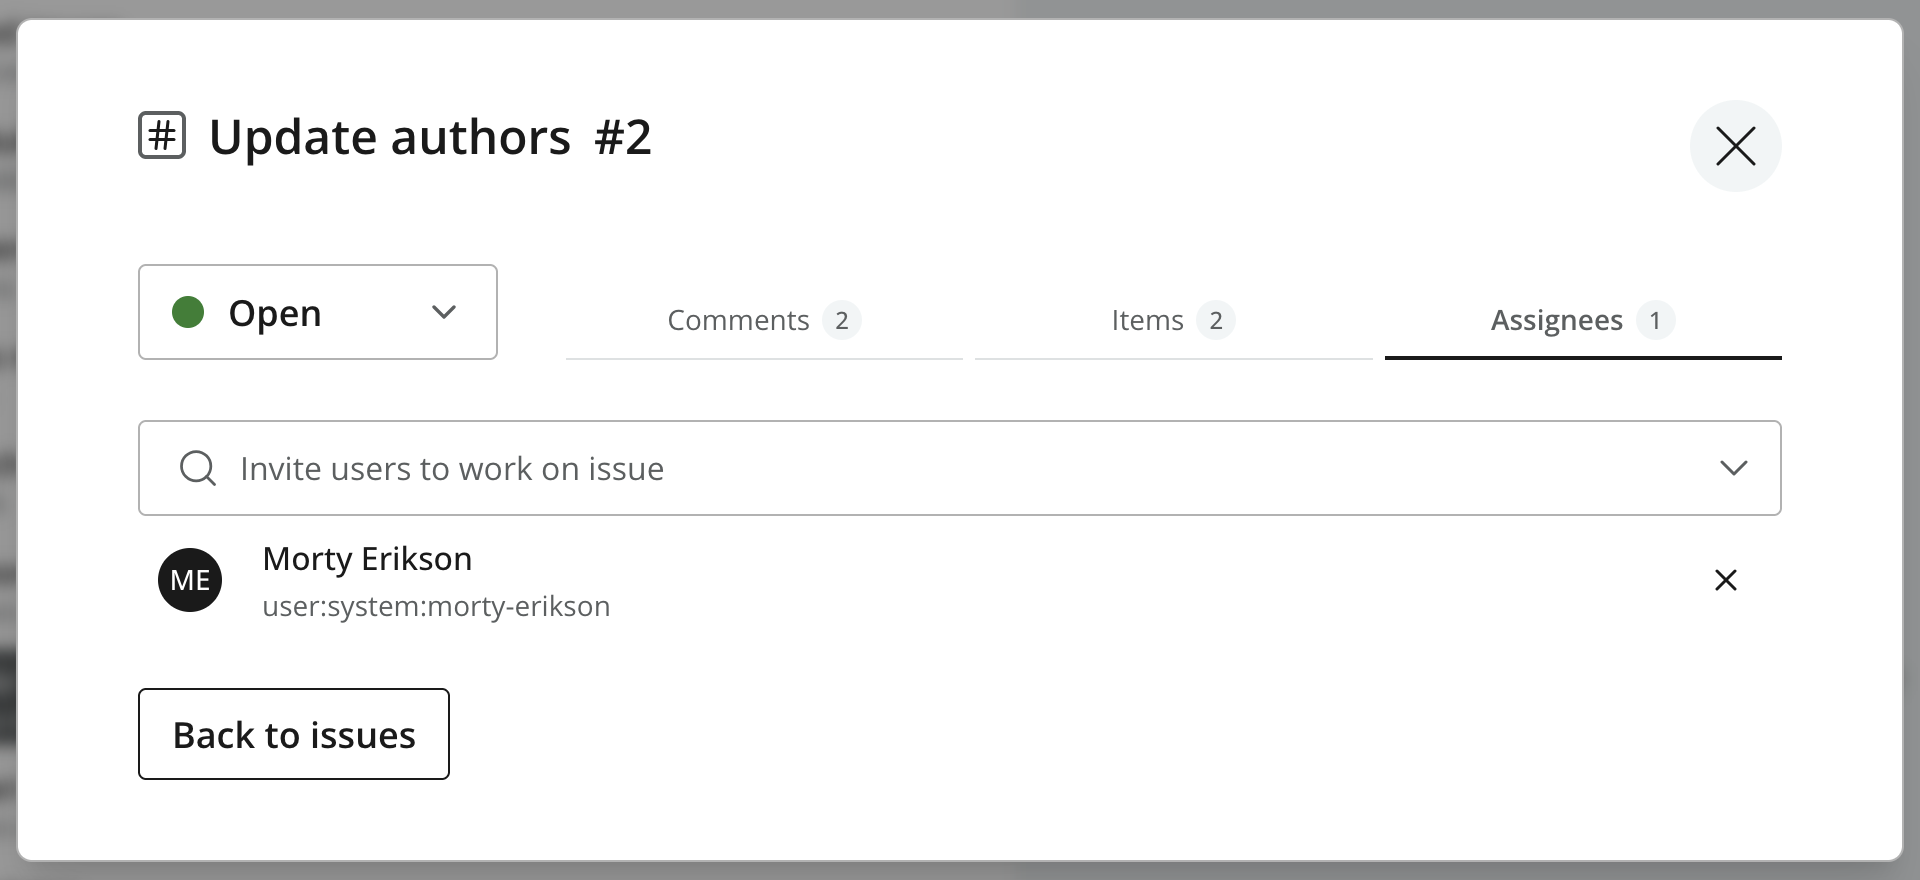
The Assignees tab shows the users assigned to the issue. Search for users to add them, or use the remove control beside an assignee to remove their assignment. Multiple users can be assigned to the same issue.
Publish requests
A publish request hands content to another user for review and publishing. Use it when you lack publish permission, or when you want another person to review your changes before they go live. Creating the request does not publish the content.
A request wraps the Publishing wizard in an issue, adding a title, assignees, discussion, and an Open/Closed status. The content selection, dependencies, readiness checks, validation, and publishing controls follow the same rules as the wizard.
A publish request must contain at least one content item. General issues can be created without content, but a publish request needs a publishing batch for the reviewer to act on.
Create a publish request
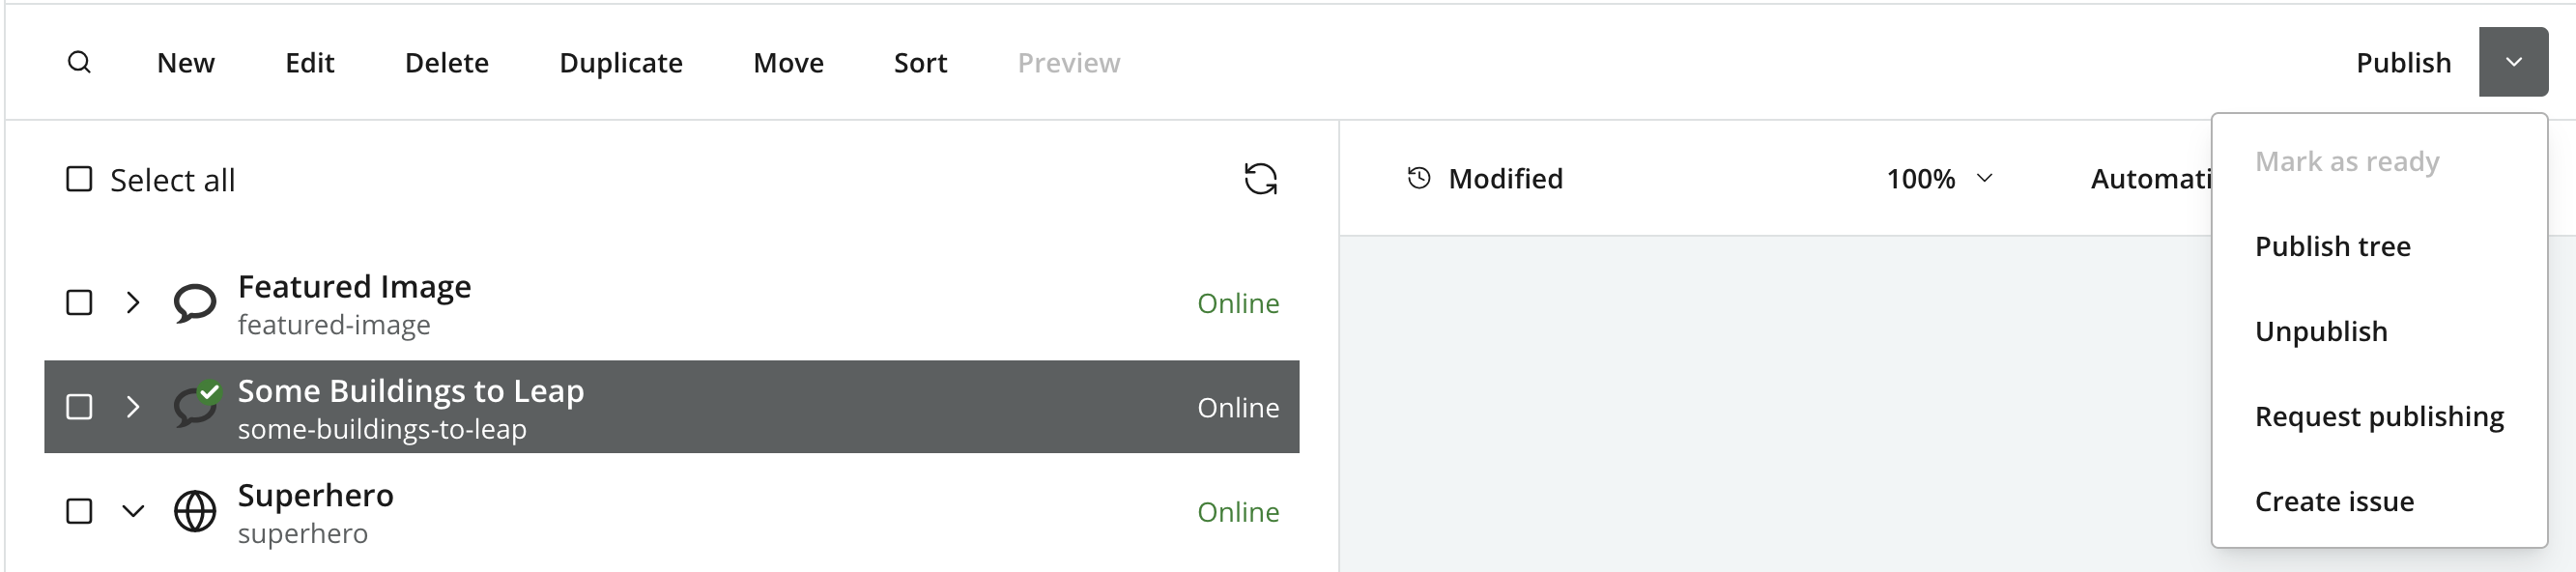
Select one or more content items and choose Request publishing from the toolbar or context menu. For users without publish permission, it is the primary publishing action once content is ready.
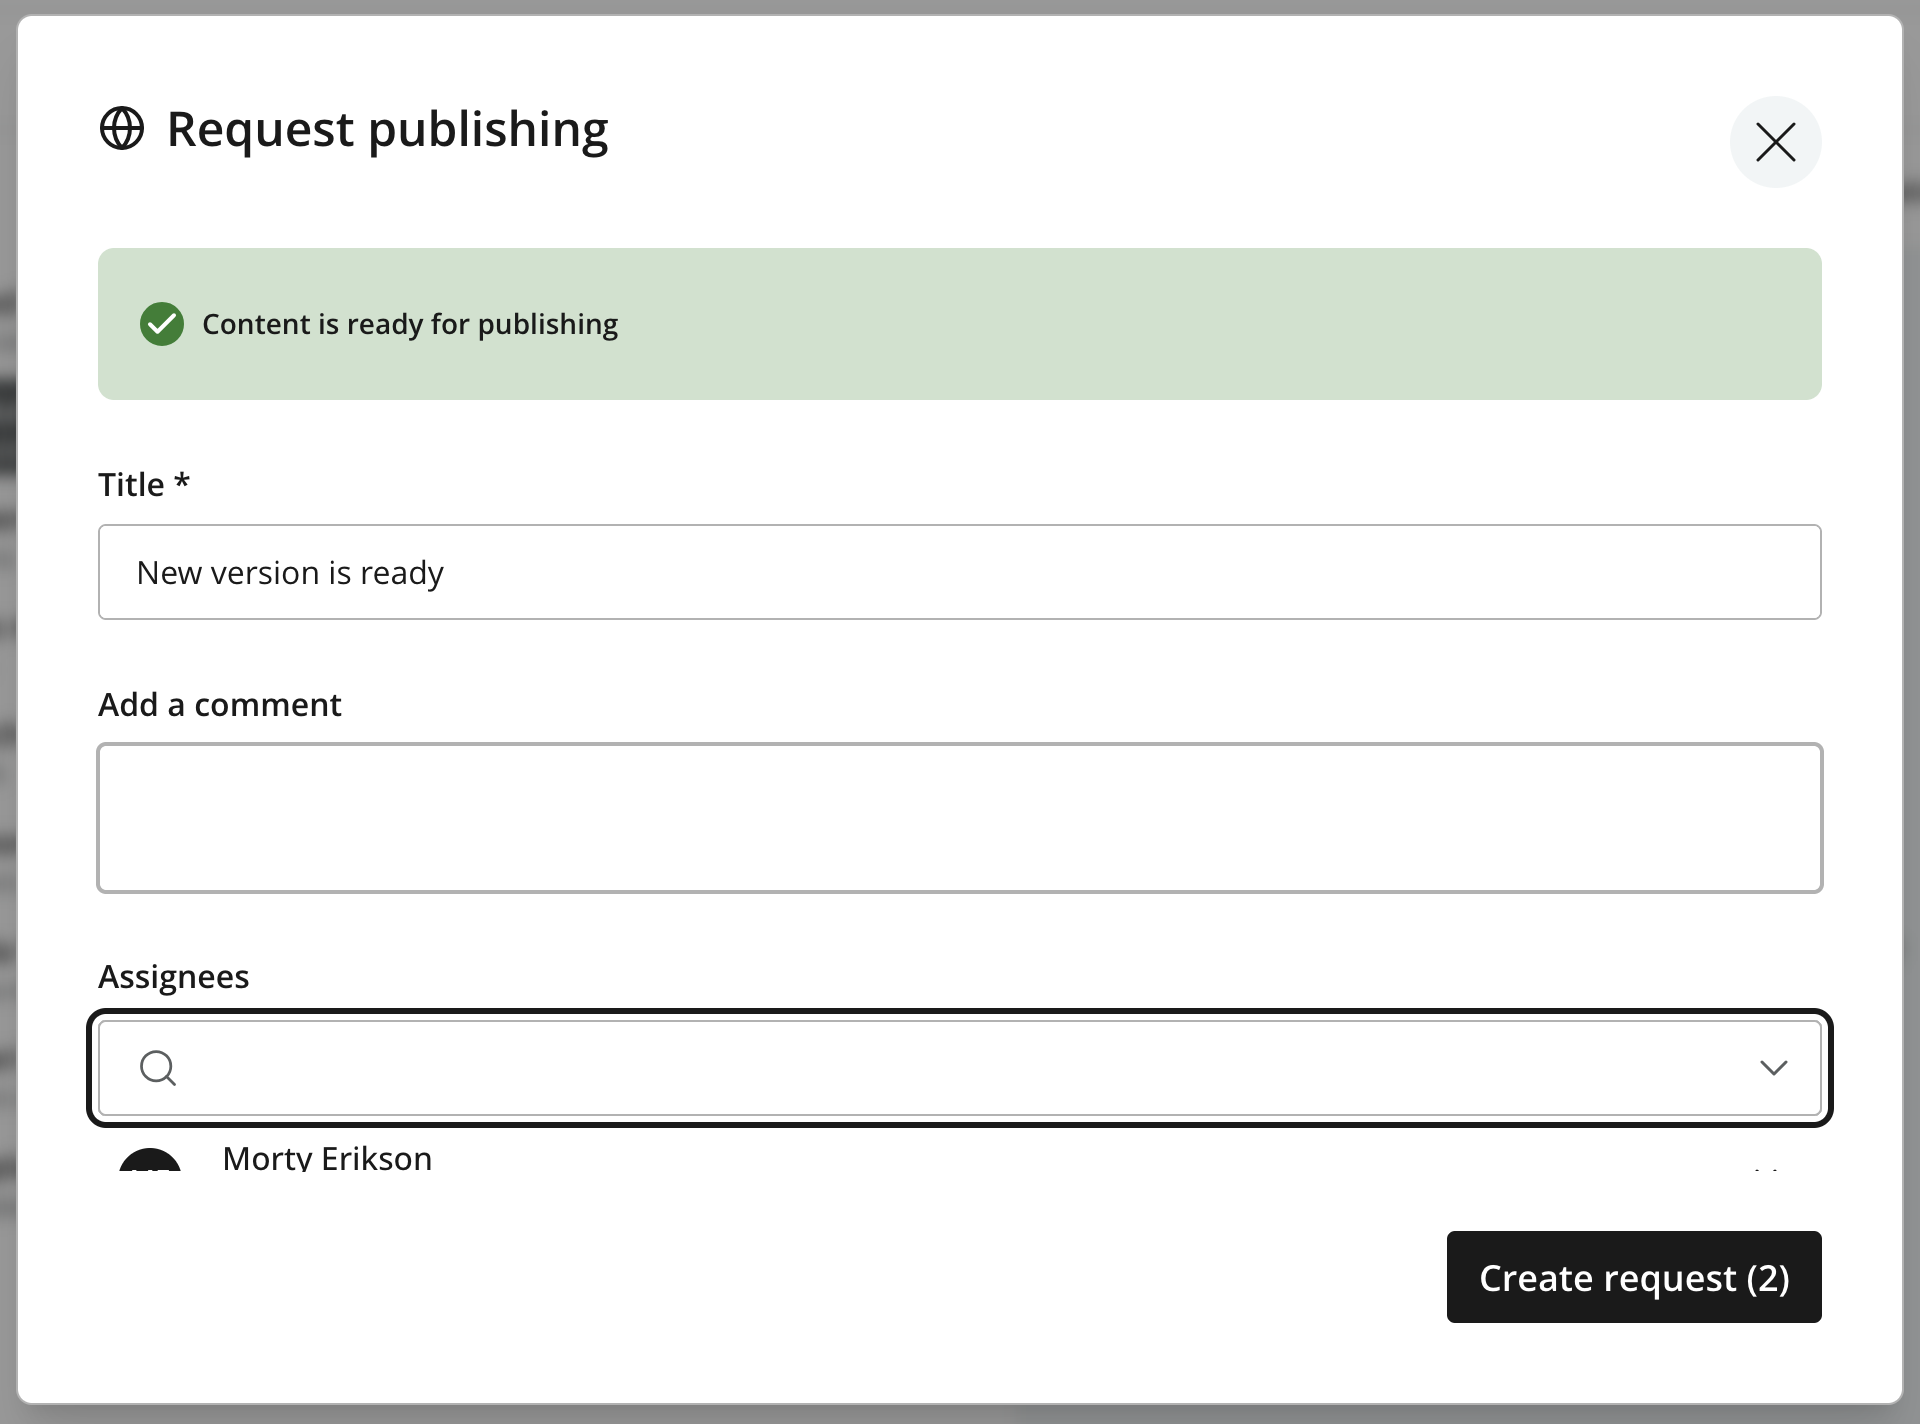
The Request publishing dialog combines the request details and its content in one form. Enter a required Title, optionally Add a comment, and select assignees to review the request.
Review the Items and Dependencies further down in the same dialog. Include child items adds descendants where available, and the dependency checkboxes control which related items are included. Selection changes must be applied before continuing. See Publishing dependencies for these shared controls.
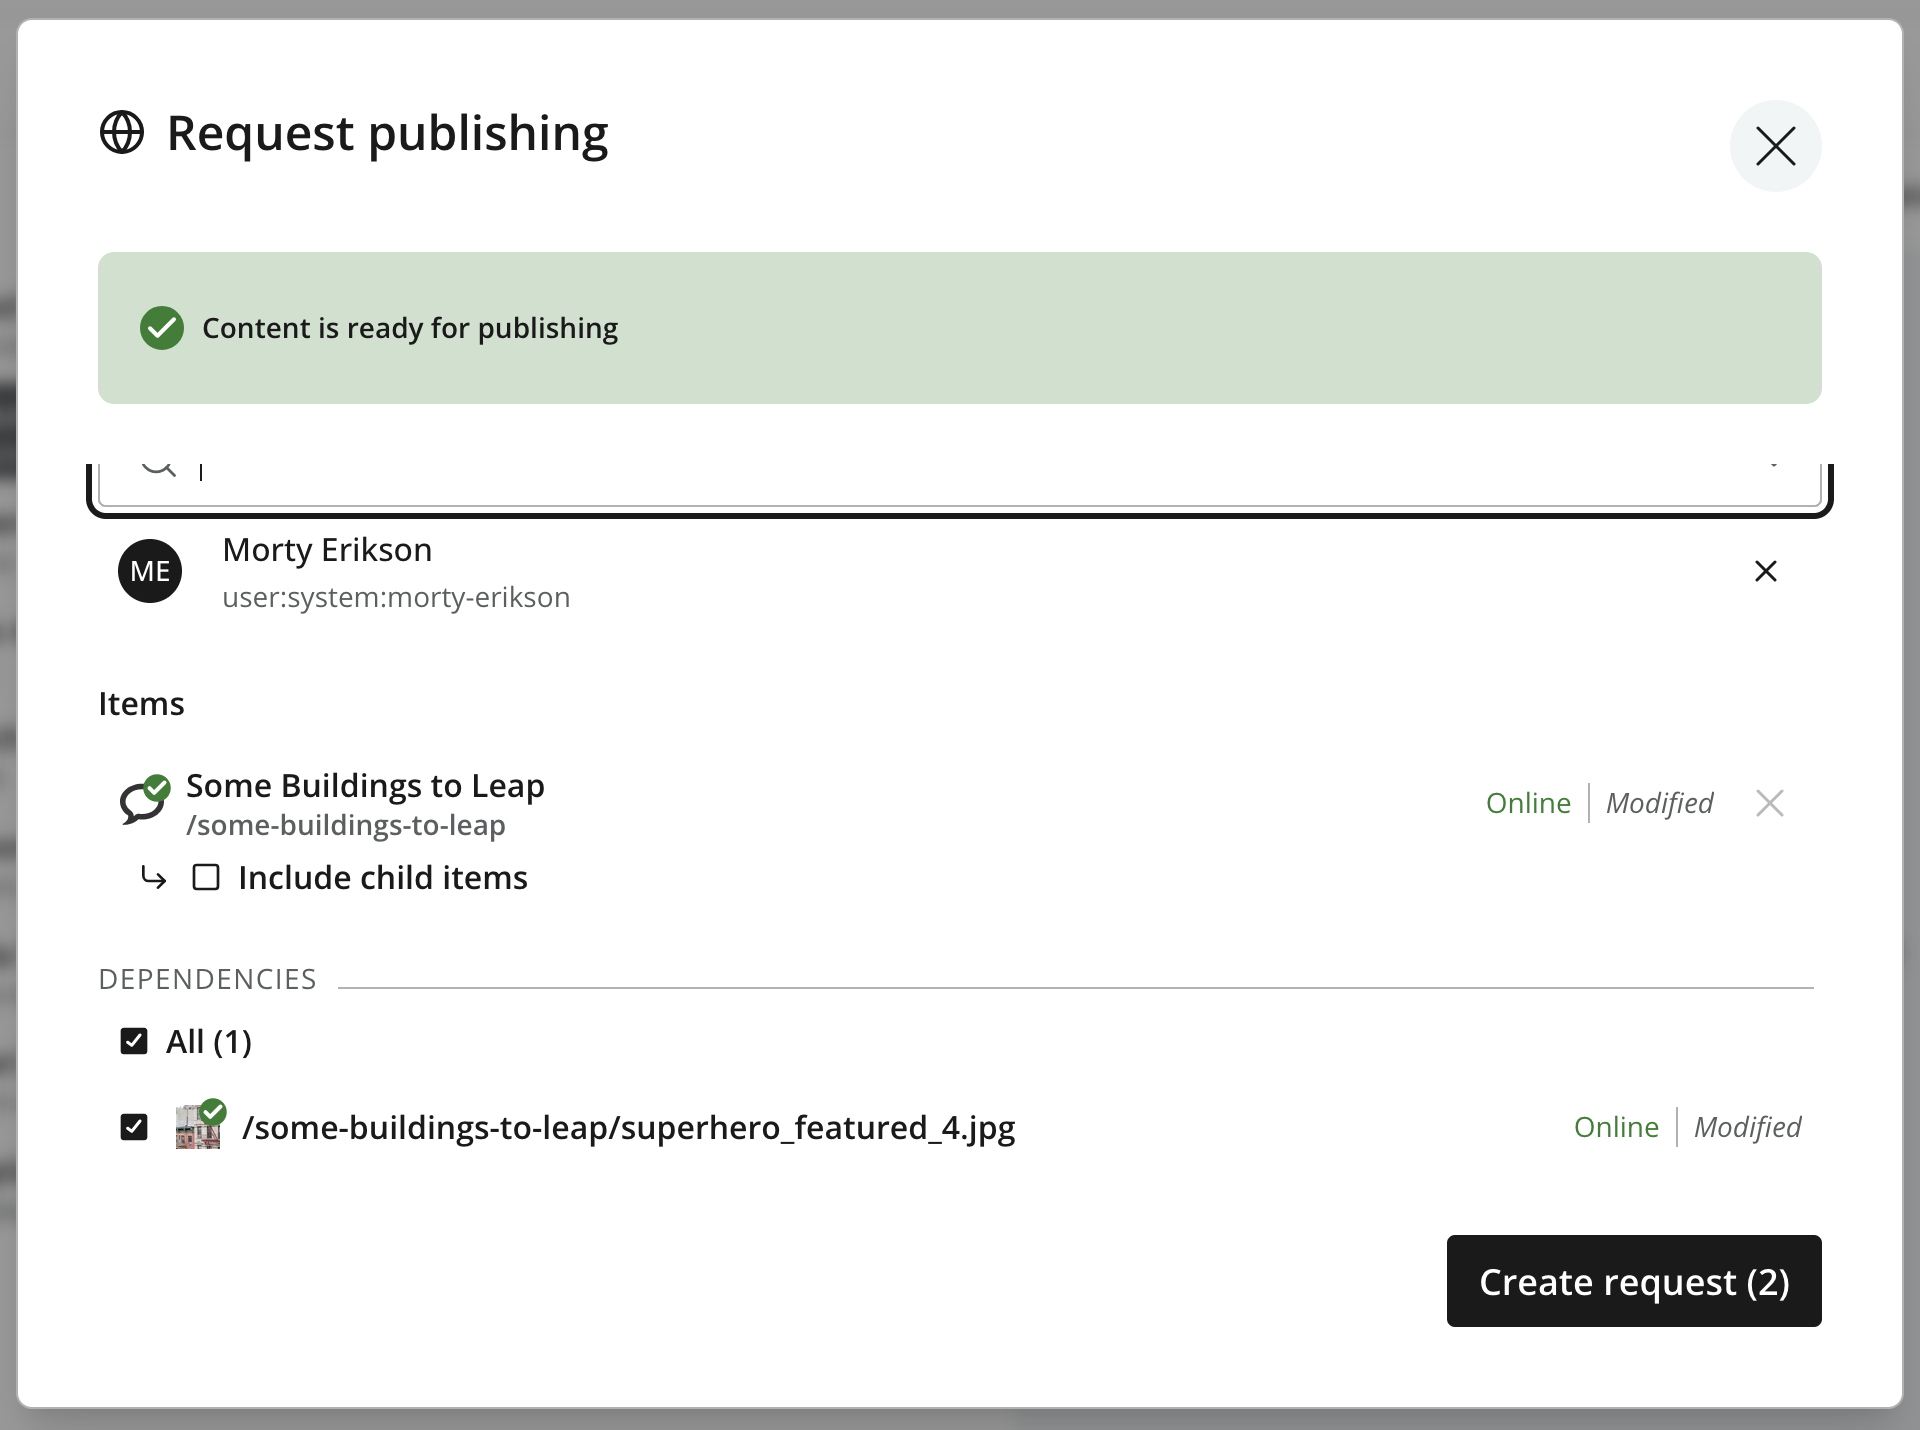
The status bar reports readiness. Resolve any blocking conditions before submitting; see Mark as ready and Publishing validation. Click Create request to create the request and open its details. For multiple included items, the button displays the item count.
The publish request dialog
A publish request opens on its Publish request tab, which presents the Publishing wizard’s controls within the issue. It shows the current content states, included items and dependencies, and any conditions that block publishing. Use the content selector to add items, or adjust the existing selection and apply the changes.
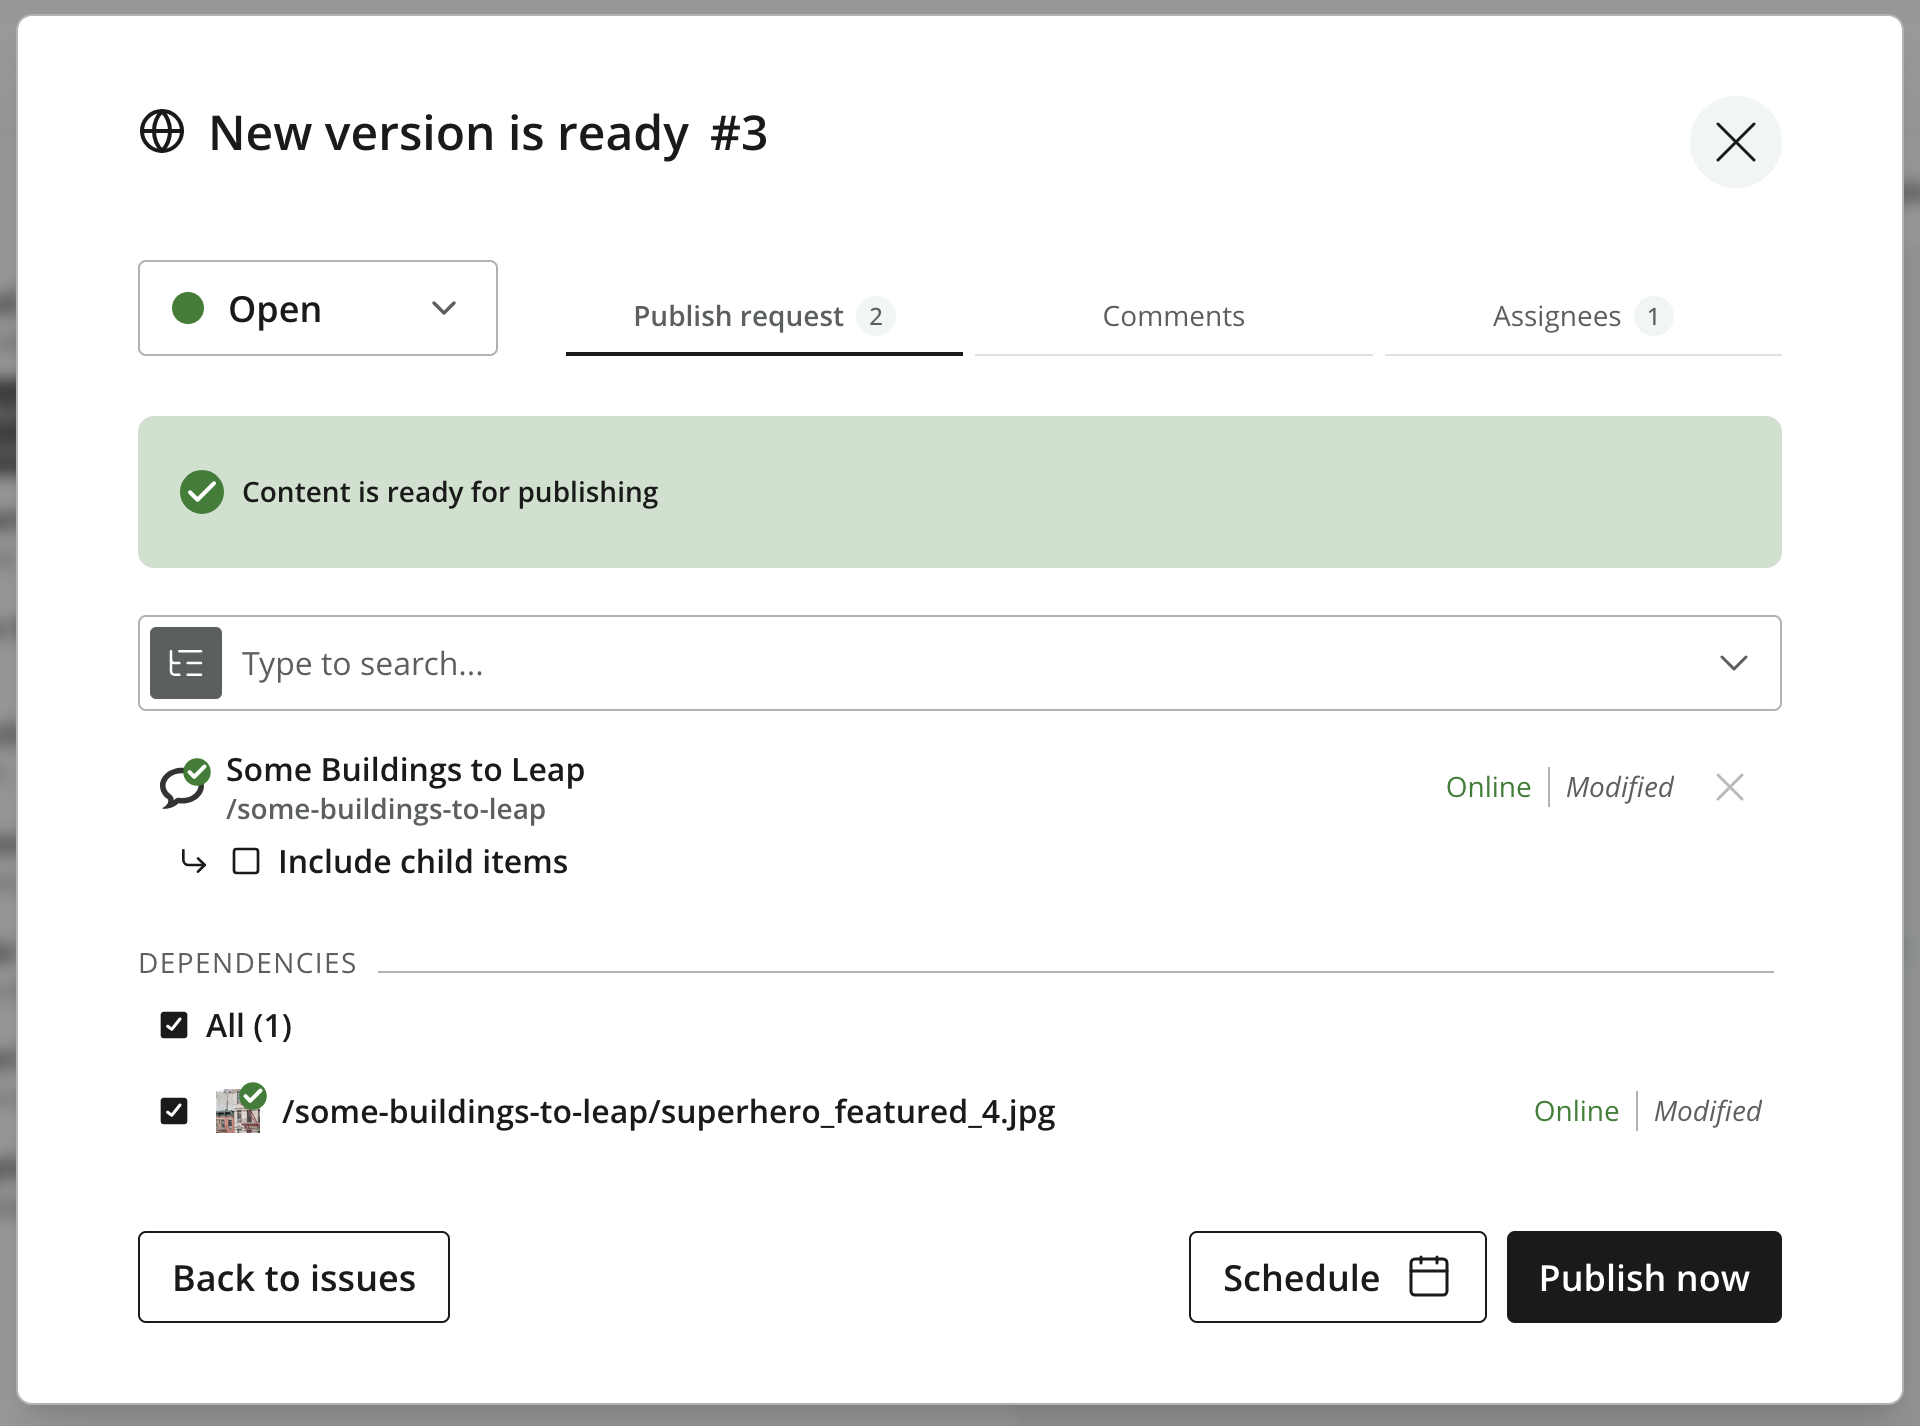
The Comments and Assignees tabs work as described under Issue details. Use comments to discuss changes or ask the author to revise the content before publishing.
A reviewer with publish permission can use Publish now to publish the included changes, or Schedule to set publishing dates. The same validation and scheduling rules apply as in the Publishing wizard. After a successful publishing operation, the request is closed automatically.
Find a publish request
Open the Issues list and select the Publish requests filter. Use Open to find requests awaiting work, or Closed to find completed requests and their discussions. Closing a request manually does not publish its content.