Content exports
Contents
The Content Exports panel creates and imports portable copies of content trees. Use it to transfer selected content between Enonic XP installations or to re-import an exported tree into a project.
| This panel is only available to Content Administrators and System Administrators. |
Overview
An export contains the selected item, its descendants, and associated binary files such as images and attachments. It represents the current version in the project’s draft branch; it is not a backup of the project’s complete publishing or version history.
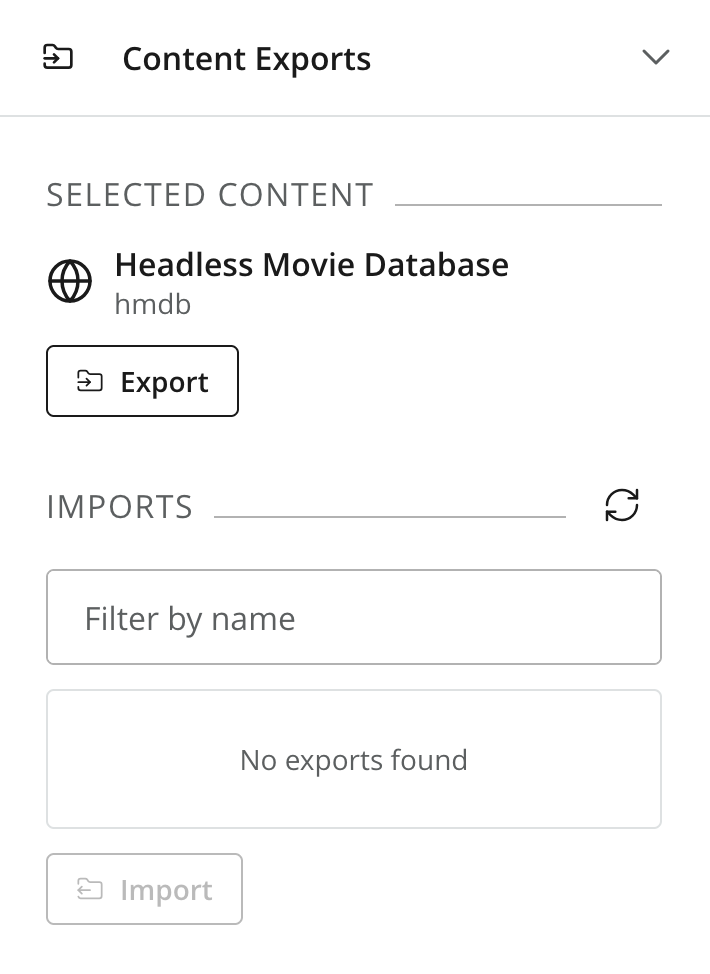
Exports are stored on the Enonic XP server rather than downloaded through the browser. The panel lists the exports available to the current installation and provides a name filter and a refresh button. Moving an export to another installation requires an administrator to transfer the named export between the servers.
Creating an export
-
Select the root item of the tree you want to export in the Navigator.
-
Open Content Exports from the Context panel selector.
-
Click Export.
-
In the Export options dialog, review the selected item and enter an Export name. The content name is suggested by default.
-
Click Export to create the export.
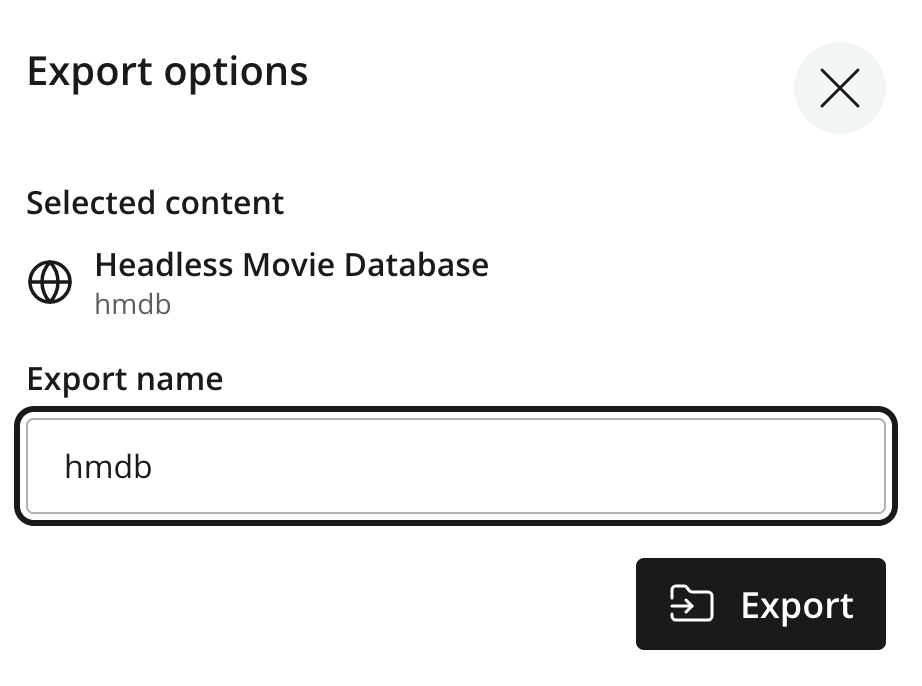
Content Studio combines the installation, project, supplied name, and creation time into the final server-side export name. When the operation completes, the dialog shows this name and the number of exported nodes. Use the copy button to copy the final name.
The new export is selected in the panel automatically. If an export created elsewhere does not appear, click the refresh button above the list.
Importing an export
Importing adds the exported content tree beneath a target item.
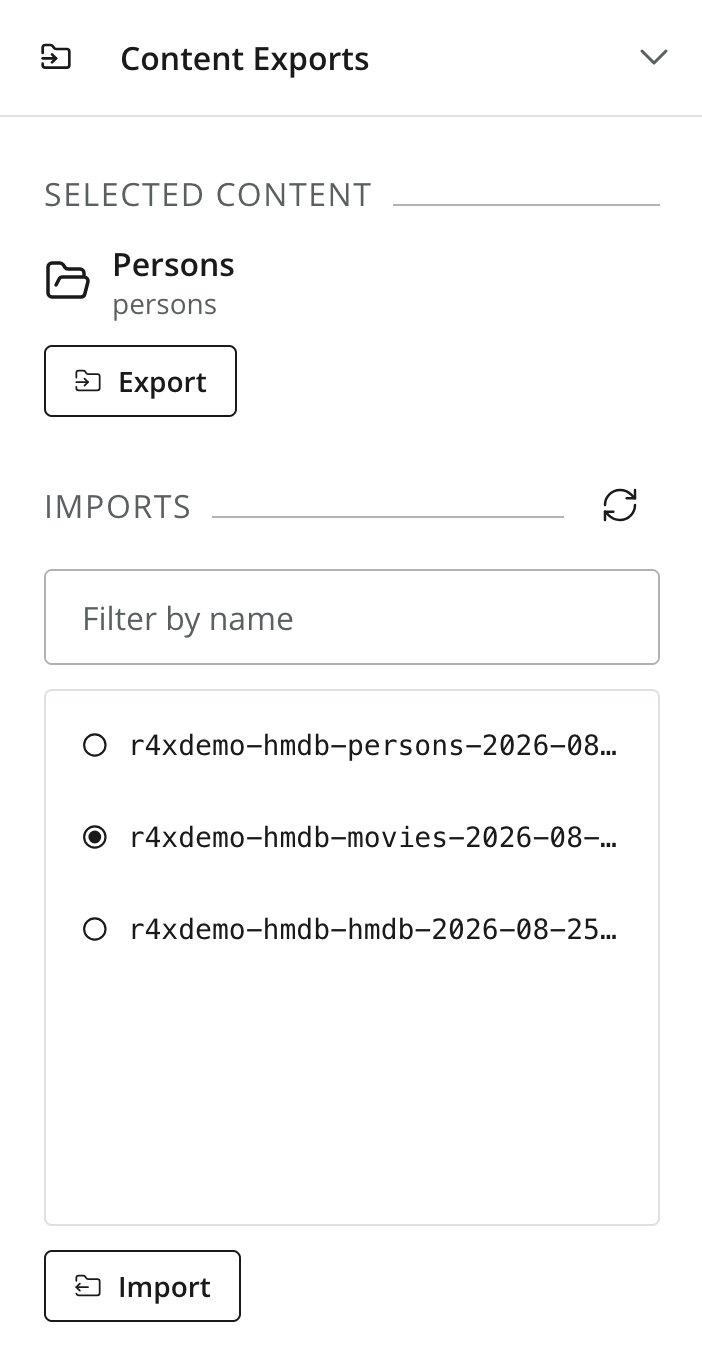
| Existing items with the same IDs are updated, while new items are created. The import does not delete any content. |
-
Open the Content Exports panel and select an export from the Imports list. Use Filter by name to narrow a long list.
-
Click Import.
-
In the Import options dialog, verify the export shown under Import from.
-
Under Import into, select the target content item. The item currently selected in Content Studio is used by default; select the project root to import at the top level.
-
Leave Preserve original first-published timestamp selected to retain that metadata from the source, or clear it to discard the imported value.
-
Click Import.
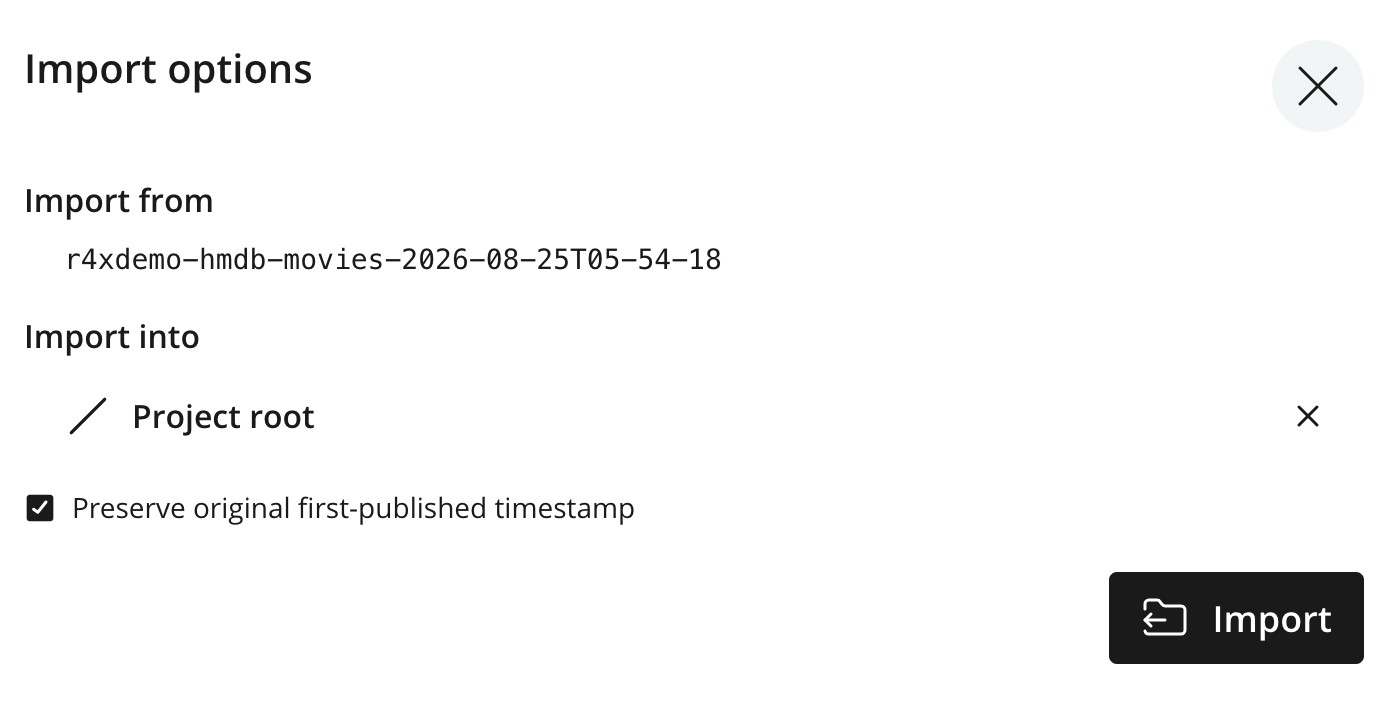
After completing the import, the result reports how many nodes were added and updated. Imported content is placed in the target project’s draft branch. Review it in the Navigator and use the normal publishing flow when it is ready to go online.
| Developers may programmatically create their own export and import operations using the Enonic XP Export library. |