Publish
Contents
Mark as ready
The Mark as ready action marks valid, in-progress content as ready for publishing. It is disabled for invalid content. Marking an item ready does not itself publish it.
Editing a ready item again returns it to In progress. See Ready for publishing for workflow states and indicators.
From the Navigator or Editor
Use Mark as ready in the Content Navigator for the selected content, or in the Content Editor for the open item. After marking, the Publishing wizard opens automatically. The toolbar then offers Publish or Request publishing, depending on your permissions.
In the Publishing wizard
If the publishing batch contains in-progress items, the wizard displays an In progress warning. Click Mark as ready in that warning to mark the in-progress items ready together. This does not fix invalid content; other blocking conditions must also be resolved before publishing.
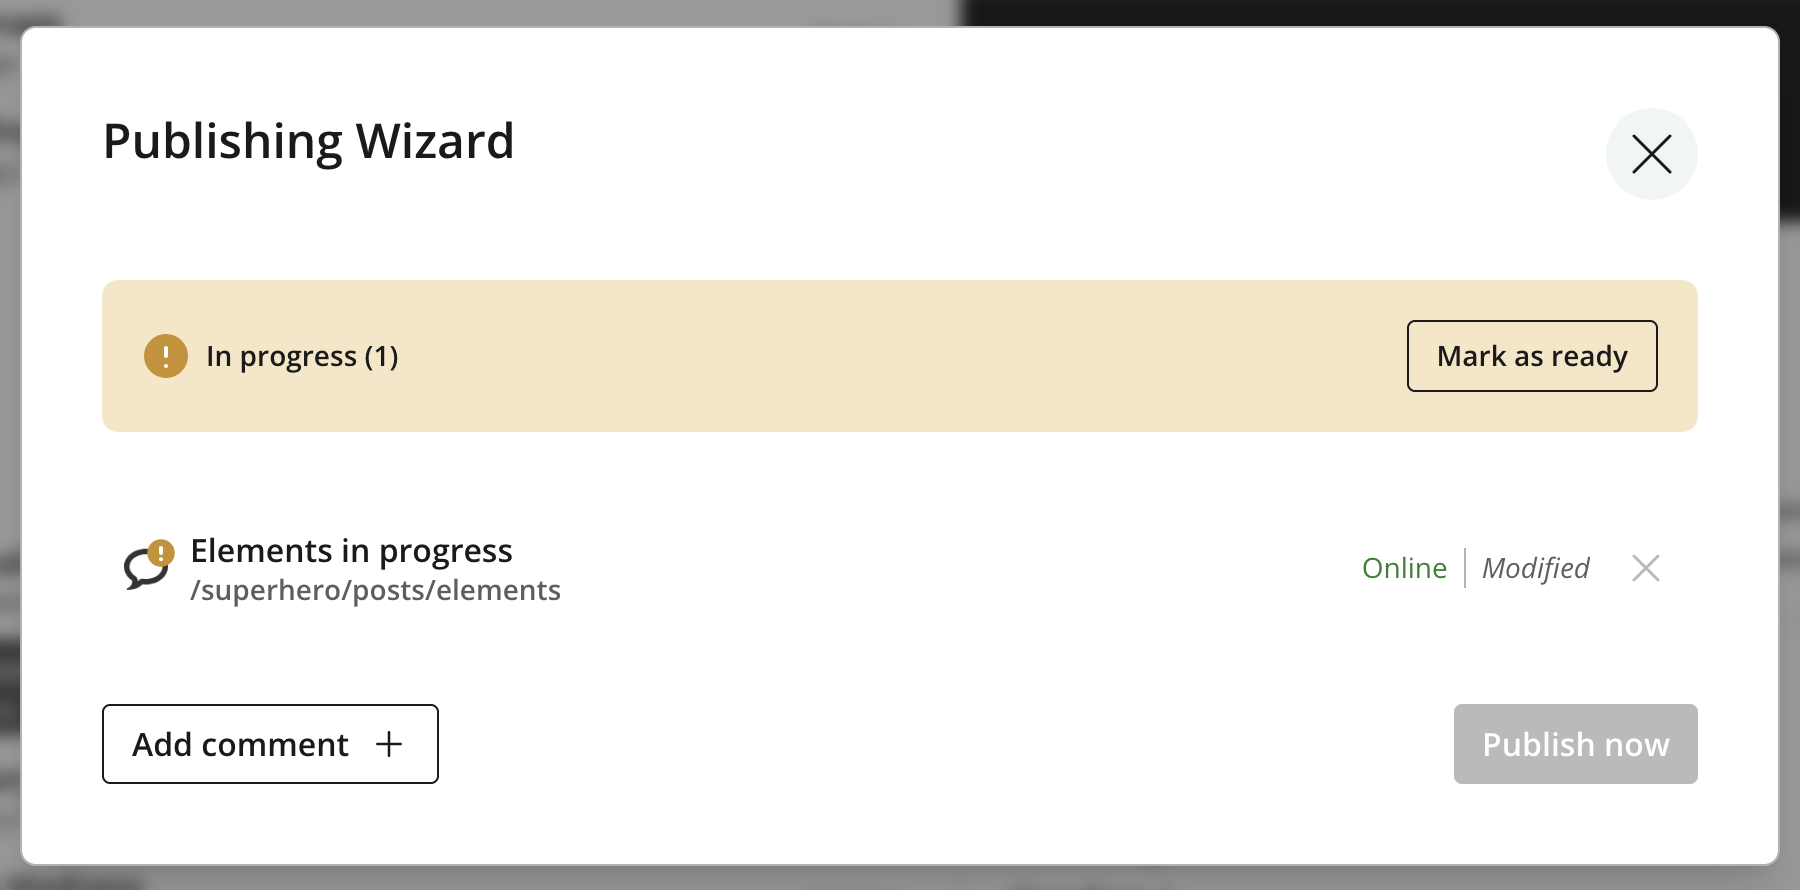
To handle items individually, click an item’s name to open it in the Content Editor, complete its content, and mark it ready there. The wizard updates its checks when the content changes.
| The bulk Mark as ready action can be disabled through Content Studio configuration. In that case, open and mark each item ready individually. |
Publish
Publishing makes the current draft of an item available online, subject to its permissions. New content must be published before it is available to end users, and changes to online content must be published again to go live.
Before an item can be published, it must be valid and explicitly marked as ready. The same readiness and validation rules apply whether publishing starts from the Content Editor or the Navigator.
Open the Publishing Wizard using:
-
Publish from the toolbar or context menu.
-
⌘ + alt + pon macOS orCtrl + Alt + Pon Windows/Linux.
The toolbar’s default action depends on the selection’s state and your permissions. Its menu also provides related content actions, including Publish tree, Unpublish, and Request publishing. Use a publish request when another user needs to review or publish the content.
Draft and Master branches
Content is created and edited in the draft branch. Saving creates a new version without changing what is online. Publishing copies the active draft version into the master branch, making that version available outside Content Studio according to its permissions.
After publishing, further edits remain in draft until published again. Each project or layer has its own draft and master branches. See Content life cycle and workflow for the workflow and publishing states, and Publishing and versions for layers.
Change status
Each item in the wizard shows its current publish state and change status, such as Online | Modified or Offline | New. An online item can have unpublished changes; publishing it updates the version that is already live. Items with no changes to publish are not included in the publishing batch.
See Change status for the meanings of New, Modified, Moved, Published, and Unpublished. To remove content from the active tree and take it offline, use Delete; archived items can be restored or permanently deleted from the Archive.
Publishing wizard
The wizard lists the selected items, their dependencies, and any conditions that block publishing. Review the included content before confirming. When all checks pass, the status bar displays Content is ready for publishing and Publish now becomes available. For a batch with multiple items, the button shows the number of items to publish.
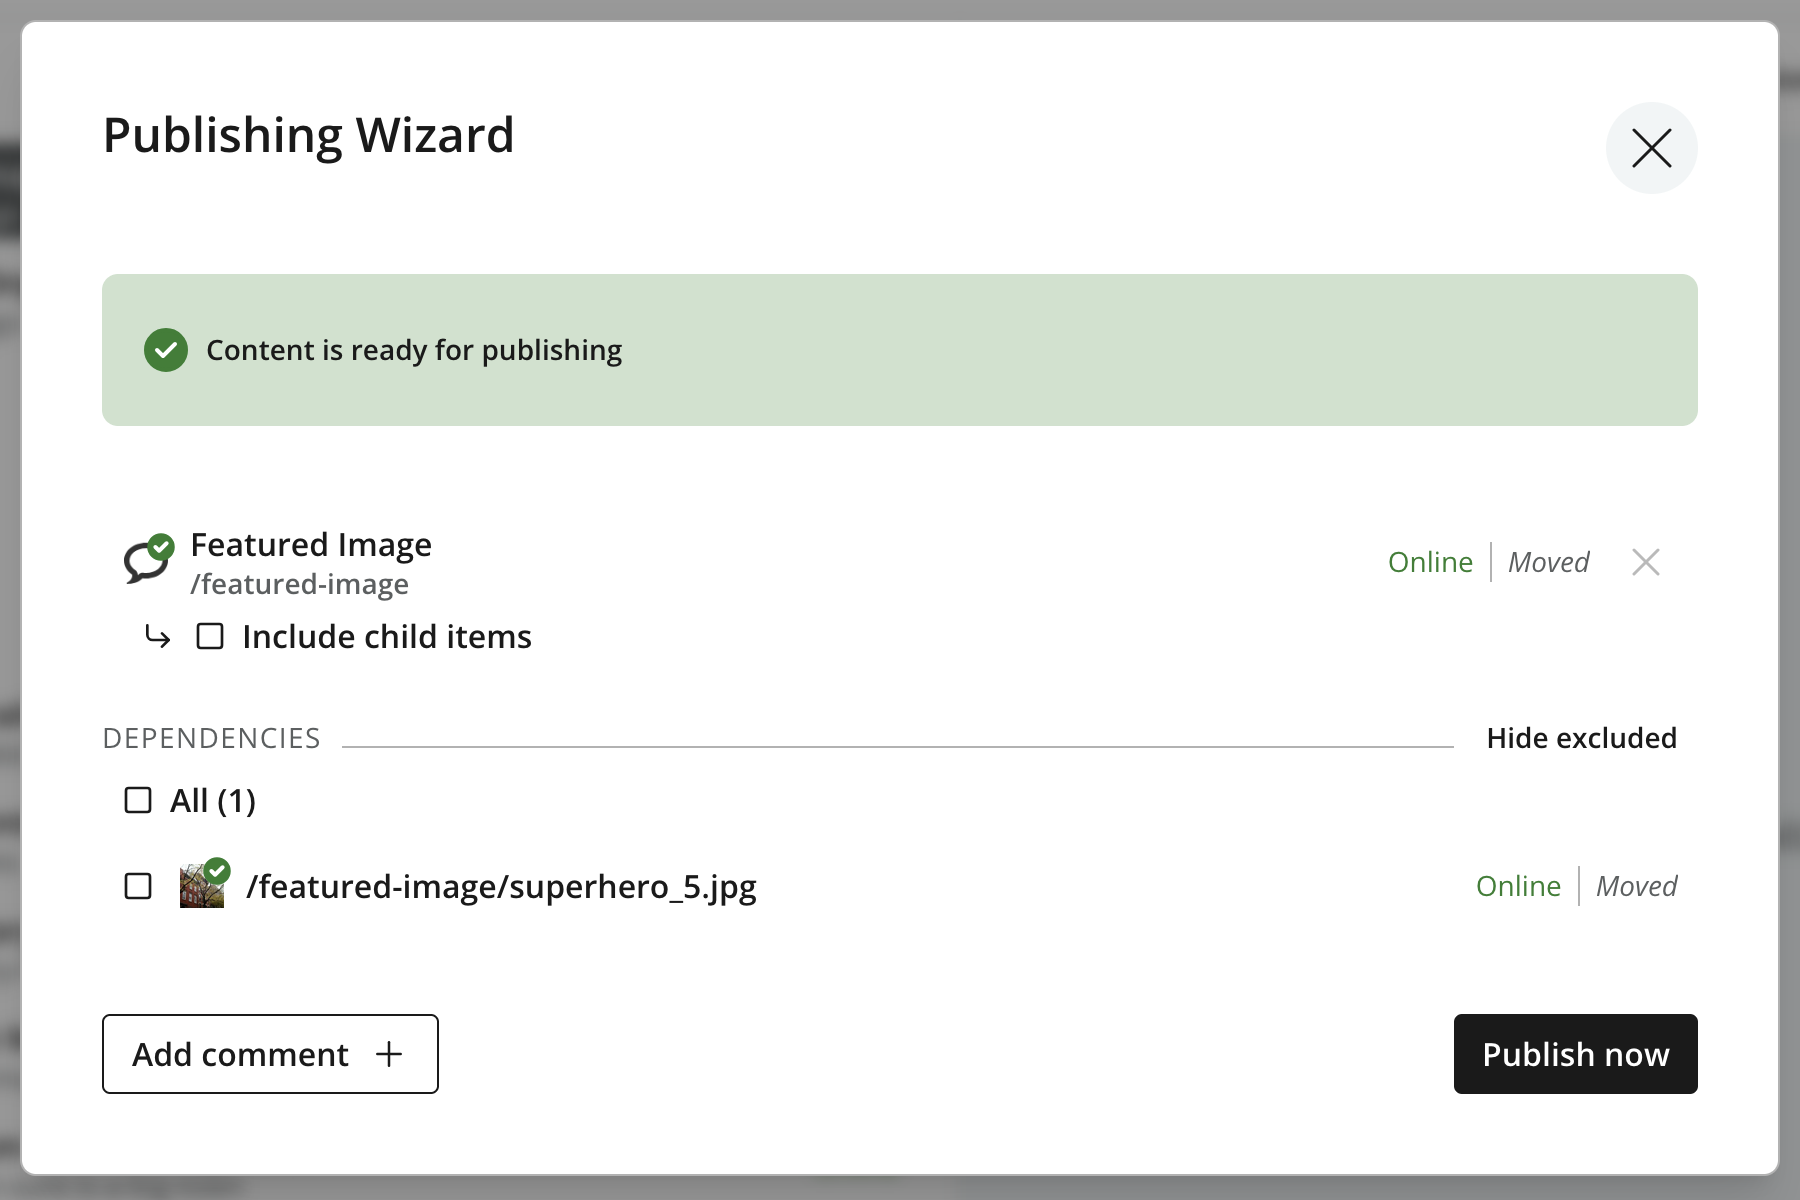
The selected items appear above the Dependencies list. Click an item’s name to open it in the Content Editor. The remove control beside a selected item removes it from this publishing batch when allowed; it does not delete the content.
Dependencies
Publishing can involve more than the original selection. The wizard resolves related content and includes required dependencies, such as ancestors needed to preserve the content tree. By default, optional dependencies are listed but left unchecked. Select the ones whose changes should be published with the selected content.
-
Include child items adds an item’s descendants to the batch. This checkbox appears beneath selected items with children that have unpublished changes.
-
The checkbox beside a dependency includes or excludes that item. All selects or clears the dependencies that can be changed together.
-
Required items have disabled controls. An ancestor may be required because a child is included; exclude the child and apply the change before trying to exclude that ancestor.
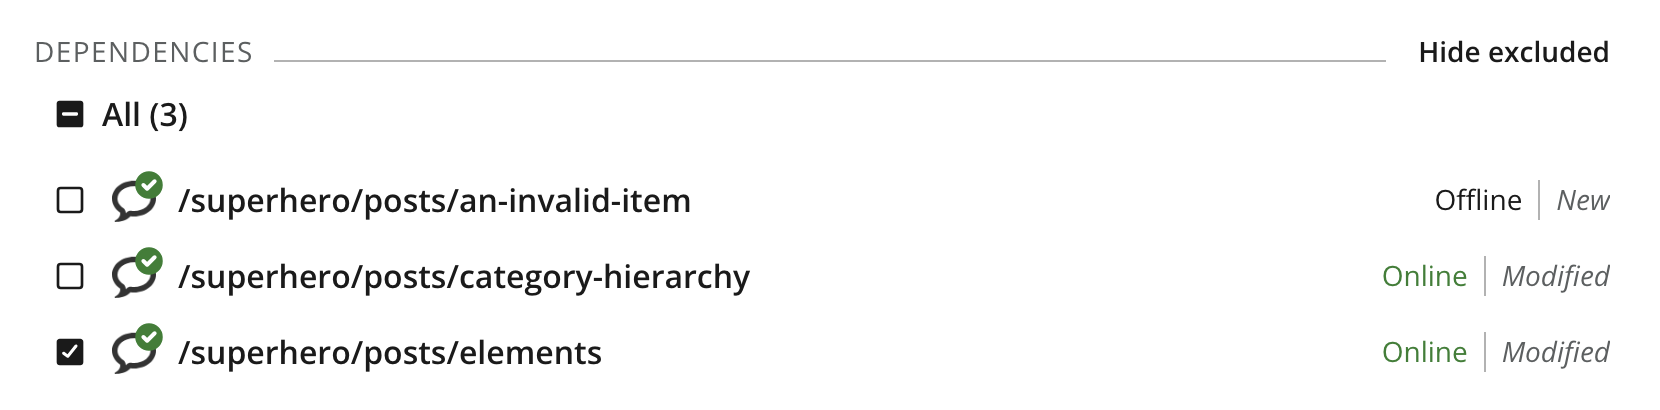
Changing the selection displays a blue status bar. Click Apply to confirm the selection and recalculate dependencies and validation, or Cancel to discard the pending selection changes. Applying the selection does not publish content.
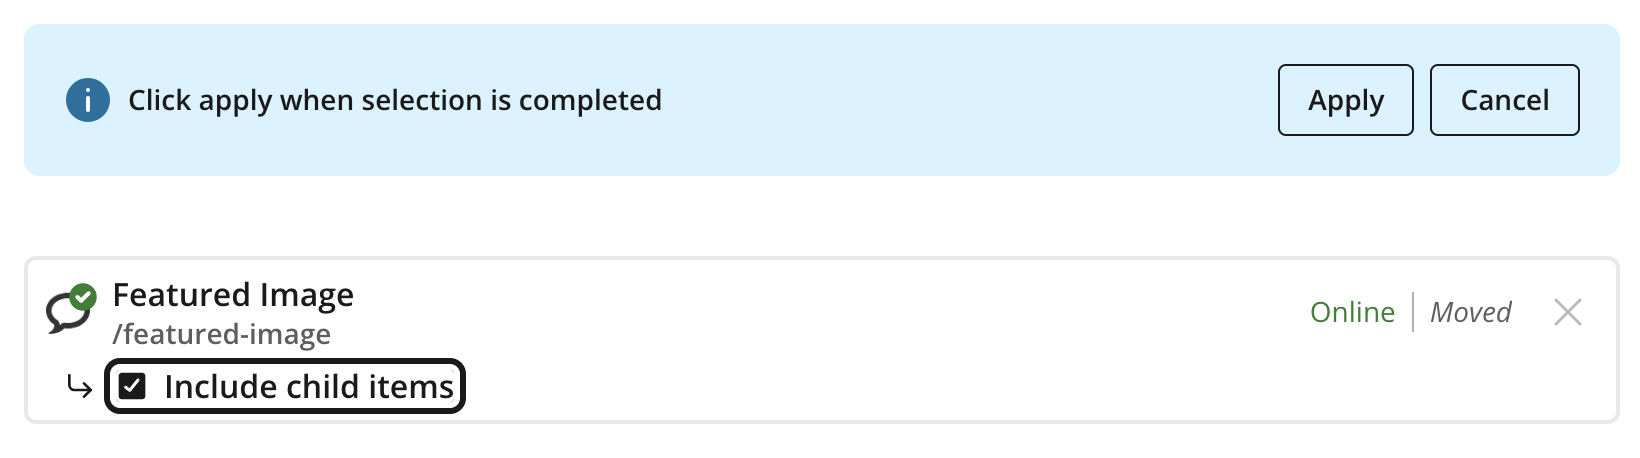
Use Hide excluded to show only included dependencies. Show excluded reveals unchecked items again so they can be added back. This changes the list’s visibility, not which items will be published.

| Administrators can configure optional dependencies to be selected automatically. See Exclude optional dependencies for the setting. |
Validation
The wizard checks the included items before allowing publishing. Separate status bars identify In progress items, Invalid items, and items for which the user lacks publish permission. Publishing remains disabled while blocking conditions remain.
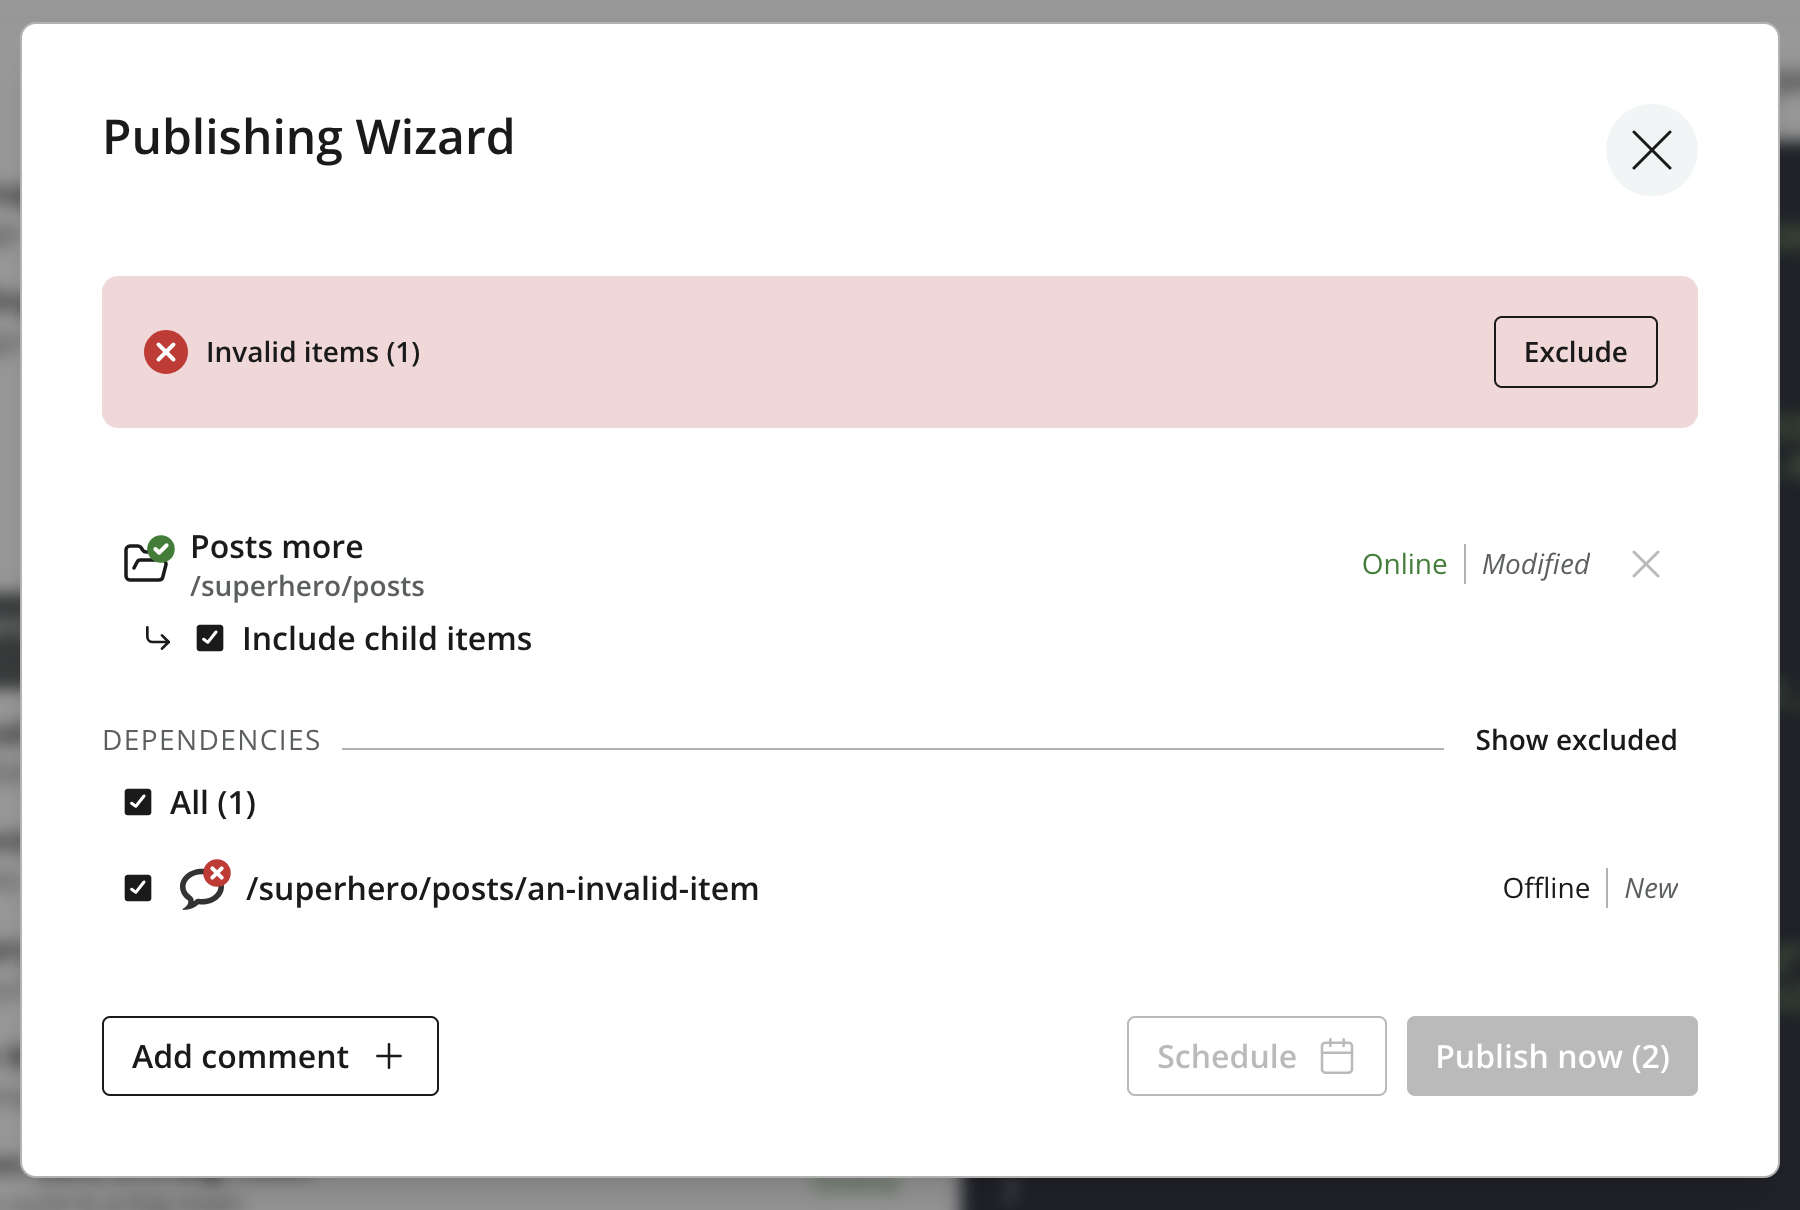
Resolve blocking conditions using the applicable actions:
-
For in-progress items, use Mark as ready.
-
Exclude on a warning removes the affected optional items in that category from the publishing batch together. Required items cannot be excluded.
-
For invalid items, click an item’s name to open it in the Content Editor and correct its content. The wizard updates its checks when the content changes.
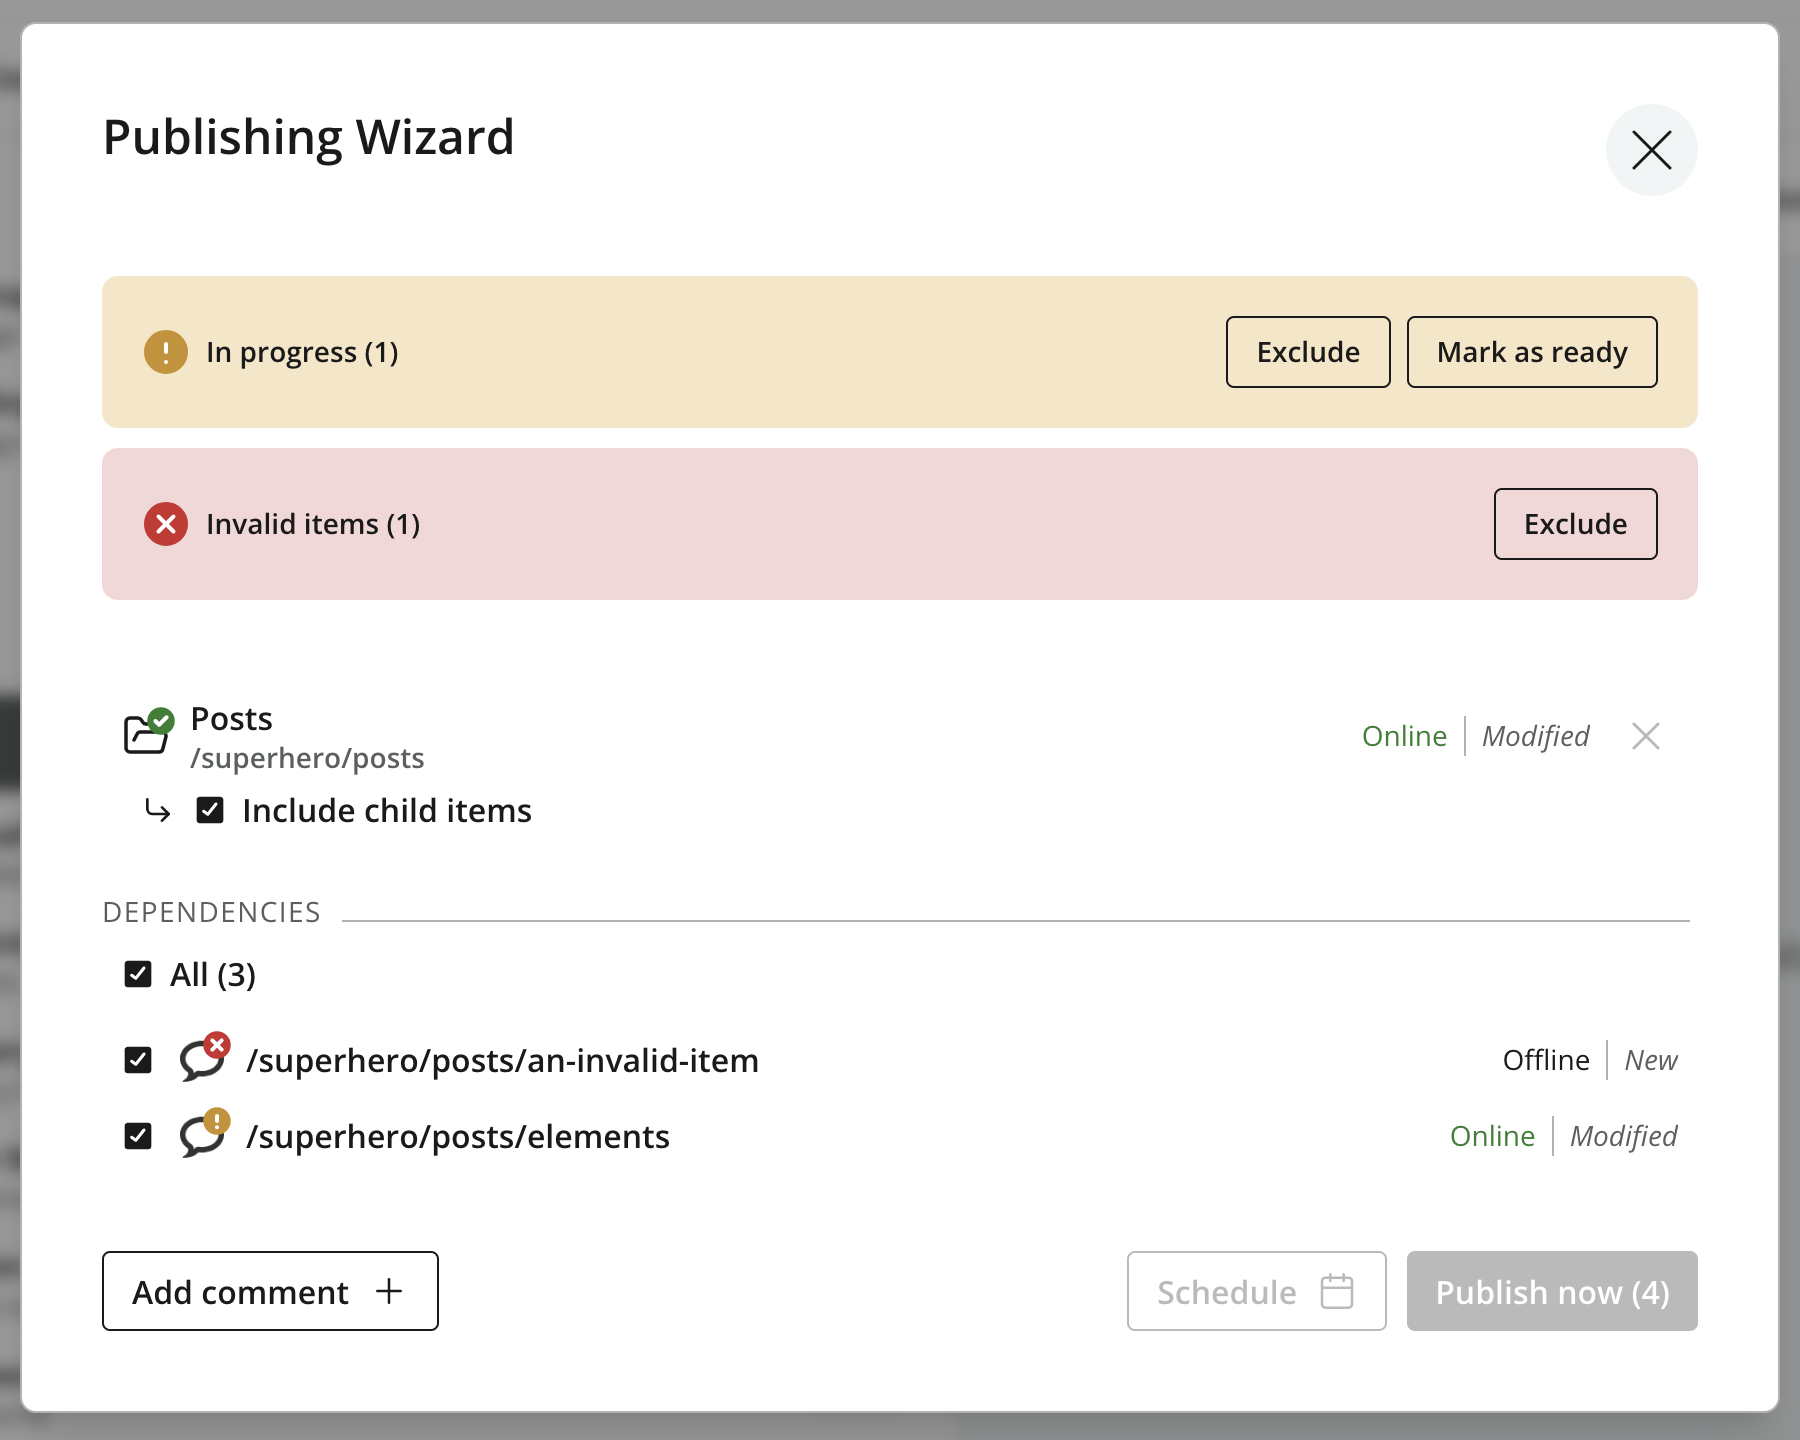
Once all checks pass, the green ready message replaces the warnings and publishing becomes available. For validation rules and workflow states, see Invalid content and In progress. If another user must publish the content, use Request publishing.
Publishing comment
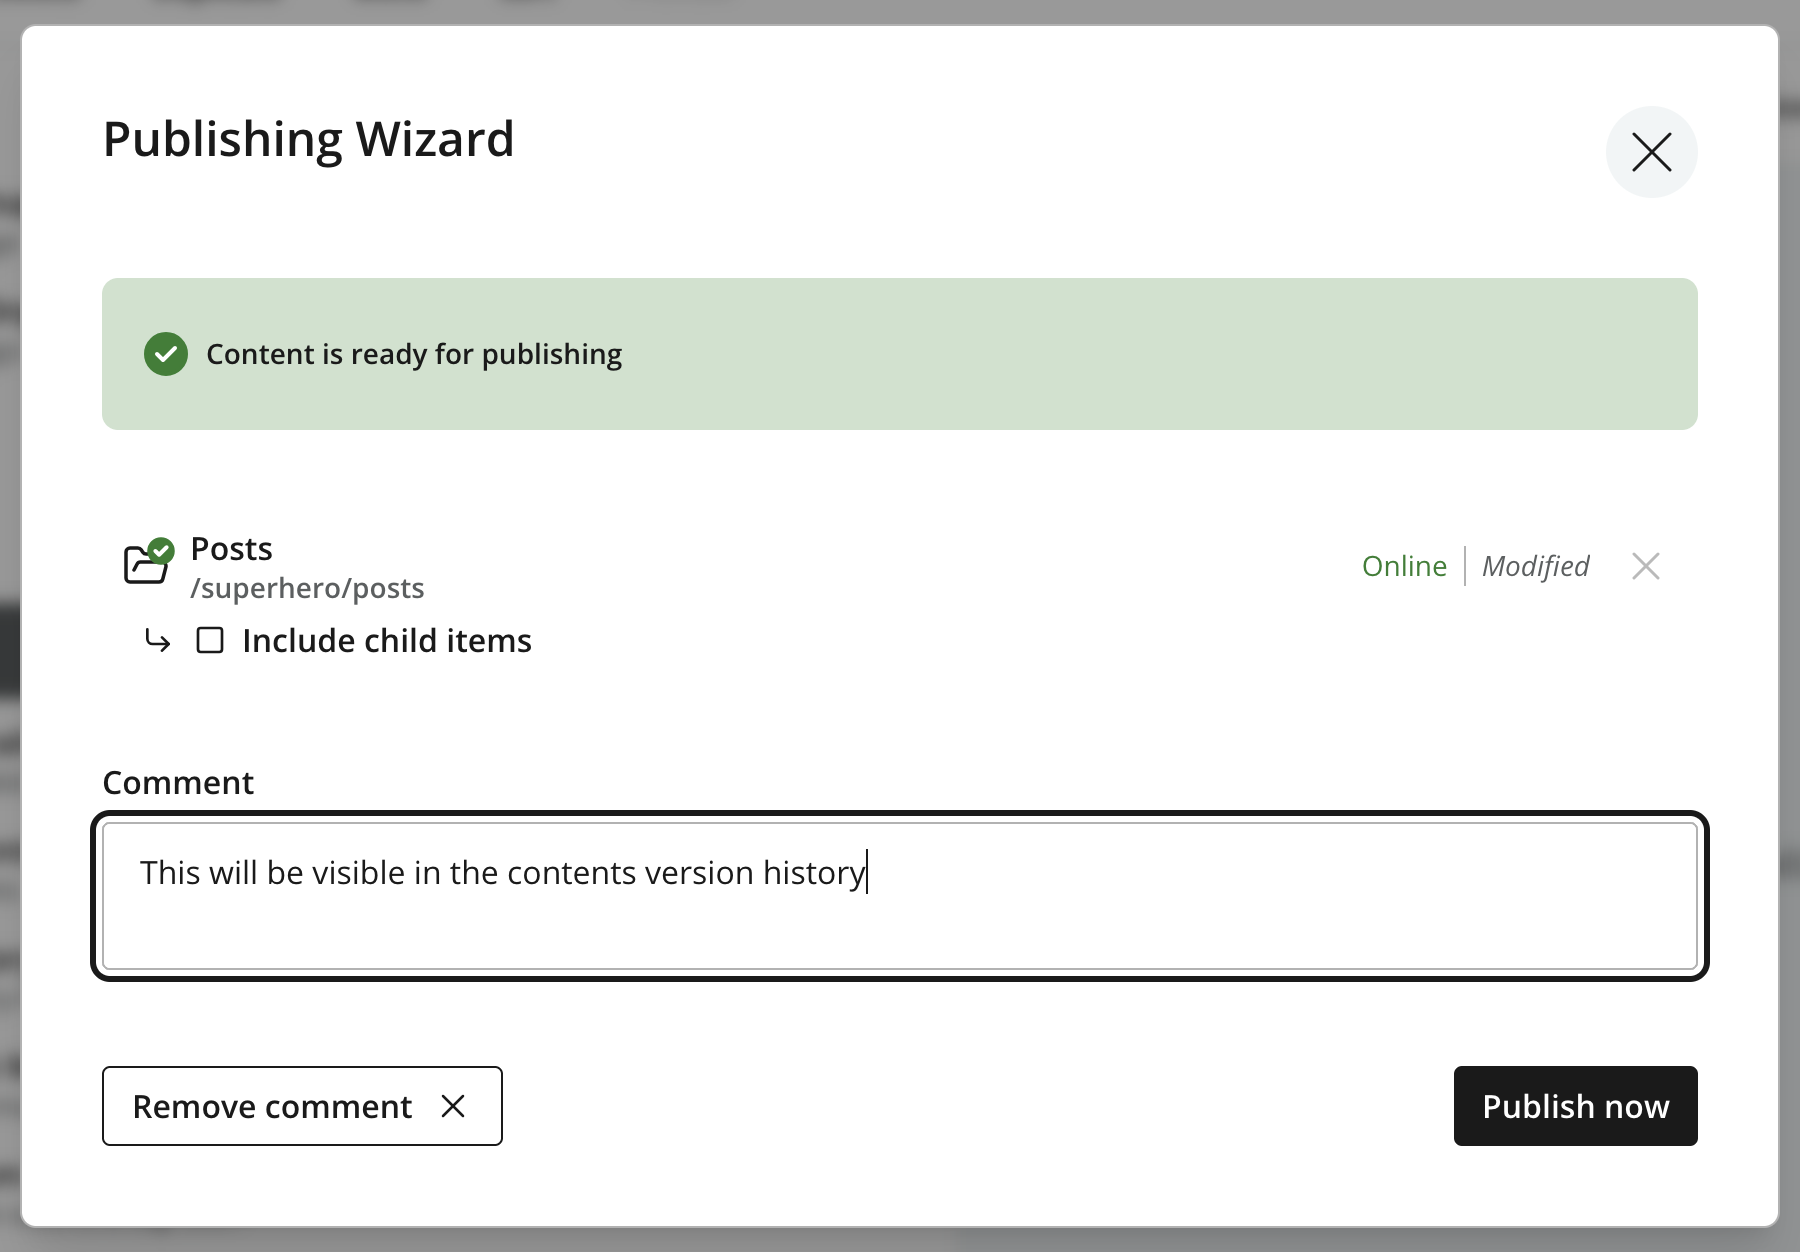
Click Add comment to enter an optional comment for the publication. The comment is recorded in the content’s Version history, where it provides context for the published changes. Use Remove comment to discard it before publishing.
Scheduled publishing
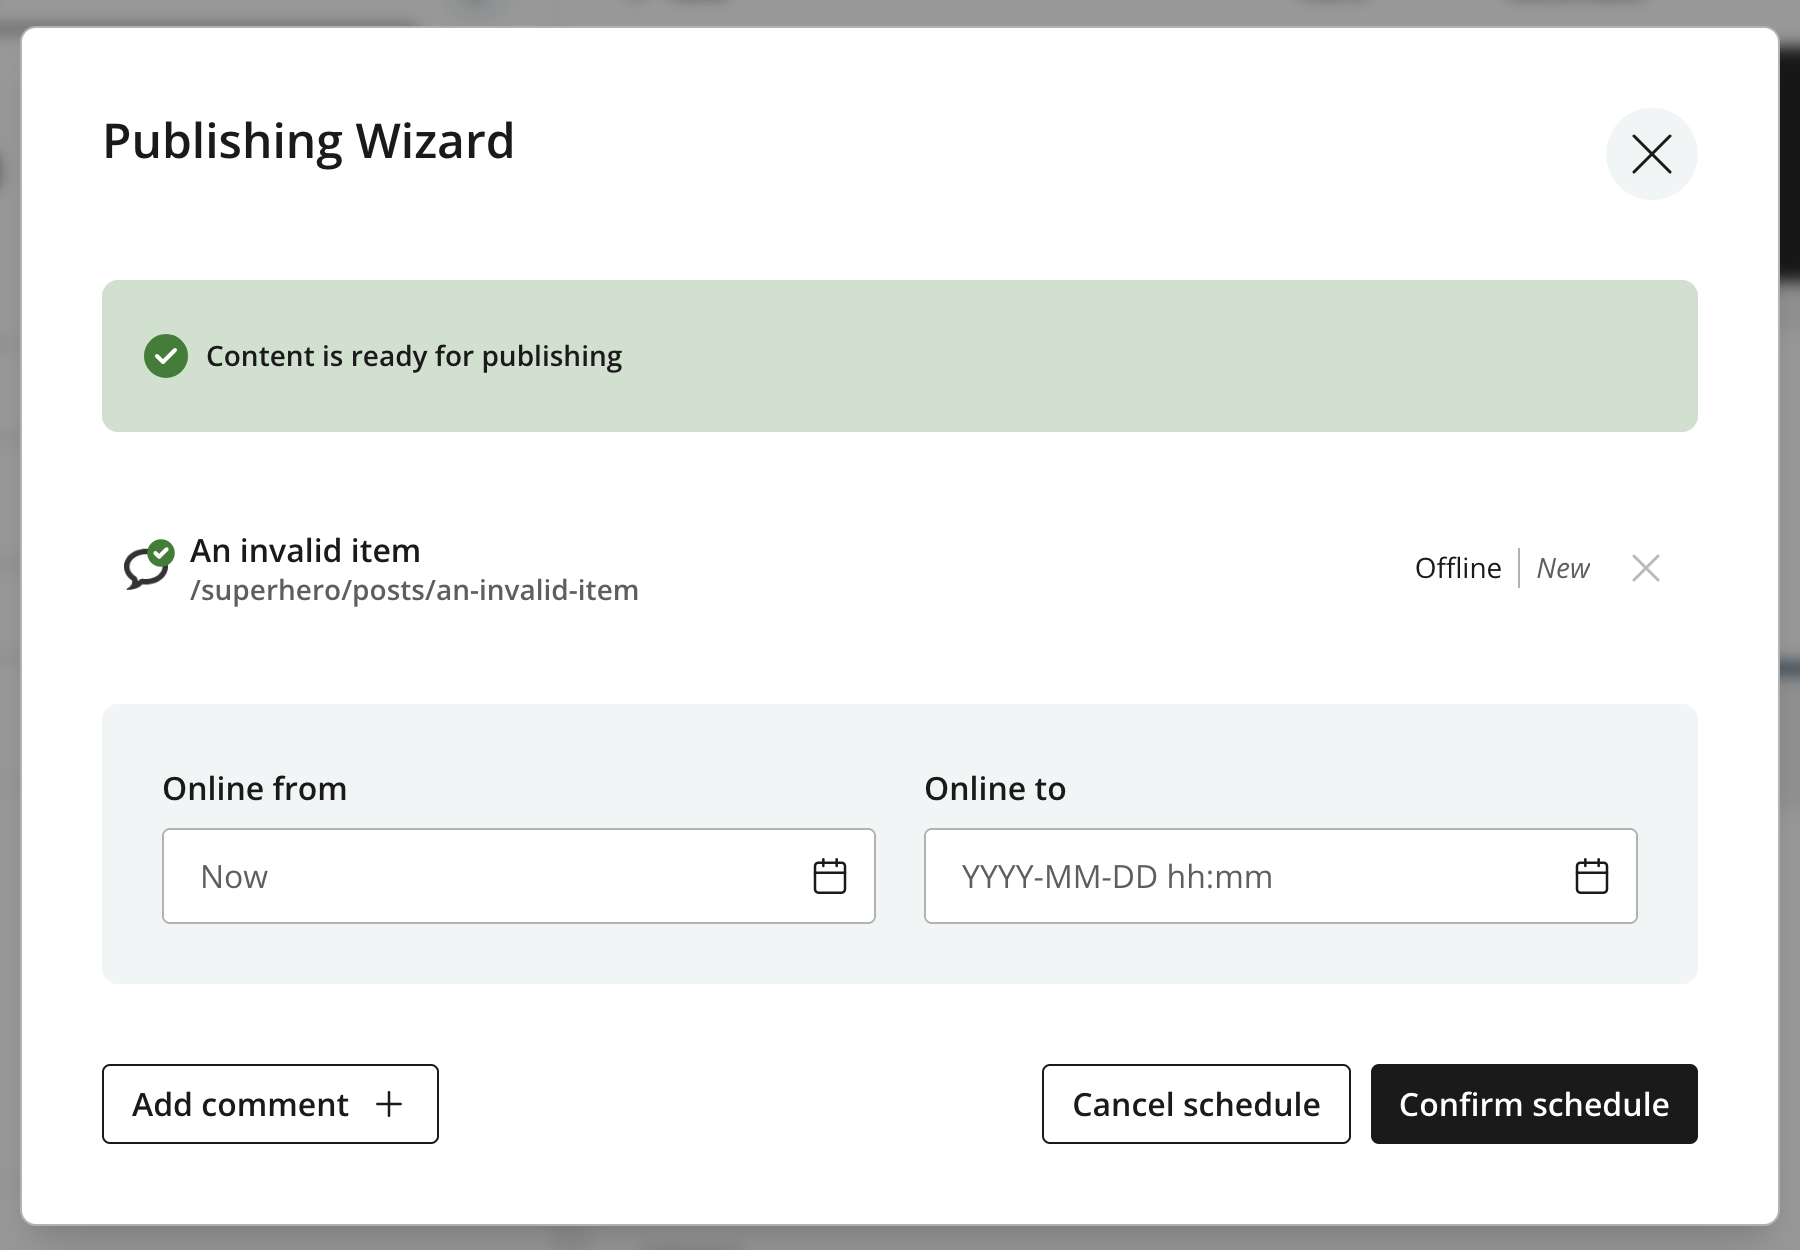
When the batch includes content that can be scheduled, Schedule appears beside Publish now. It opens the scheduling fields below the content list:
-
Online from sets when the content becomes available. The default Now publishes immediately; enter a future date and time to delay publication.
-
Online to optionally sets when the content is taken offline. This must be later than the start time and in the future.
Click Confirm schedule to submit the schedule. Use Cancel schedule to leave scheduling mode and return to the Publish now controls.
| Only currently-offline items are scheduled. Other changes included in the batch are published immediately. |
The default time and whether an explicit Online from value is required can be configured. See Default Online from time and Required Online from. Scheduled and expired items are described under Publish state.
Publish tree
Publish tree opens the same wizard as Publish, with the selection and its descendants included. The wizard also resolves their dependencies. Review the batch, resolve any blocking conditions, and publish or schedule it using the same controls. This is useful when bringing a whole section of the content tree online at once.